Rings & Things Jewelry Blog
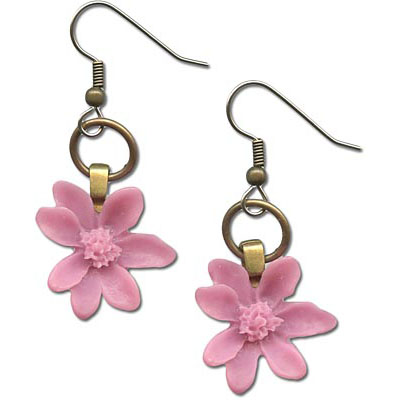
Mauvey Marigolds Earrings Tutorial
Created by: Rings & Things StaffDesigner TipsThe backs of some resin flowers may be slightly concave. For better gluing results, run them over an emery board (or Vintaj® Metal Reliefing Block) to level.Allow items to dry on a non-stick gluing surface.This pair of earrings was created using pre-made resin cabochons but you can also make your own. See below for links to a carefully selected offering of jewelry-quality resins.Free Technique Sheets & How-TosBasic Jewelry-Making Technique She
…
Jan 1st 2021
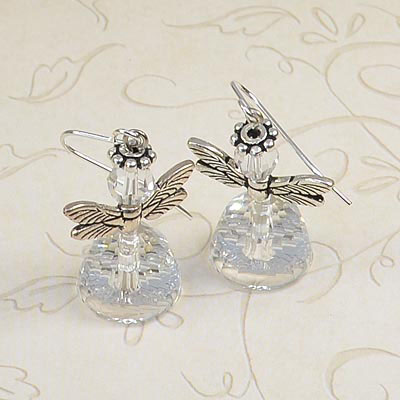
Forest Fairy Angel Earring Tutorial
Created by: Rita HutchinsonDesigner TipsAdd crystals, angel wing beads and spacers to head pins and finish with a simple loop. (See Making Earrings 101 below for instructions to make loops.)Because the large end of the dome bead is concave, it can be tricky to measure and cut the headpin for making your loop. Press your thumb or other finger against the head of the pin, to pull it up to the inside of the dome for best results.Use any ear wire you like with these designs.These angels / fairies ca
…
Jan 1st 2021
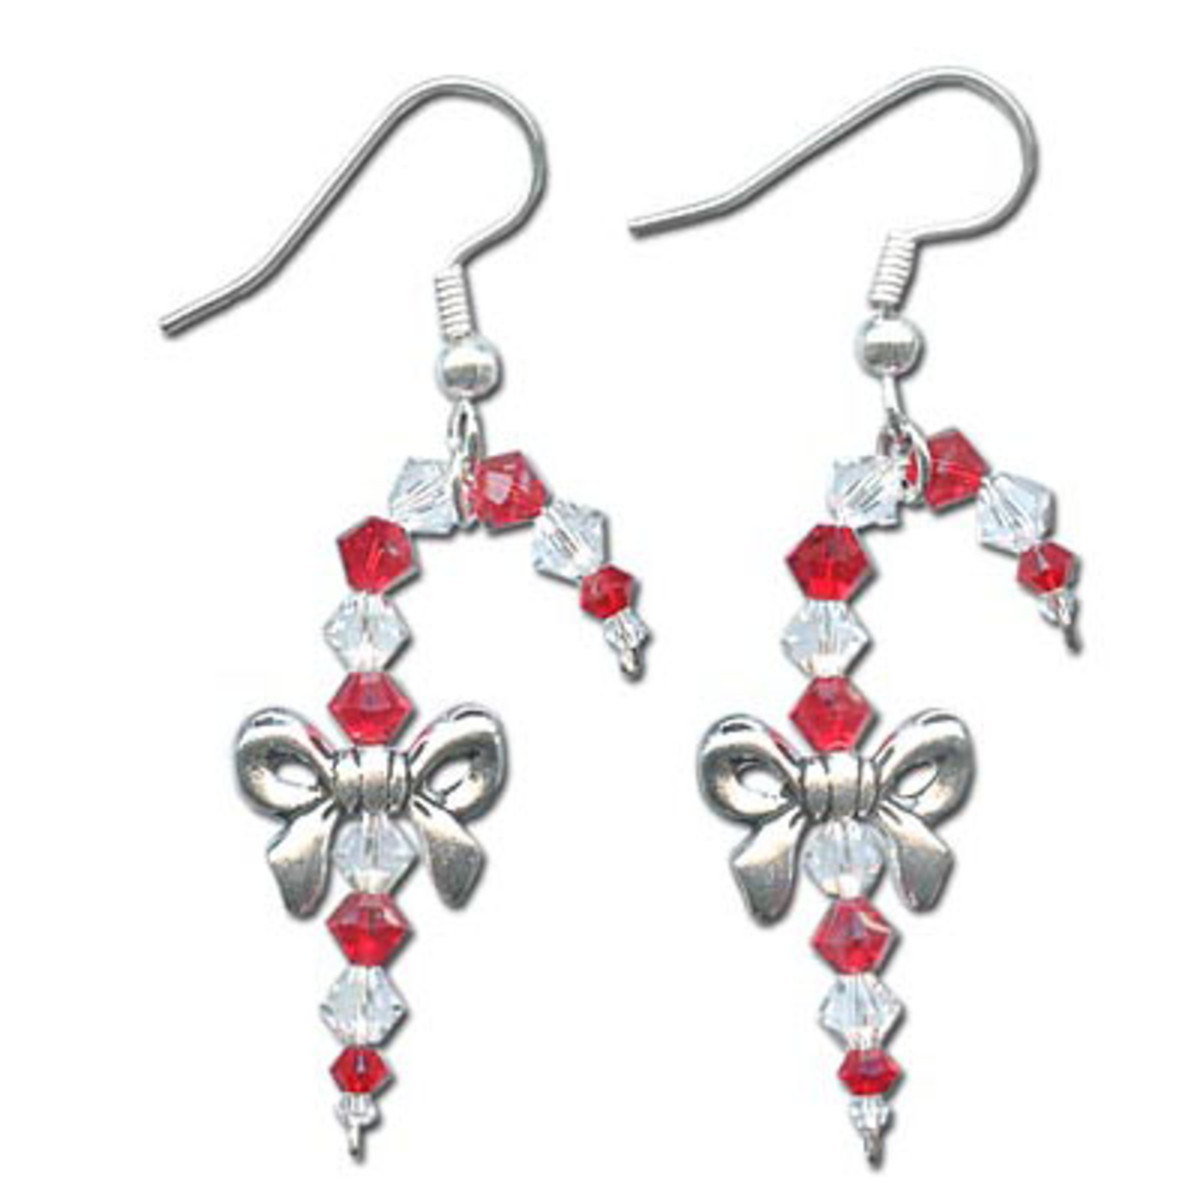
Candy Cane Crystal Earrings Tutorial
Design by: CREATE YOUR STYLE and Rings & Things. Designer Tips Due to the tiny hole size on the 2mm beads, this design will not work on a head pin. Make a tiny head on each end of the wire, by turning the wire back on itself and flattening down.To each 2" piece of wire, add crystals in alternating colors as shown. Add the bow bead after the fifth crystal.For other holiday projects using Swarovski crystals, visit CREATE YOUR STYLE Mini Projects.Free Technique Sheets & How-Tos
…
Jan 1st 2021
Illuminating Lotus Earrings Tutorial
Created by: Veronica GreenwoodDesigner TipsThoroughly clean your blank with Penny Brite. See our enameling blog article for tips, precautions and basic instructions for preparing the piece for enamel, and for torch firing enamels.Add scoops of desired colors of enamel into depressions in an artist's palette. Add a small amount of Klyr-Fire or distilled water (about 40% liquid to 60% enamel powder). Use the pretty cobalt bottle to add drops of water. It won't really mix like paints, but it will a
…
Jan 1st 2021
Icicle Lights Earrings Tutorial
Created by: Rita HutchinsonDesign by: Swarovski's Create Your Style Design TeamDesigner TipsAdd a crystal teardrop bead to a head pin (narrow side towards the head of the pin), add a rhinestone wheel bead, then a round crystal bead. Make a simple loop. Repeat for other colors of teardrop beads.Cut the chain evenly in half.Use chain-nose pliers to twist a head-pin loop open to attach icicle light to chain in desired location, and twist loop to securely close. Leave 2 open links between each light
…
Jan 1st 2021
Hunter-Gatherer Earrings Tutorial
January 21 is Squirrel Appreciation day in the United States. Celebrate these quirky Sciuridaes with us!Created by: Mollie ValenteDesigner TipsPlace the squirrel charms on the rubber block and polish the high points with the 3M sanding sponge. Use a EuroTool polishing pad to create a shiny finish.Attach a finished squirrel charm to the loop of the eye pin. For best way to open and close loops, and how to make wrapped loops, see Jewelry Basics 101 (PDF).String the following beads onto the eye pin
…
Jan 1st 2021
Go Go Go! Earrings Tutorial
Go Go Go! Green Light Earrings"If it was any greener, you'd have to mow it!"Created by: Rita HutchinsonDesigner TipsArrange stones to your liking.Set first rivoli in top setting, pressing the bezel into place to hold the stone firm. Bending the bezel where the second setting attaches is a little tricky. Be patient.Set the next stone, and press the bezel to hold firm.Set the final rivoli, and press the bezel to hold in place.With the burnishing tool, go over the bezel on all 3 stones, to flatten
…
Jan 1st 2021
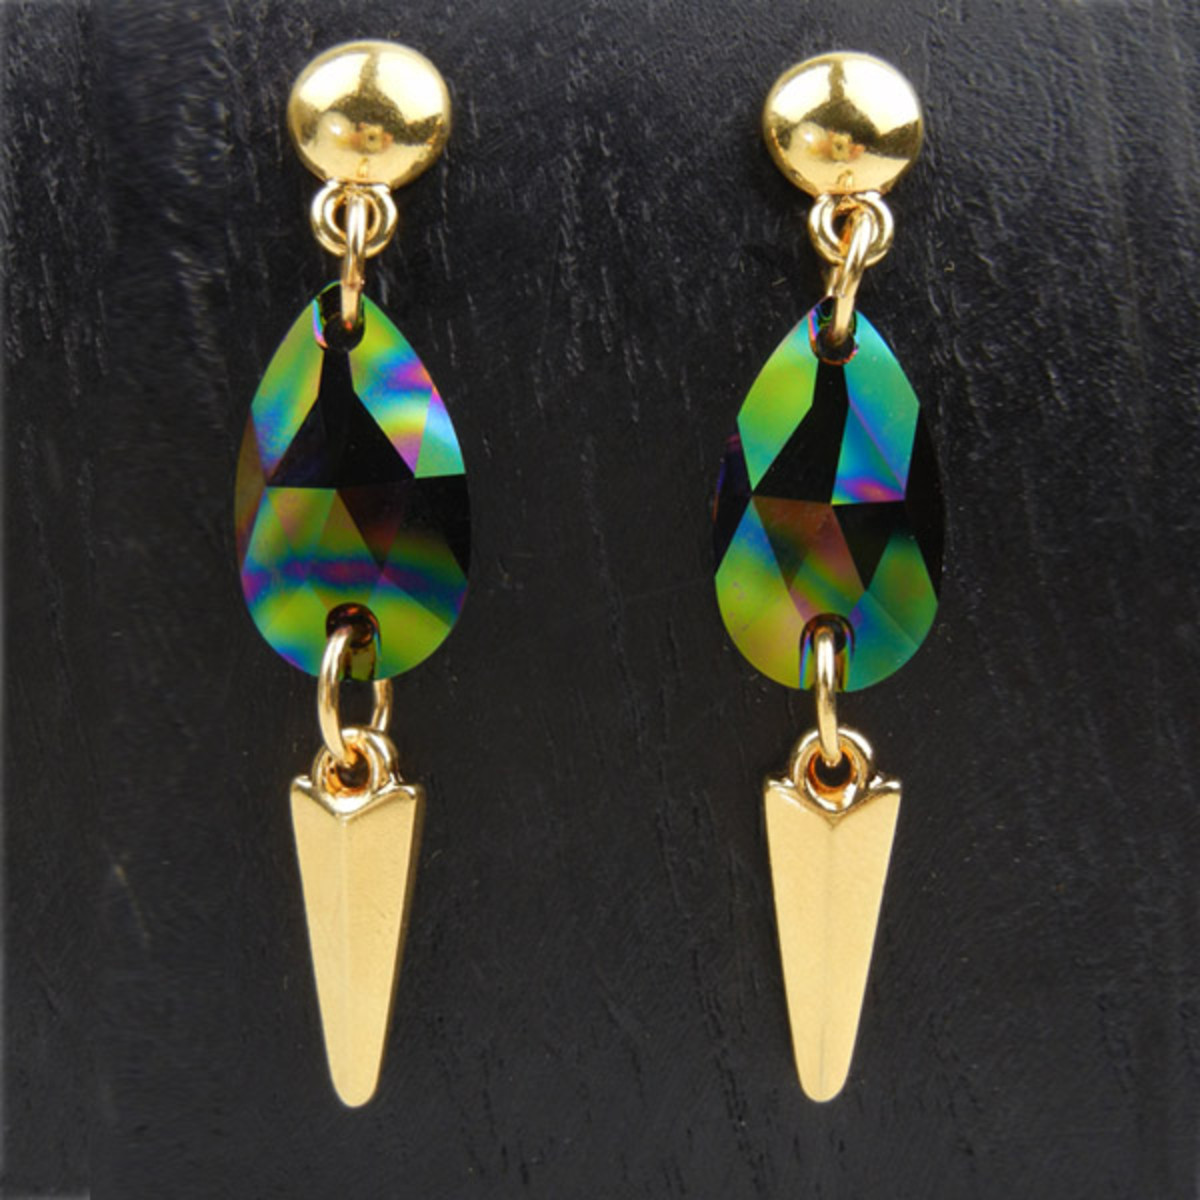
Geometric Rainbow Gold Earrings Tutorial
Quick tutorial on professional techniques for making a simple geometric pair of earrings with a half-ball drop-post, Swarovski crystal rainbow dark teardrop, and TierraCast gold plated dagger charm. Always FREE Jewelry Tutorials at rings-things.com. No blinkin ads. No login required.Created by: Polly Nobbs-LaRueDesigner TipsSelect 4 matching medium-large (6-7mm) jump rings from the bag of assorted jump rings. Use one jump ring to connect the charm to the teardrop, and another to connect the tear
…
Jan 1st 2021
Falling Snow Earrings Tutorial
Created by: Rita HutchinsonDesigner TipsBlue Shade crystal snowflakes are coated on one side. Check the pendants carefully to hang both crystals in the same direction.Due to the thickness of the crystal, a large jump ring made of thin wire is required. Optionally, use wire to create a wrapped connection or bail. We used sterling silver 8.5mm sparkle-wire jump rings.For best way to open and close loops, see Jump Ring Hint in Jewelry Basics 101 (PDF)Open the bottom loop of the ear wire (same way a
…
Jan 1st 2021
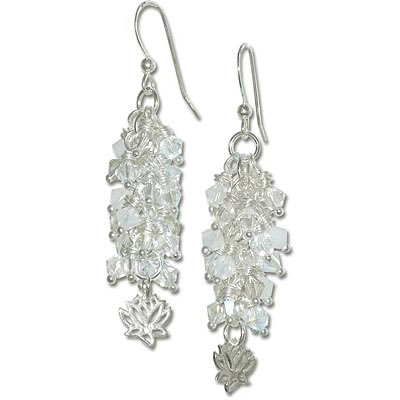
Enlightened Earring Tutorial
Created by: Rita HutchinsonDesigner TipsUsing a longer head pin allows for double "messy" wrapping at the top of each crystal.Attach 4 crystal dangles to each of 6 jump rings. 2 extra jump rings face the charm in the right direction, and allow it to show from under the crystals.For added interest, choose crystal bead colors for the dangles randomly.Free Technique Sheets & How-TosBasic Jewelry-Making Technique Sheet (PDF)Blog post: How to make "Cluster Earrings"Suggested Supplies1 doz [use 2]
…
Jan 1st 2021

