Rings & Things Jewelry Blog
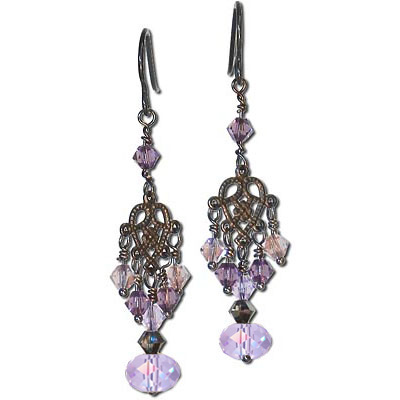
Hearts and Rain Earrings Tutorial
Created by: Polly Nobbs-LaRueDesigner TipsAdd bicone crystals to the head pins, and make wrapped loops directly onto the loops of the filigree.For the top beaded pin, cut the ball off a ball-end head and make wrapped loops at each end.Make your top loop perpendicular (90 degrees) to the bottom loop, so the earring hangs straight. If necessary, use 2 pairs of flat-nose pliers to adjust the angle after finishing the loops.Free Technique Sheets & How-TosBasic Jewelry-Making Technique Sheet (PDF
…
Jan 1st 2021
Lady-Leg Etched Earrings Tutorial
These fun etched copper earrings were cut out with shears (a jeweler's saw would also work great) and then the resist was hand-drawn with Sharpie, in the patterns of toes and thigh-high stockings.Created by: Noryan Baker & Mollie ValenteDesigner TipsCut the metal into the desired shapes and file edges smooth.Apply the design wth a permanent marking pen (such as a Sharpie®). The metal covered with permanent ink does not etch.Punch holes in metal as pictured and patina.Use jump rings to connec
…
Jan 1st 2021
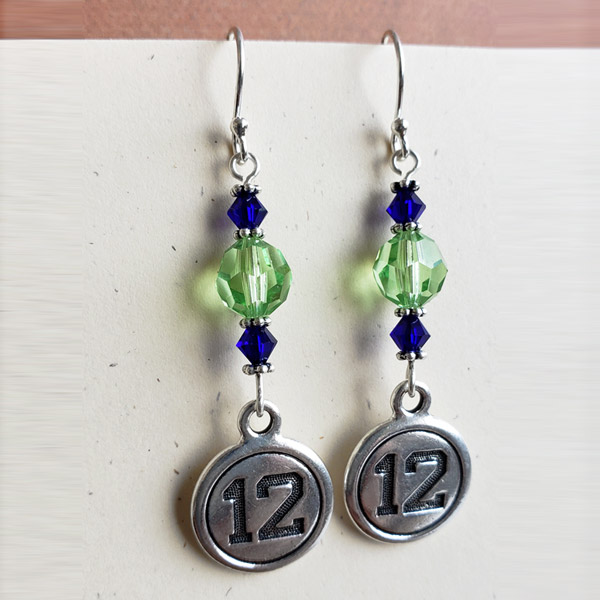
Lady 12 - Go Hawks - Earrings Tutorial
Created by: Liz GrafDesigner TipsPlace your spacer beads, cobalt blue bicones, and peridot round crystals on the eye pin in order.Create (and close) your eye pin the opposite direction of the way the loop on the top is sitting. For instructions on making eye pin loops, see Jewelry Basics 101 (PDF).Hook the "12" charm to the end of the eye pin you created the loop on.Attach an ear wire to the other end of the eye pin.Repeat for second earring.Suggested Supplies2 each #05-000-08-15 Round Swarovski
…
Jan 1st 2021
Kilauea Nights Earring Tutorial
This stunning earrings project combines Swarovski queen baguette crystals with cascades of wrapped loop dangles and stylish Nina Designs earring hooks. The bicone bead dangles highlight the tones that reflect and shimmer from the crystal's volcano coating! Created by: Amy MickelsonSteps to Make These EarringsGather all your supplies (ready to purchase below).To use a different color of Swarovski crystals, choose from our full selection of Swarovski queen baguette pendants and Swarovski bicone be
…
Jan 1st 2021
Hammerfall Earrings Tutorial
Designer Tips These earrings are easy to assemble, yet put on a great show.Use 10mm jump rings to connect each link, and another 10mm jump ring to attach the dagger bead to the smallest link. For best control, use 1 pair of traditional chain-nose pliers, and 1 pair of bent chain-nose pliers to open and close the jump rings. For most secure way to open and close loops, see Jump Ring Hint in Jewelry Basics 101 (PDF).The 10mm jump rings have an 8mm inside diameter, large enough to let the link
…
Jan 1st 2021
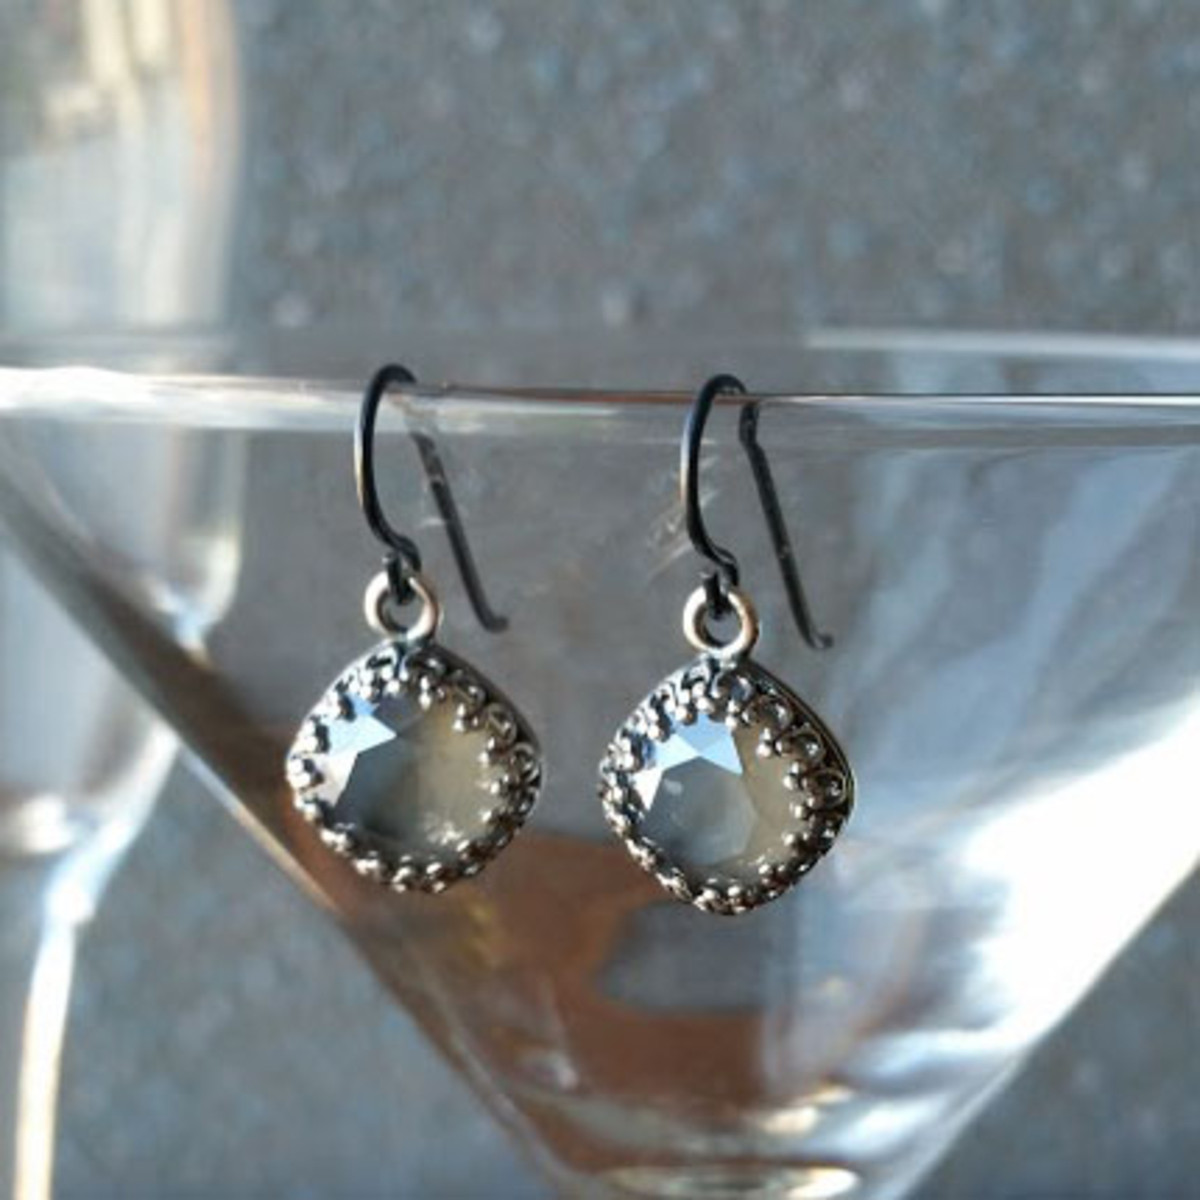
Grey Days Earrings
Created by: Rita HutchinsonDesigner TipsPlace Cushion Stone in Setting, pressing the bezel into place to hold the stone firm. Bend the prongs down from alternate sides to keep the stone centered. Use finger pressure or nylon-jaw pliers, to avoid scratching the finish on the back of the stone.When prongs are bent down, use the burnisher to flatten them to the stone, and prevent snagging. Use flat-nose pliers to open the loop on the earwire, and slip the setting with stone in place. Bend back.Repe
…
Jan 1st 2021
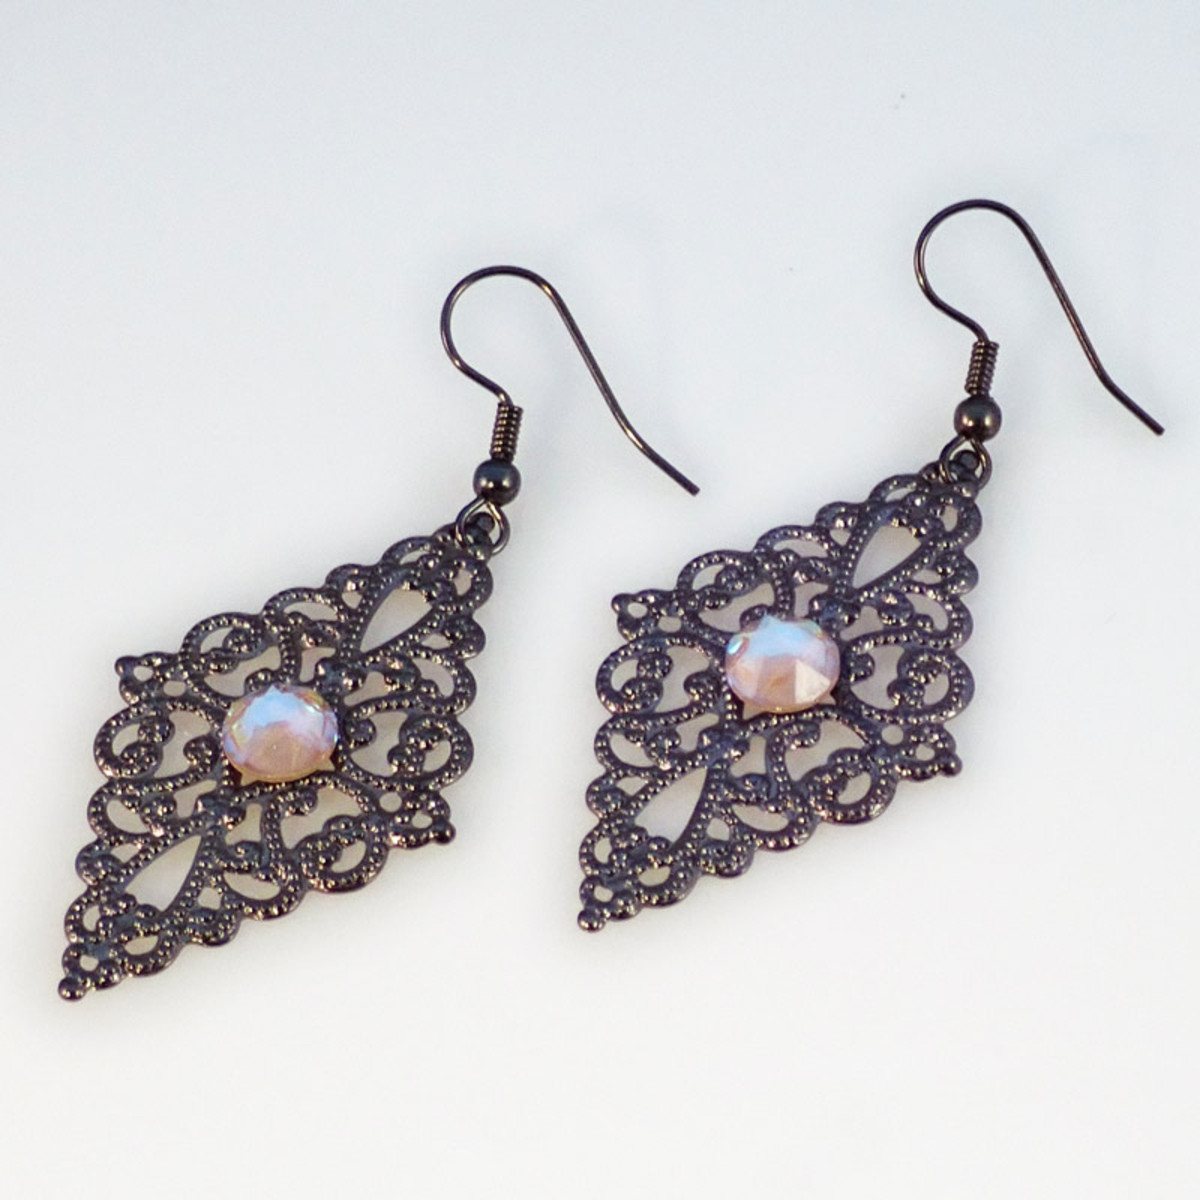
Diamonds and Lace Filigree Earrings Tutorial
Created by: Mollie ValenteDesigner TipsMix the adhesive according to the manufacturer's instructions.Apply masking tape to the back side of the filigrees. This will prevent the adhesive from leaking through the openings.Apply adhesive to the back side of the flat-back crystal and center it on the filigree. Press gently in place. Repeat with the second filigree and crystal.Set the pieces aside in a warm area to cure. Curing overnight is usually best.Once cured, remove the masking tape from the ba
…
Jan 1st 2021
Dark Fairy II Earrings Tutorial
Created by: Rita HutchinsonDesigner TipsSince the inside of the cone is hollow, place one of the faceted beads on the headpin before stringing the cone. Next add the wings, head, and halo. This helps keep the parts all lined up correctly.You can alternately use a small gunmetal bead such as 26-464-9 or 26-819-04-9 inside the cone.Make a simple loop at the top, and add to ear wire. New to jewelry-making? See Jewelry Basics 101 (PDF) for step-by-step instructions on making loops, and tips for open
…
Jan 1st 2021
Natali Earrings Tutorial
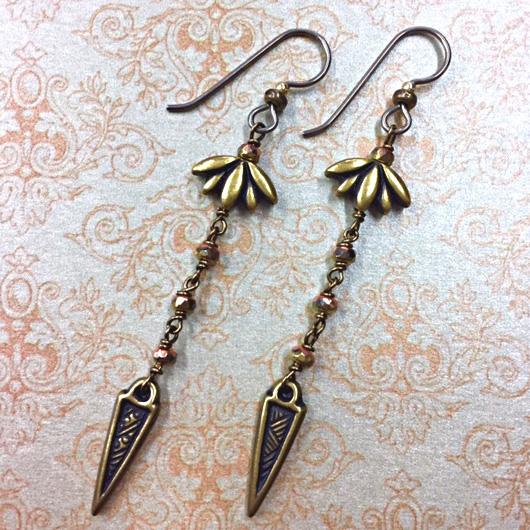
Created by: Summer MelaasNatali is a simple, sweet pair of earrings featuring lotus flower beads from TierraCast, as well as matching antiqued brass spike charms and Niobium ear wires. Add a subtle flash with Czech faceted micro spacer beads, and wrap it all together with Artistic Wire.Designer TipsFor wire wrap tutorial, see Jewelry Basics 101 (PDF)Make a wrapped loop; add a micro spacer bead and a lotus bead. Make a wrapped loop. Attach French hook to the loop above the micro spacer bead.Make
…
Jan 1st 2021
After Glow Earrings Tutorial
These earrings are inspired by Pantone's colors of the year for 2021, and pair nicely with the After Glow bracelet.Created by: Janet BoyingtonDesigner TipsCut a 5-inch piece of 24-gauge wire, and wire-wrap one end directly to the lotus charm. For step-by-step instructions on making wire-wrapped loops, see Jewelry Basics 101 (PDF).Add beads in desired pattern, and make wire-wrapped loop at the top. Trim excess wire, and carefully tuck loose ends in.Open loop on ear wire in a twisting motion, add
…
Jan 1st 2021

