Rings & Things Jewelry Blog
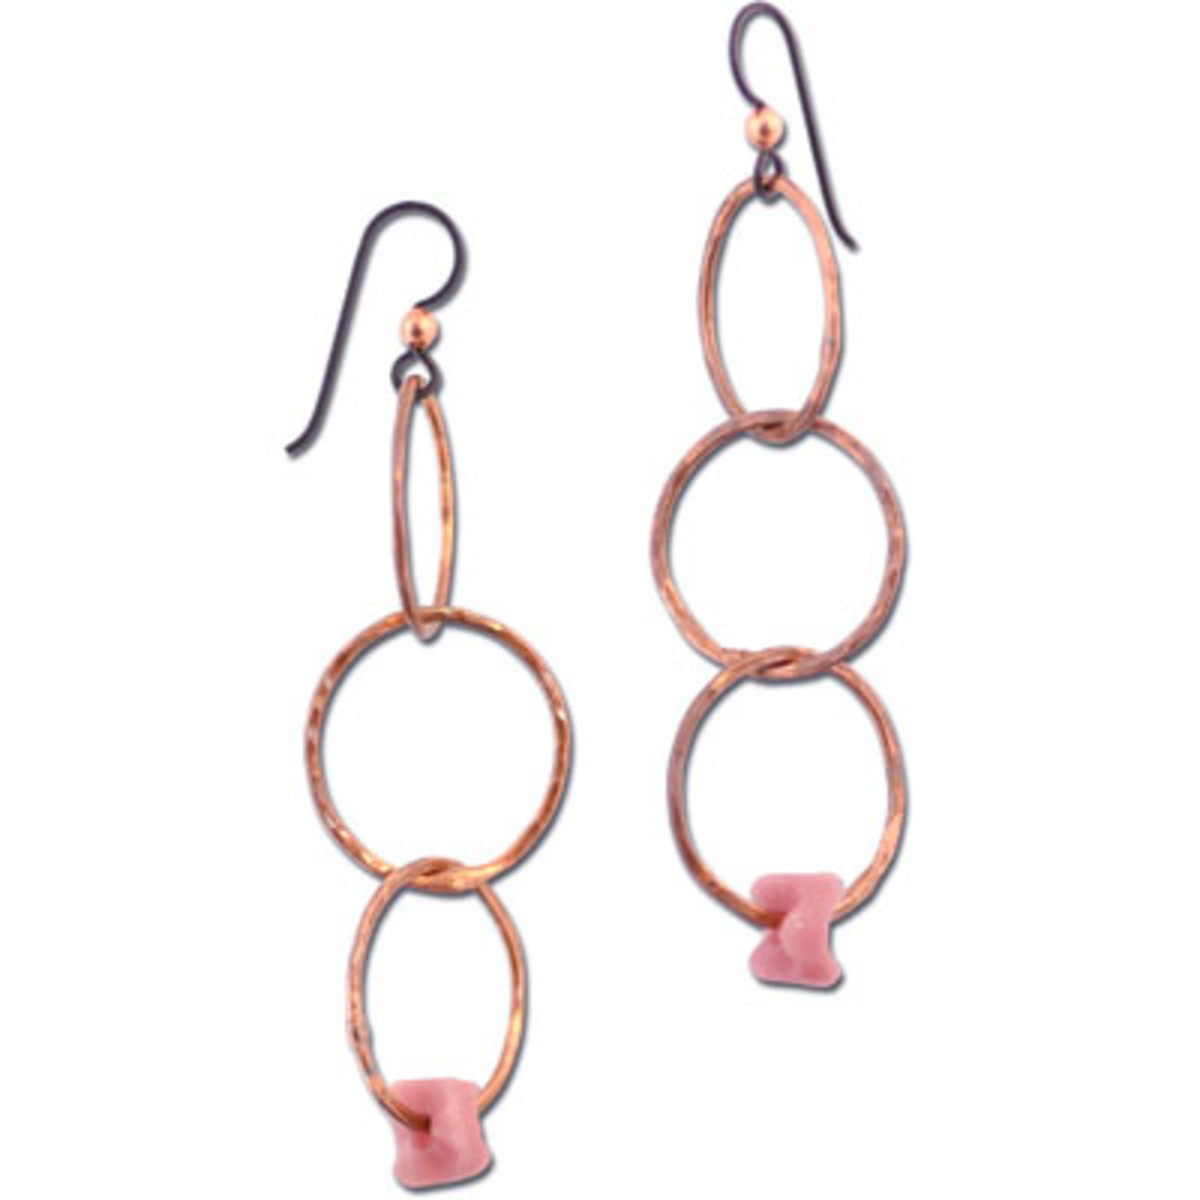
Northern Copperhead Earrings Tutorial
Created by: Polly Nobbs-LaRueDesigner TipsUnspool approximately 20" of copper wire. Pull it smooth with flat nylon-jaw pliers.Trim the end neatly (flush) with flush cutters.Make 6 equal sized coils using ring bending pliers.Using good flush cutters, snip each coil apart so you have 6 identically-sized links. Carefully trim ends so the ends of the links line up flush. If you have any gaps, your solder join will not look good and will not be secure. (See copper soldering blog part 2 for tips.) Ass
…
Mar 31st 2021
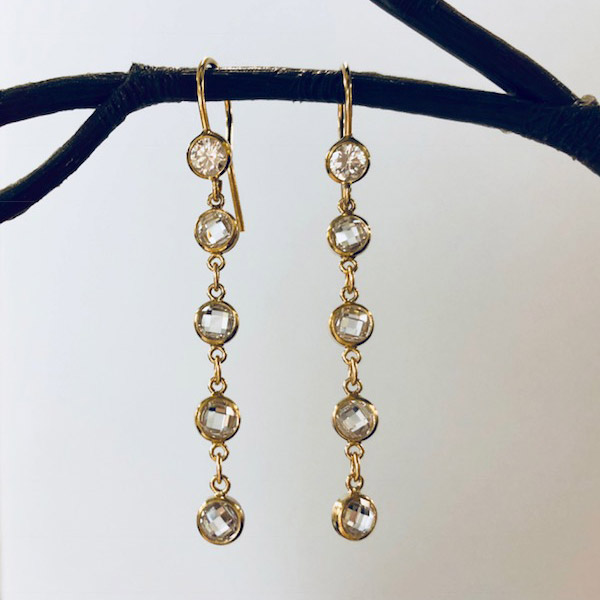
Simple Elegance Earrings Tutorial
Created by: Summer Melaas Designer TipsOpen loop at bottom of ear wire. For best way to open and close loops, see Jump Ring Hint in Jewelry Basics 101 (PDF),Slide one connector onto the ear wire, making sure the right side is showing. There is a front and back; the back is flat and the front is domed.Connect next connector with a jump ring, repeat for one more connector.Connect drop to the bottom connector with a jump ring.Repeat for other earring.Wear and enjoy ... Could it get any simpl
…
Mar 31st 2021
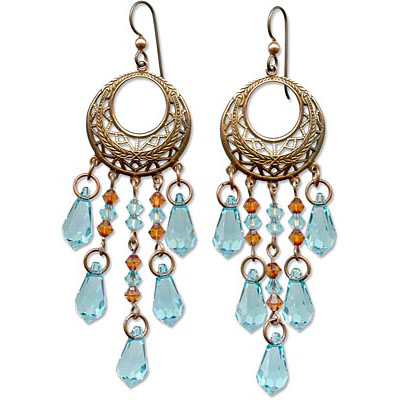
Southwest Chandelier Earrings Tutorial
Created by: Rita Hutchinson. Designer TipsWhen you trim the eye pins on the 3 bead sections, retain two of the pieces to use for the shorter 2 bead section instead of using another whole eye pin.Open the larger jump rings and slide them into the crystal teardrops (15mm no longer available). Carefully close the jump rings so you don't chip the crystals. For detailed instructions on opening and closing jump rings, and on making beaded eye pins, see Basic Jewelry-Making Technique Sheet (PDF).Made b
…
Mar 31st 2021
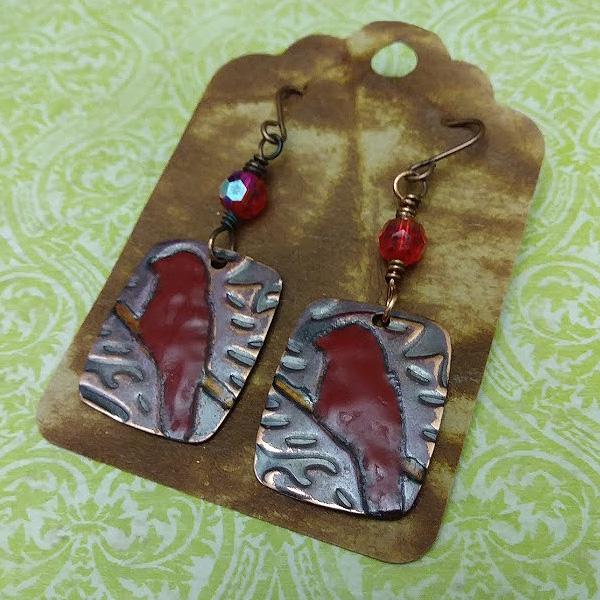
Red Bird Enameled Earrings Tutorial
Created by: Rita HutchinsonDesigner TipsPosition and emboss pattern on blanks with the Big Shot Jewelry Studio and embossing die. (See Big Shot Embossing blog article)Counter-enamel the blank (fire the back) with black enamel. Allow to cool and then clean with penny brite. (See How to Torch-Fire Enamels.) Create a small amount of enamel paste (use distilled water or Klyr-fire) in red and translucent brown, apply to blank as desired. Allow to dry and then fire.Allow to cool and remove excess fire
…
Mar 3rd 2021
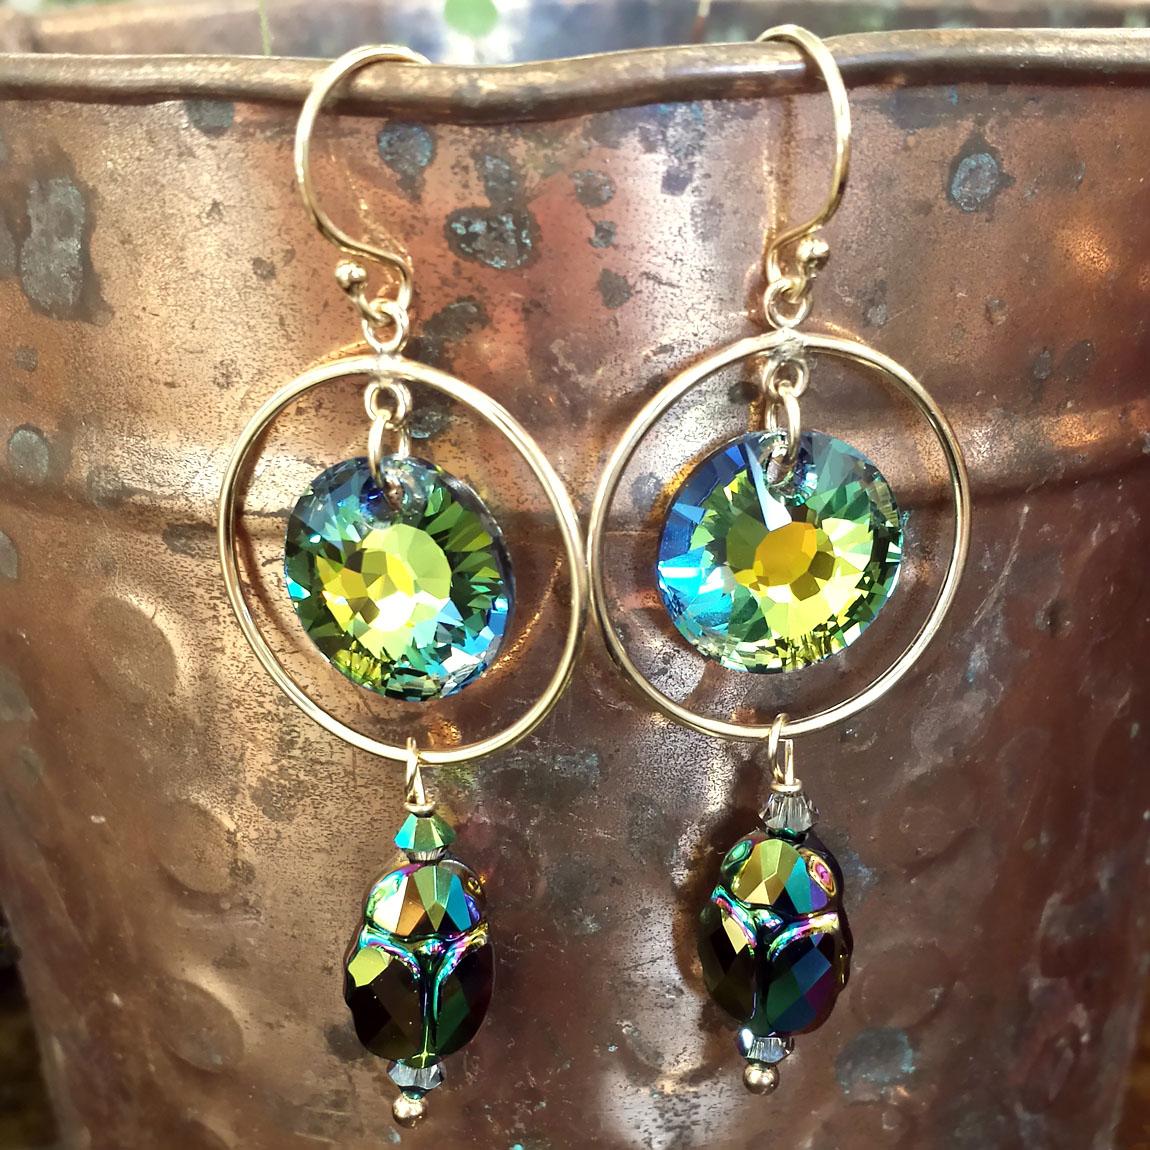
Egyptian Sun Earring Tutorial
Learn how to make earrings that shine like the sun, with beautiful Swarovski crystal scarab beads and crystal Sahara suns!Created by: Summer MelaasDesigner Tips Gold-fill items keep their shine for a lifetime, and there is no plating to crack while you work the head pins.For detailed instructions on making loops, and opening and closing head jump rings, see steps in Jewelry Basics 101 (PDF)Use a jump ring to attach a sun crystal to the inside loop of the 20mm jewelry hoop connector.Add a 3mm cry
…
Mar 1st 2021
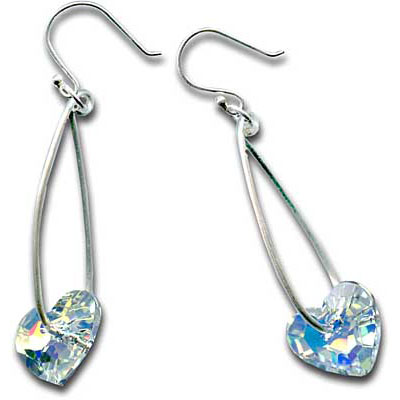
Swinging Hearts Earrings Tutorial
Created by: Amy Scalise. Design by: Swarovski's Create Your Style Design TeamDesigner TipsThese earrings are inspired by the CREATE YOUR STYLE design: "Mother´s Day Earrings: Swinging Hearts".Cut two 3" pieces of 16-gauge wire.Bend two wires at a time to achieve a pair of earrings that match well.Consider using silver-filled jewelry components, as an economical alternative to sterling silver parts.Free Technique Sheets & How-TosBasic Jewelry-Making Technique Sheet (PDF)Suggested Supplies2 ea
…
Feb 14th 2021
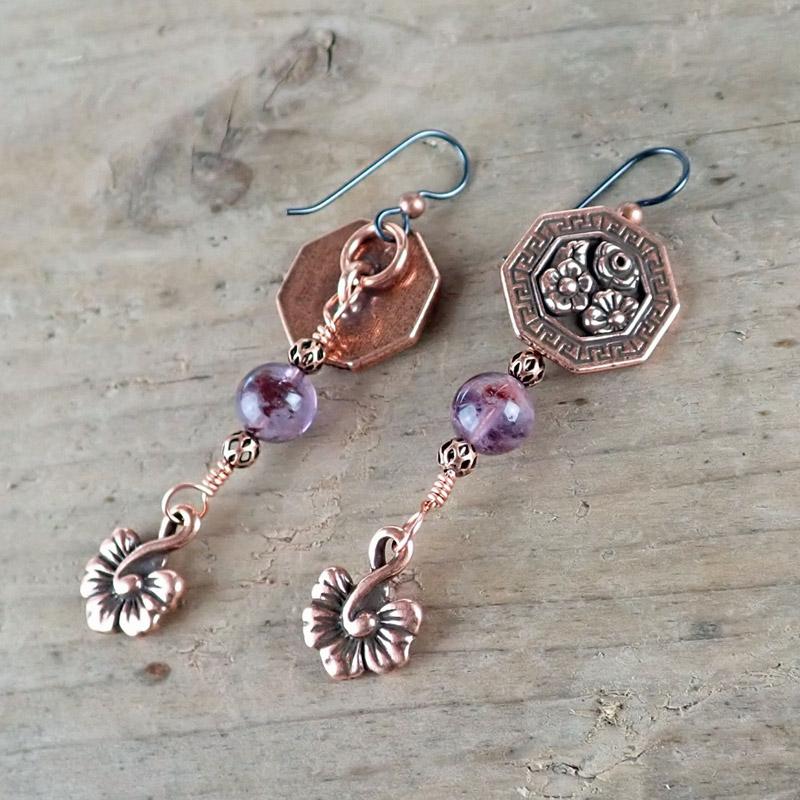
Floral Intuition Earrings Tutorial
Created by: Rita HutchinsonDesigner TipsCreate wire wrapped link with Cacoxenite and Filigree Beads to attach Blossom charm to the shank of the button. New to jewelry-making? See Jewelry Basics 101 (PDF). For the earrings to hang properly, the loop for the charm should be perpendicular to the loop for the shank.Determine "top" and "bottom" of the button and use round jump ring to attach earwire to the top of the button shank.Repeat for other earring.The filigree beads add interest and texture to
…
Feb 1st 2021
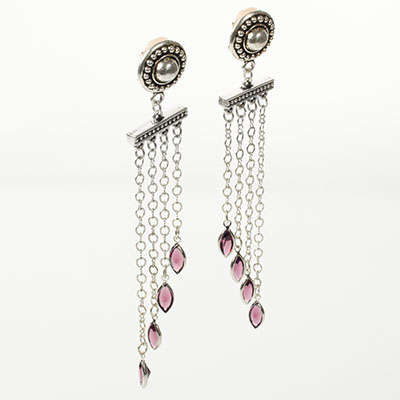
Amethyst Cascade Earring Tutorial
Necklace ends can be used for things other than securing multistrand necklaces. This project uses necklace ends as a design element in cascading chain earrings.Amethyst is February's birthstone, making this a great February birthstone gift. (Other color options below.)Created by: Amy MickelsonDesigner TipsCut chain into the following lengths: 2 pieces each at 2.5", 2.0", 1.75", 1.5". Design Option: Cut the chain pieces all the same length.Use an oval jump ring to attach a crystal navette to the
…
Feb 1st 2021
Lu Star Earrings Tutorial
Created by: The Swarovski Crystal CREATE YOUR STYLE Design TeamDesigner TipsUsing one eye pin, attach one Chinese Lu Charm to the bottom.Slide on one 6mm gold bicone crystal, one 10mm Rouge pearl, and one 6mm gold bicone. Make a simple loop to close. (Use 1-step looper or see Jewelry Basics 101 - PDF).Attach ear wire.Repeat for other earring.Note: Aurum 2x (bright gold) bicone beads are not always available, so we've linked in 2 other 6mm gold bicone bead options below as optional substitut
…
Feb 1st 2021
Aurora Sprinkles Earrings Tutorial
Created by: Rita Hutchinson Designer TipsCut bezel strip to size (one 8-12" piece) and flatten/ work harden with nylon hammer.Add texture to both sides of bezel strip with texture stamping hammer and included "sprinkles" design stamp. (The wire may distort somewhat. Don’t be concerned, this will not be noticeable at the end.)Cut textured bezel strip in half.If you don’t have a tumbler, use Novacan to antique the wire at this step, and polish the high points with steel wool.Wrap 1 textured
…
Feb 1st 2021

