Rings & Things Jewelry Blog
Zen Yin Belt Buckle Tutorial
Created by: Jan RobertsDesigner TipsThe economically-priced chatons used in this design are real leaded-glass crystals!Pre-plan your design so the clay doesn't dry out before you've finished placing your embellishments. This is especially important on a large object like a belt buckle.Follow the manufacturer's instructions to apply the clay to the buckle blank.The Jewel Setter is an excellent tool for picking up and placing the crystals.To save time, you can leave the metal beads on the string,
…
Feb 1st 2021
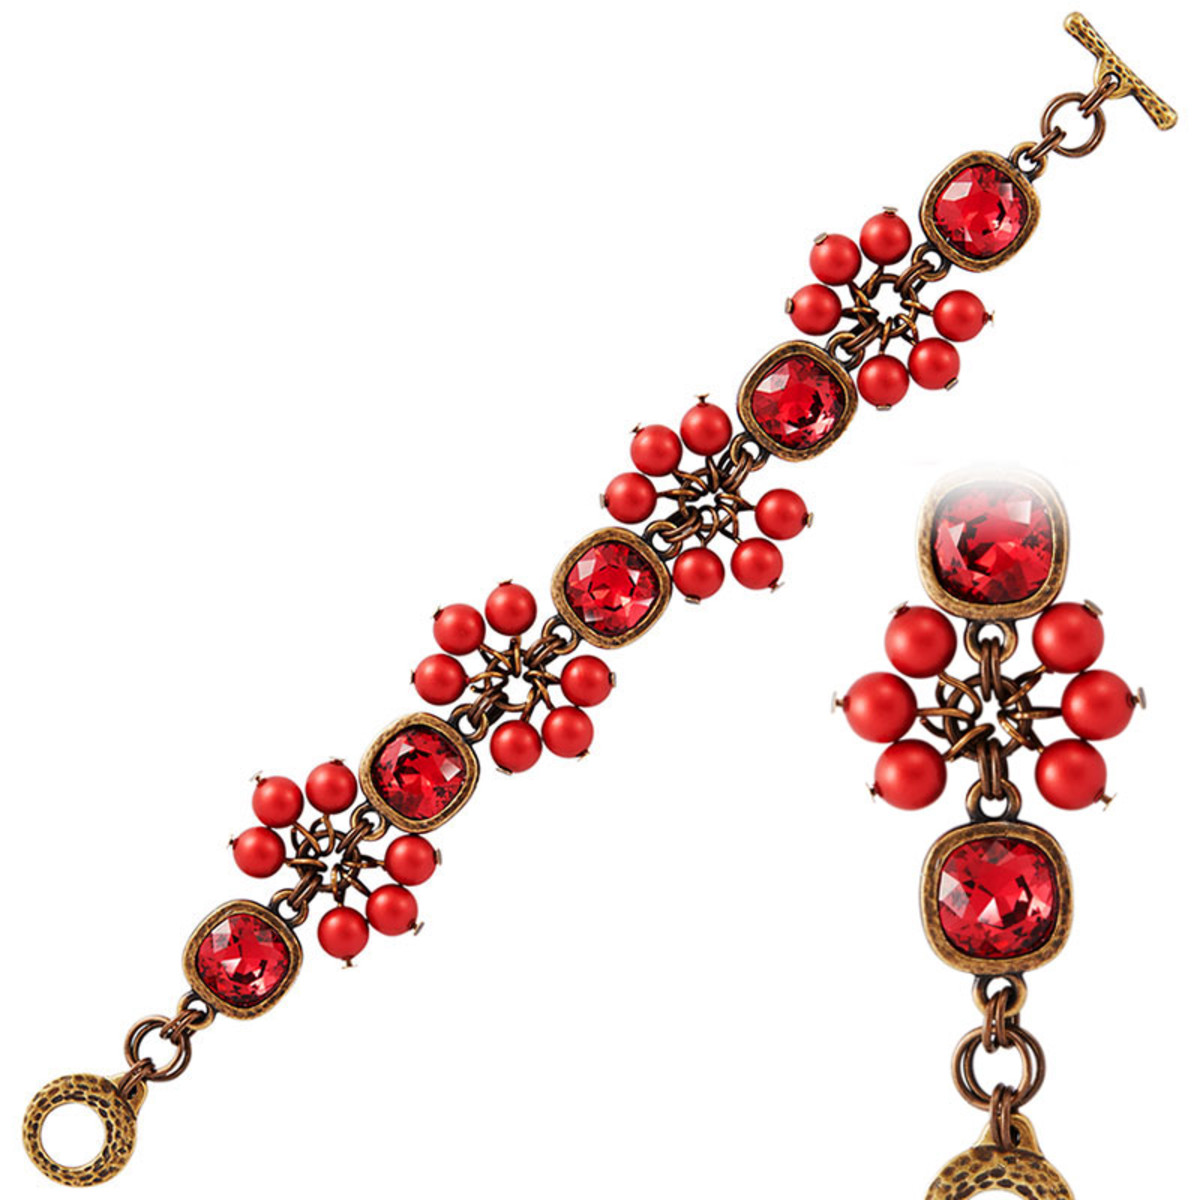
Red Currant Road Bracelet Tutorial
Created by: The Swarovski Crystal CREATE YOUR STYLE Design Team Designer TipsUsing alcohol, clean off all the links and set aside to dry.Using one 10mm 4470 Scarlet fancy stone, glue into matching finding. Repeat four times; set aside to dry for 24 hours.Using one head pin slide on one 6mm Rouge Pearl and make a simple loop. Repeat 23 times and set aside. (Use 1-step looper or see Jewelry Basics 101 - PDF).Using two small jump rings, attach each jump ring separately to the same
…
Feb 1st 2021
Sandra Leather Bracelet Tutorial
Created by: Rita Hutchinson Designer TipsSqueeze out a few drops of patina (or your favorite metallic acrylic paint) on the craft sheet. Apply patina to the edges of the cuff, and then dry-brush patina sparingly to the surface of the bracelet.Let Patina dry.Set crystal stones in settings with nylon jaw pliers. (Smooth down further with burnishing tool or back end of Sharpie as needed).Determine placement of crystal settings, and press awl through the holes in the setting to mark hole loca
…
Feb 1st 2021
Sand Dollar Leather Bracelet Tutorial
This stylishly simple bracelet looks great worn alone, or with other bangles or leather bracelets. Created by: Sondra Barrington Designer TipsCut leather flush after measuring. Use a dab of glue inside one cord end. Insert leather into the cord end and gently pinch the cord end prongs together until secure.Slide guru bead onto leather.Finish other end of leather cord.Use a small jump ring to attach cord end to lobster clasp, and add a large jump ring at the other end of the bracelet
…
Feb 1st 2021
Simple Infinity Adjustable Hemp Bracelet Tutorial
This bracelet is inexpensive to make, and unisex in design.Created by: Michelle HorningDesigner TipsFor step by step macramé knotting instructions, see our
…
Feb 1st 2021
Smokey Macrame Adjustable Bracelet Tutorial
Created by: Michelle HorningDesigner TipsFor step by step macramé knotting instructions, see our blog article: DIY Shamballa-Style Macrame Bracelet Tutorial.Beads can be strung onto the bottom of the anchor cords before anchoring to the board, and slid into place as you workTight knots make it difficult to sew the tails back into them, and you can break your needle. You will most likely need to use pliers to get the needle through. Make sure to sew the tail back through the entire section of kno
…
Feb 1st 2021
Remember to Breathe Bracelet Tutorial
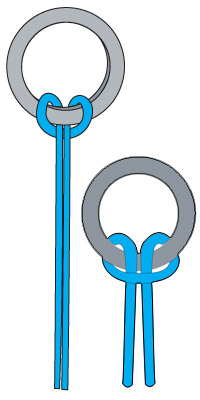
TierraCast's "Breathe" link pairs perfectly with dumortierite, which is frequently used to release fear, bring courage into one's life, and boost creativity and expression. Created by: Michelle Horning Designer Tips For step by step macramé knotting instructions, see our blog article: DIY Shamballa-Style Macrame Bracelet Tutorial.When using a link, cut the anchor cord in half, and attach each half to the link with a lark's head knot.Cut your working cord in half, too. Pick a side, b
…
Feb 1st 2021
Cardio Amour Wire Necklace Tutorial
Created by: Mollie Valente Designer TipsFor illustrated step-by-step instructions for this necklace, please see the full Heartbeat Necklace Tutorial in our blog.Suggested Supplies 1 each #05-741-08-13 Swarovski 5741 Love Beads (Heart Beads), 8mm - Fuchsia1 dozen (use 1 bead) #05-328-04-01 Swarovski 5328 Faceted XILION Bicone Beads, 4mm - Crystal1 package (use 6"") #47-205-20 Red Brass Jewelry Wire, 20ga, Round, 79'1 100-pack (use
…
Jan 25th 2021
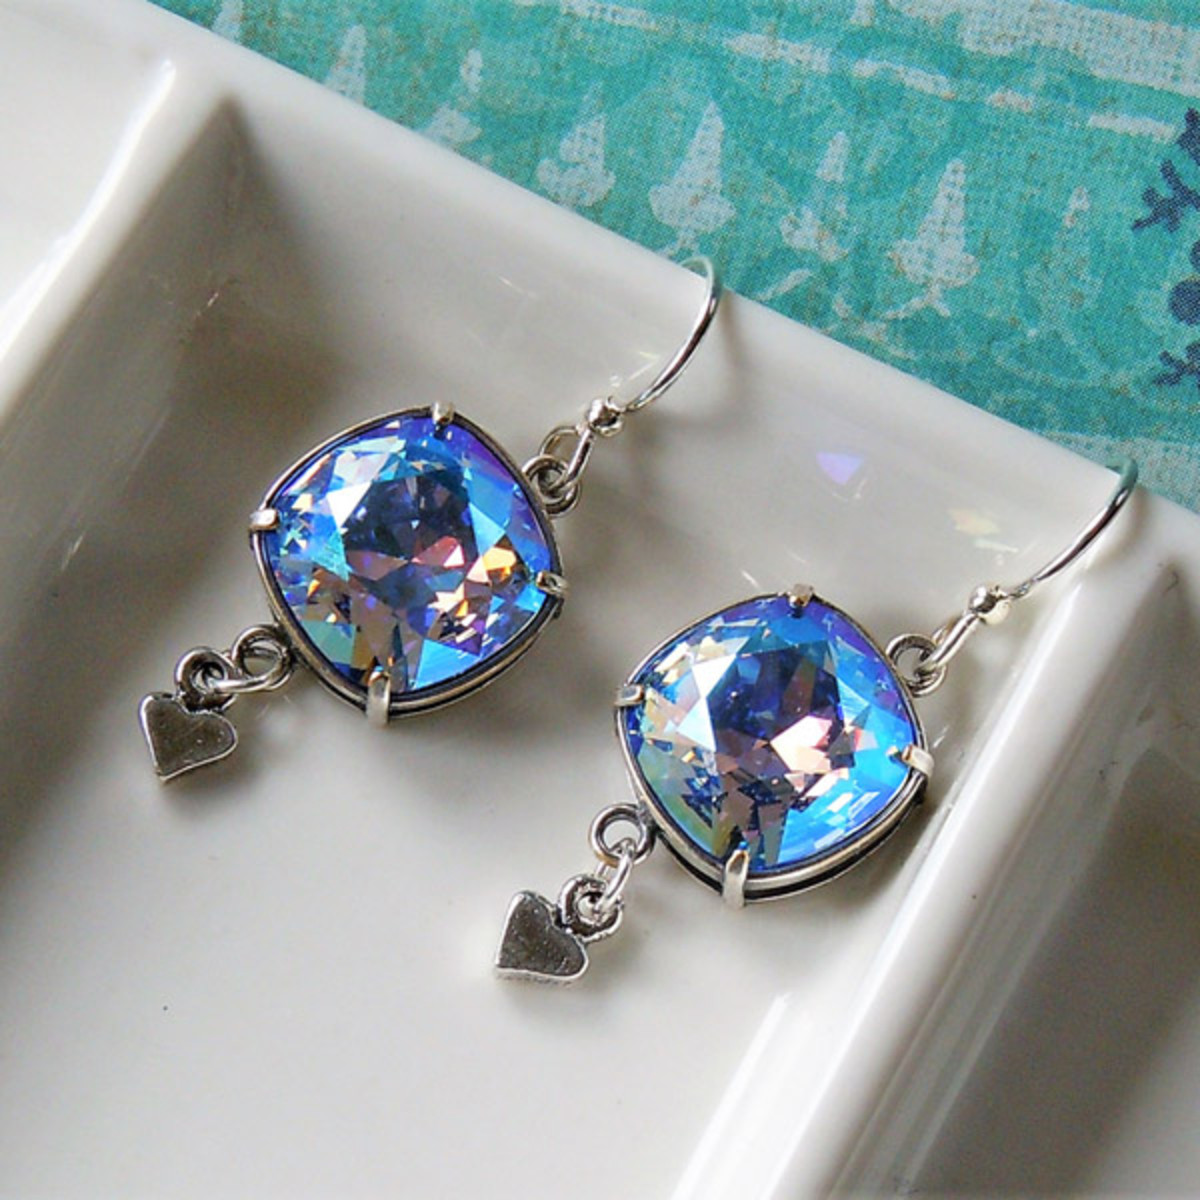
Blue Valentines Earrings Tutorial
Created by: Mollie ValenteDesigner TipsPlace a Swarovski square cushion stone in the bezel setting. Firmly hold the bezel setting (or work on a rubber block). Use the burnisher to carefully push the first bezel prong until it is set against the stone. Rotate the bezel setting so the second prong you set is opposite the first one. Then set the final two prongs in the same manner. Repeat these steps with the second stone and setting.The jump ring serves as a connector between the heart charm and t
…
Jan 25th 2021
On Target Earrings Tutorial
Use any combination of seed bead and heart colors, with Chevron-bead plating colors that you like. There are hundreds of possible combinations.Created by: Rita HutchinsonDesigner TipsAdd chevron and seed beads to headpin and follow instructions with 1-step looper, to make loop. (Optional, as you string them: To prevent the rotating of the chevron beads in the arrow, add a drop of Hypo Cement and allow to dry.) String "Love" bead on eyepin with the existing eyepin loop at the top. Due to the shap
…
Jan 25th 2021


