Rings & Things Jewelry Blog
Pennant Pendant Necklace Tutorial
Created by: Rita HutchinsonDesigner TipsUse texture plates from the tool kit to create designs on each torch-fired metal clay pennant. Patina each with liver of sulfur.Center one of the pennants on the chain.Add additional pennants evenly spaced to the left and right.Determine spacing of wrapped links. Cut chain and wire wrap links directly to the chain.The micro crimping pliers are great for tucking the trimmed wire ends in on the wire wrapped loops.Free Technique Sheets & How-TosMetal Clay
…
Jan 1st 2021
Metallo Elemento Bracelet Tutorial
Created by: Polly Nobbs-LaRue Designer Tips For a small wrist (shown), cut 2 pieces of leather each 5" long. For a standard men's bracelet, cut 2 pieces each 6" long. or measure the wrist size you want, add 4" (for the riveted overlap portions), and divide in half.Adjust rotary punch to 2.5mm.Wrap one end of the leather strap around the centerpiece, overlapping leather by approximately 1". This gives you room to safely set the rivet without hitting the gemstone or crystal centerp
…
Jan 1st 2021
Merry Tag Tutorial
Created by: Polly Nobbs-LaRue Designer TipsClean the door blanks in a tumbler for 2-3 hours, or with fine-grit sandpaper and a polishing cloth.Find a pleasing portion of the Christmas tin, that fits in the window of the door blank. Draw around outside of door blank with a fine-point permanent marker. Cut tin with shears.Stamp a word or phrase on the front, and add texture as desired with texturing hammer(s). Stamp or hammer a design or pattern on the back too.To make your pattern stand out, anti
…
Jan 1st 2021
Memory Journal Necklace Tutorial
Created by: Sondra BarringtonDesigner TipsSee the Create a Hinged Metal Memory Journal blog post for a step-by-step tutorial with images.Texturize or etch* various metal pieces for the journal and patina as desired. This project is a great way to use your stash of etched metal bits. Cut decorative circles with disk cutter, punch holes and dap**.For 3/32" diameter tubing, make hinge tabs one-half inch long. Use plenty of cut lube so that your saw blade doesn’t stick going around the tight corners
…
Jan 1st 2021
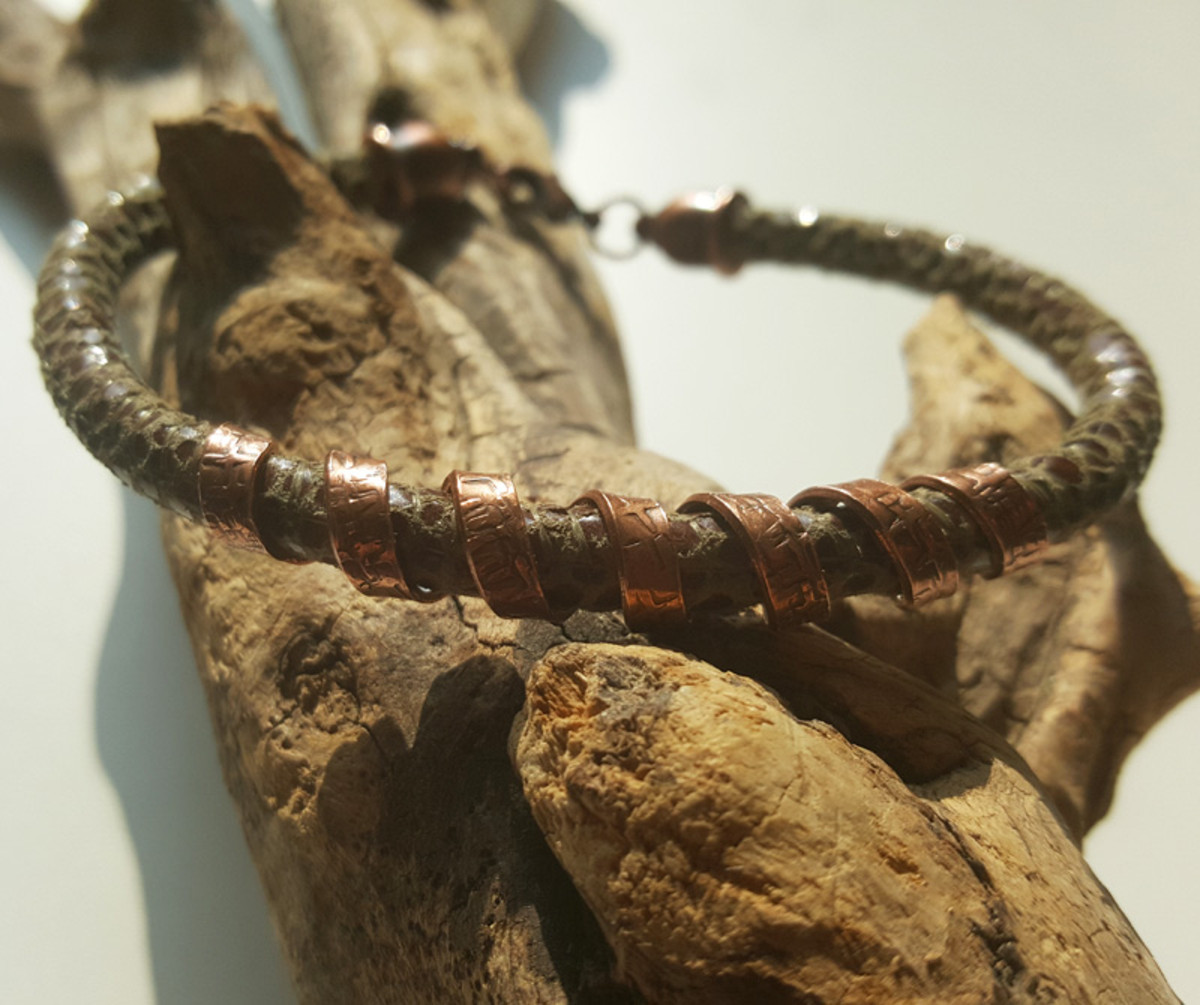
Mehandi Coil Bracelet Tutorial
Created by: Rita HutchinsonDesigner TipsUse shears to cut flat wire. Texture as desired with texturing hammer or metal stamps.Create coil by wrapping at an angle around large barrel of bail making pliers (coil from the tip toward the handle to allow entire length to be done).Gently adjust the shape of the coil to match the bend of a wrist.Antique the coil and rinse, then tumble to a high shine. This also will remove sharp ends on the wire.Apply coil to suede cord and cut cord to desired length.
…
Jan 1st 2021
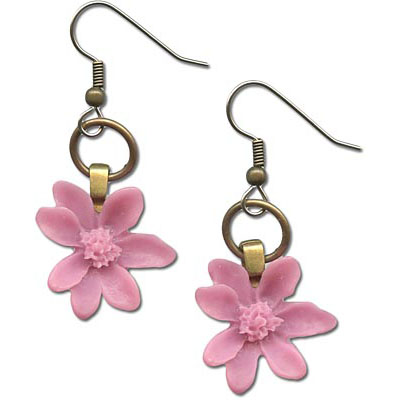
Mauvey Marigolds Earrings Tutorial
Created by: Rings & Things StaffDesigner TipsThe backs of some resin flowers may be slightly concave. For better gluing results, run them over an emery board (or Vintaj® Metal Reliefing Block) to level.Allow items to dry on a non-stick gluing surface.This pair of earrings was created using pre-made resin cabochons but you can also make your own. See below for links to a carefully selected offering of jewelry-quality resins.Free Technique Sheets & How-TosBasic Jewelry-Making Technique She
…
Jan 1st 2021
Funky Bohemian Spike Set Tutorial
Created by: Tiffany WhiteDesigner TipsCut three pieces of 20-gauge copper wire, each 6" long.Make a wrapped loop at one end of each wire.For step-by-step illustrated instructions, see our blog article: DIY Funky Bohemian Turquoise Spike Jewelry SetChoose beads, and add them to each wire.Make a wrapped loop on the other side of each set of beads.Dip the copper parts in Novacan to antique them.Rinse with water and pat dry, then polish off the high points with an ULTRA polishing cloth.For the earri
…
Jan 1st 2021
Fresh Pots Bracelet Tutorial
Created by: Jaci BostonDesigner TipsUse silhouettes of multiple teapots and teacups to make this design. No two are alike.Use rubber cement to glue the paper images to the metal.Saw vertically at all times and use cut lube; this helps ensure a longer life on the saw blade.For the handles, punch a starter hole with the 2-hole punch. This tool does not deform the metal like plier-style punches.File any rough spots. Jaci created the designs for etching, using a combination rubber stamps and hand-dr
…
Jan 1st 2021
Forest of Wine Charms Tutorial
Created by: Swarovski's Create Your Style Design TeamDesigner TipsString onto one head pin: 1 - 4mm cube bead, 1 - 10mm #3700,>3700,>3700,>3700, 1 - 8mm #3700,>3700,>3700,>3700, 1 - 6mm #3700,>3700,>3700,>3700, and 1- 3mm metallic bicone bead.Make a simple loop (or a wire wrapped loop). New to jewelry-making? See step-by-step instructions for making wire loops: Jewelry Basics 101 - PDF.Repeat to create a total of 6 tree charms.To duplicate the pattern shown here, slide
…
Jan 1st 2021
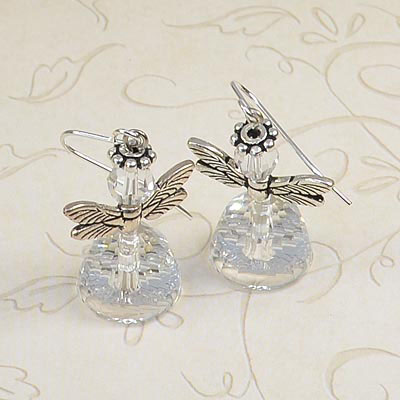
Forest Fairy Angel Earring Tutorial
Created by: Rita HutchinsonDesigner TipsAdd crystals, angel wing beads and spacers to head pins and finish with a simple loop. (See Making Earrings 101 below for instructions to make loops.)Because the large end of the dome bead is concave, it can be tricky to measure and cut the headpin for making your loop. Press your thumb or other finger against the head of the pin, to pull it up to the inside of the dome for best results.Use any ear wire you like with these designs.These angels / fairies ca
…
Jan 1st 2021


