Rings & Things Jewelry Blog
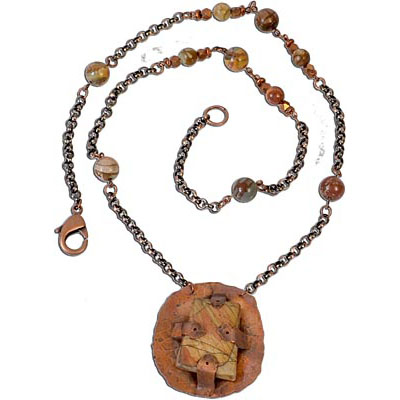
Cave Man Necklace Tutorial
Created by: Jaci BostonDesigner TipsCarefully plan the cutting pattern. The shape of these cuts creates decorative prongs or tabs to hold the gemstone slab bead.For this design draw the shape to be cut with a Sharpie®. For a more intricate pattern, print out an image of the design and glue it to the metal with rubber cement found at any office supply center.For tips for sawing sheet metal with a jeweler’s saw, check out our blog post.Punch holes for adding chain, and to embellish the tabs.Textur
…
Jan 1st 2021
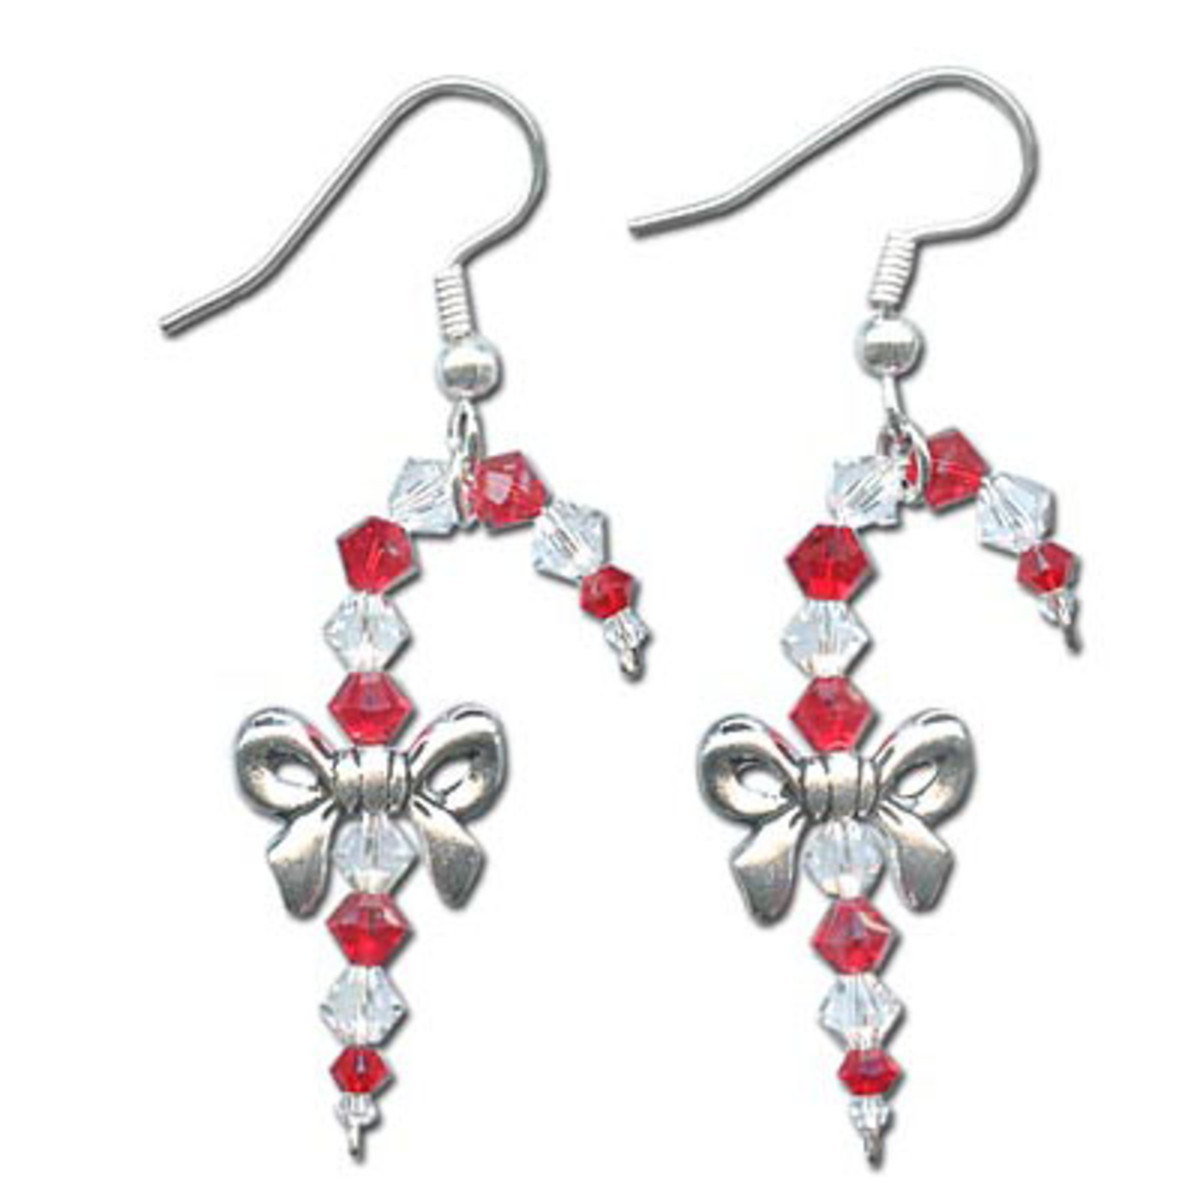
Candy Cane Crystal Earrings Tutorial
Design by: CREATE YOUR STYLE and Rings & Things. Designer Tips Due to the tiny hole size on the 2mm beads, this design will not work on a head pin. Make a tiny head on each end of the wire, by turning the wire back on itself and flattening down.To each 2" piece of wire, add crystals in alternating colors as shown. Add the bow bead after the fifth crystal.For other holiday projects using Swarovski crystals, visit CREATE YOUR STYLE Mini Projects.Free Technique Sheets & How-Tos
…
Jan 1st 2021
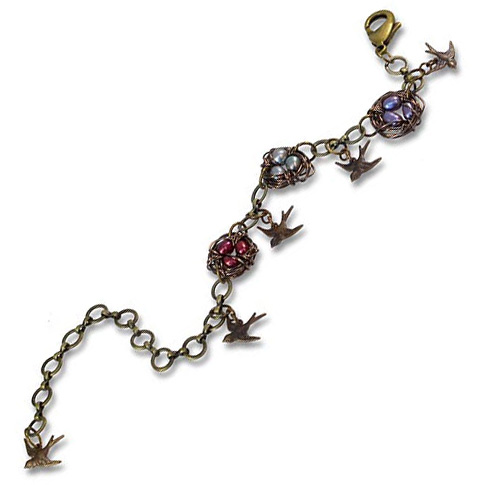
Flying the Nest - Nest Bracelet Tutorial
Created by: Kayla HeflingDesigner TipsCreate the bird nests. For step by step instructions with images, see the How To Make A Wire Bird Nest blog post.Use 22-26 gauge wire depending on the hole size of the beads you choose for the "bird eggs".This style of wire-wrapped birds nest "baskets" work great for bracelets, earrings and pendants, because they don't have a closed-off back. You can see the bird eggs from both sides of the charm.Use jump rings to connect bird charms and nests to chain segme
…
Jan 1st 2021
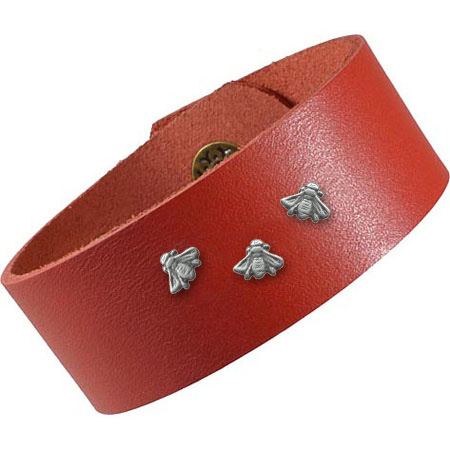
Fly Bee! Bracelet Tutorial
Created by: Polly Nobbs-LaRueDesigner TipsPunch 1/16" holes in the bracelet where you want to place the rivets.Run the first rivet through the leather, place a washer on it, and use a fine-point Sharpie to mark a line on the rivet shaft about 1mm past the washer.Use heavy-duty flush cutters (or a jewelers saw) to cut at this line. Be sure to cut nice and flat (parallel with the rivet head). File flat if necessary.Place the bracelet rivet-head-down on the rubber side of a steel/rubber bench block
…
Jan 1st 2021
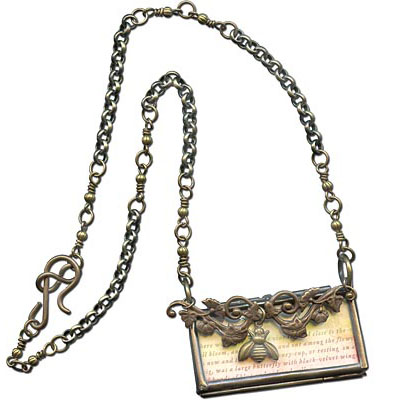
Fleur de Bee Pendant - Necklace Tutorial
Created by: Sondra BarringtonDesigner TipsPatina the bee and darken the frame with Win-Ox™.Apply wax to seal the pieces, after you have achieved desired patina effect.Attach the bee and filigree using jump rings. Adding these pieces is an easy way to customize your piece without soldering.The finished length is 16".Free Technique Sheets & How-TosBasic Jewelry-Making Technique Sheet (PDF)Suggested Supplies1 gross [use 12] #26-463-6 Bead, 3mm Round, Corrugated (Antiqued Brass Plated)1 spool [u
…
Jan 1st 2021
Breathe - Riveted Leather Bracelet Tutorial
Created by: Polly Nobbs-LaRueDesigner TipsSet link on leather bracelet, and use a sharp pencil, or fine-point non-smudging marker, to make a dot at each spot to punch.Rotate leather hole punch to smallest setting, and carefully punch holes.Click into the rivet's details below, and follow the steps for setting the rivets.Optional: Use bracelet-bending pliers to shape the link into a smooth wrist-shaped arc.For more information about riveting, download and print the free technique sheets below.Sug
…
Jan 1st 2021
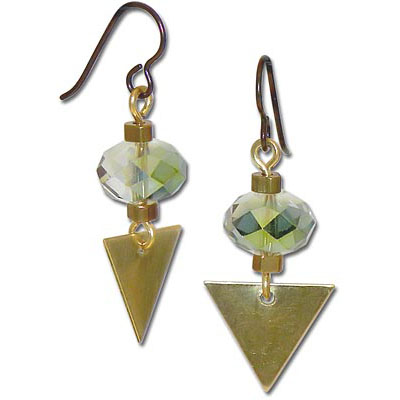
Brass Arrow Earrings Tutorial
Created by: Mollie ValenteDesigner TipsCut the wire in half and form an "eye" loop on one end of each wire.Flatten the loop by striking with a chasing hammer on a steel block.Add the following beads to each handmade eye pin: a brass heishi, a crystal rondelle, and a brass heishi.For each bead link, cut off the excess wire leaving just enough length to form a second eye; form the eye and flatten the loop.Punch a hole centered in the top side of the triangle.Twist open the eye of the eye pin, add
…
Jan 1st 2021
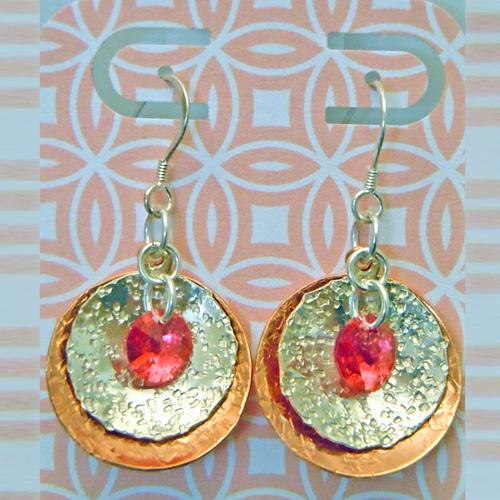
Bowl of Peaches Earrings - Tutorial
Learn to make sweet earrings with a dapped set of disks in sterling and copper. A tumbler REALLY gets these domed disks shiny! They are reflecting so much light back, that the Rose Peach crystals look much more intense and vivid than their normal peachy hue.Created by: Rita HutchinsonDesigner TipsChoose textures of your choice and hammer the sterling blanks with one pattern, and the copper blanks with another pattern.Dome each blank. See our How to Dap and Dome blog post.Tumble blanks to a shiny
…
Jan 1st 2021
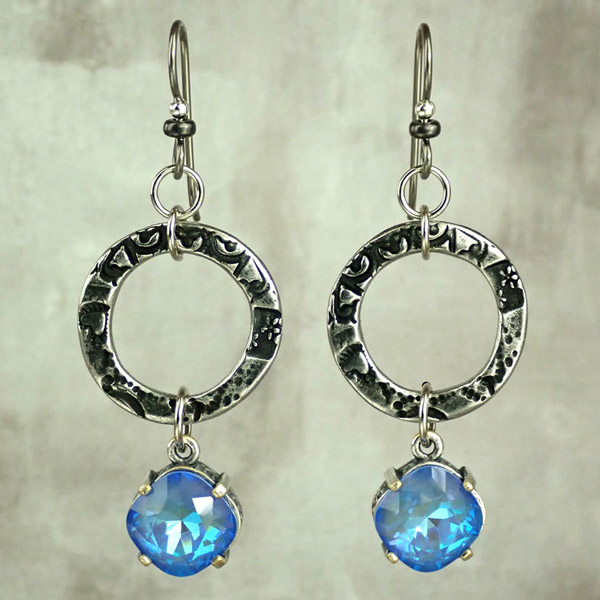
Blue Halo Earrings Tutorial
Created by: Veronica GreenwoodDesigner TipsPlace the crystal in the bezel setting and using the nylon jaw flat pliers gently fold the prongs down over the crystal.Using the 6.5mm jump ring attach the bezel to the large round link. (For best way to open and close loops, see Jump Ring Hint in Jewelry Basics 101).Attach one of the 5mm jump rings to the large round link.Use the second 5mm jump ring to attach the earwire to the first 5mm jump ring.Repeat for the other earring.Suggested Supplies2 each
…
Jan 1st 2021
Let it Snow Stamped Necklace Tutorial
Created by: Cindy MorrisDesigner TipsCut 24-gauge sterling sheet into a 1" to 1.5" square. (Cindy's is about 1.25" or 32mm)Use a file to smooth the edges and round the corners.Create the stamped metal charm (see Techniques for Creating a Stamped Metal Charm - PDF).Punch 1/16" holes.Attach jump rings to the top holes (see Basic Jewelry-Making Technique Sheet - PDF), and slide onto the ball chain necklace.Attach the crystal snowflake to the pendant using a triangle bail.The pictured design uses a
…
Jan 1st 2021

