Rings & Things Jewelry Blog
Candara Bracelet Tutorial
Created by: Polly Nobbs-LaRue Designer Tips Unspool approximately 26" of copper wire. Pull it smooth with flat nylon-jaw pliers.Trim the end neatly (flush) with flush cutters.Use ring-bending pliers to make as many equal sized coils as you can easily fit on the pliers.Using good flush cutters, snip each coil apart so you have identically-sized links. Carefully trim ends so the ends of the links line up flush. If you have any gaps, your solder join will not look good and will not be
…
Dec 2nd 2021
Captured Aventurine Bracelet Tutorial
Created by: Polly Nobbs-LaRueDesigner TipsUnspool approximately 20" of copper wire. Pull it smooth with flat nylon-jaw pliers.Trim the end neatly (flush) with flush cutters.Coil the wire around a 14-20mm round mandrel, looping pliers, or bail-making pliers.Using good flush cutters, snip each coil apart so you have identically-sized links. Trim carefully so the ends of the links line up flush. If you have gaps, your solder join will not look good and will not be secure. (See copper soldering blog
…
Dec 2nd 2021
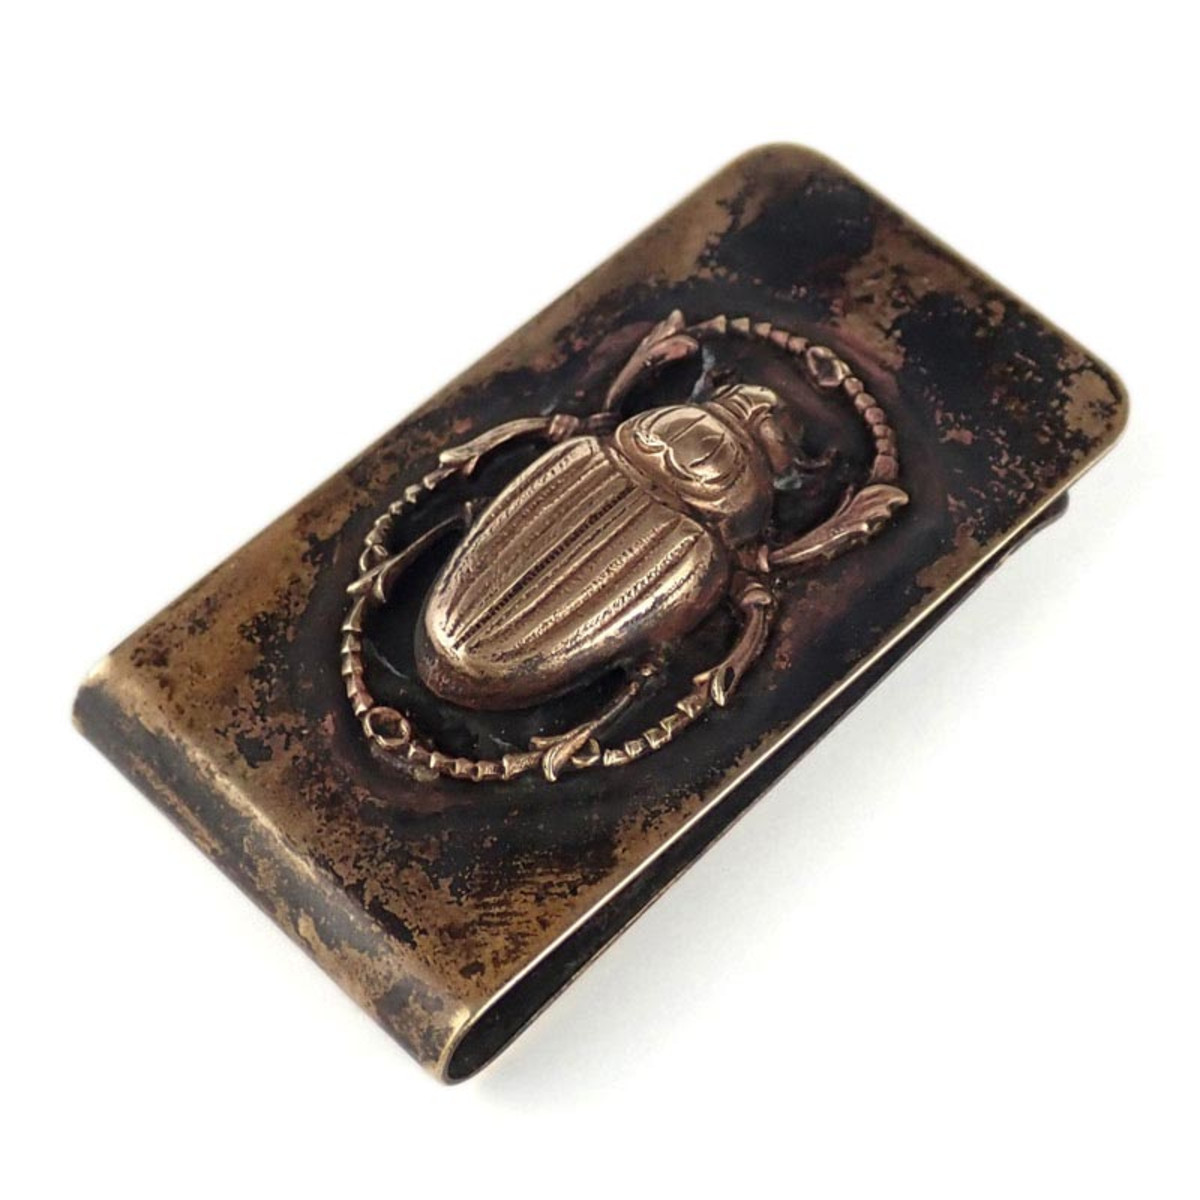
Dirty Money Clip Tutorial
Created by: Rita HutchinsonDesigner TipsClean both parts with alcohol and allow to dry. Apply flux to key points on the back of the scarab, and then apply small dots of solder to these points using soldering iron.Add flux to the flat side of the money clip. Set money clip in pumice, arranging so that the top of the clip is level. Set the scarab on top of the clip in desired location.Using butane torch, concentrate the flame on the ends and edges of the clip. You want the clip to heat up to allow
…
Dec 2nd 2021
Aqua Love Necklace Tutorial
Created by: Cindy MorrisDesigner TipsString necklace and finish ends following directions in Beading Cable How-To Sheet below. Use Wire Guardians for a professional finish at the ends of your beading cable.When using soft solder, you can use either a soldering iron, or a gentle touch with a butane micro torch.It's important to use separate firing surfaces for soft solder and silver or copper solder. Do not use the same firing brick for both.For the pendant, melt soft solder onto the ba
…
Dec 2nd 2021
Poppy Field Pendant Necklace Tutorial
Created by: Mollie ValenteDesigner TipsSelect and clean two matching glass pieces.Select an image and cut it to match the glass shape and size.Carefully wrap the glass with copper-foil tape. To create a tight seal, burnish the foil to the glass (a Sharpie pen handle makes a great burnishing tool).To form hanging loops attach the crimp ends to opposite sides of the pendant's top. Jump rings can also be substituted.Flux the copper foil, apply a thin layer of soft solder over the entire copper surf
…
Dec 1st 2021
Fold-Formed Earrings Tutorial
Created by: Polly Nobbs-LaRueDesigner TipsJewelry Lab: 52 Experiments, Investigations and Explorations in Metal has a great tutorial on fold forming. Plus of course, Charles Lewton-Brain's book Foldforming is the definitive book on this technique (but is a bit intimidating). This earring project is a fun, simple type of fold-forming -- give it a try!To make a matching pair of earrings, cut 2 squares or rectangles of silver sheet, and fold each in half as precisely as possible. Use a nylon hammer
…
Dec 1st 2021
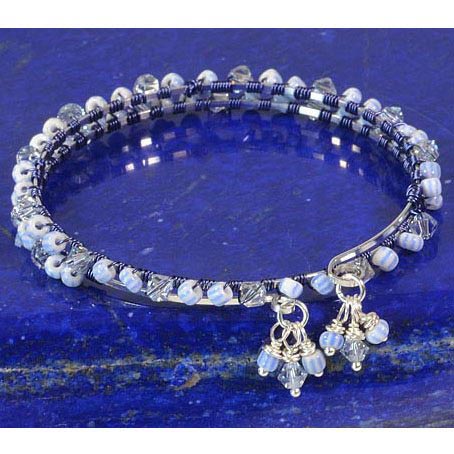
Blue Pin Stripe Lashed Memory Wire Bracelet Tutorial
This project uses durable, springy memory wire as the base, and 26-gauge dark blue Artistic Wire as an accent. Created by: Amy MickelsonDesigner TipsUse heavy-duty cutters to cut memory wire.Lashing the beads onto the memory from the center outward allows you to keep half of the wire needed on the spool, making the wire wrapping easier to manage.You will need a total of 72-84" to wrap the beads onto the wire.Unroll approximately 36-42" wire from spool but do not cut it. Put the cover back on spo
…
Dec 1st 2021
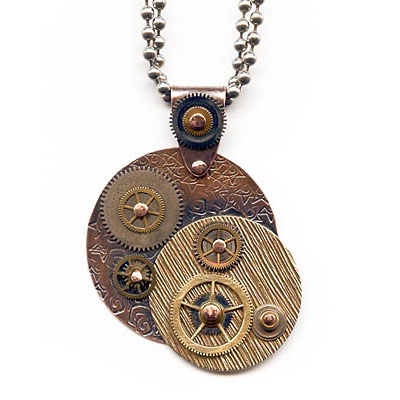
Cognitive Resonance Pendant Tutorial
Created by: Polly Nobbs-LaRue Designer TipsWhen scouring yard sales and 2nd-hand stores for old watches, try to pick up a wide variety of brands and eras, for the best variety of gears. Or look for bulk watch gears on etsy, ebay or amazon. To get the widest variety of gears, consider both small tins and bulk bags from a few sources.Wear safety glasses when cutting, drilling or punching.Lay out pattern; carefully set aside, away from your hammering surface.Decide the size rivets yo
…
Dec 1st 2021
Sonya Snow Skater Necklace Tutorial
Created by: Amy Mickelson Designer TipsCut the metal sheet to the desired size. File the edges smooth and punch holes in corners and on the bottom. Sand the surfaces and clean.Place inked rubber stamp on flat surface, ink side up. Press the metal piece onto stamped image and remove.If you do not like the design placement or it smudges, use StazOn® Cleaner to remove the image.It may take a few stamping attempts to achieve success. Take your time getting a good stamp before you begin etchin
…
Dec 1st 2021
Wavy Gravy Necklace Tutorial
Created by: Polly Nobbs-LaRueDesigner TipsThis simply strung repeating pattern necklace has a finished length of 18"". The wavy disk beads give the design extra dimension and texture.For step-by-step instructions for stringing with beading cable (aka beading wire), see Beading Cable Technique Sheet (PDF).To make sure the toggle clasp is easy to operate, use at least 3 small beads at each end of the necklace.Firmly flatten the crimp tube with non-serrated flat-nose pliers.Suggested Supplies1 pkg
…
Dec 1st 2021


