Rings & Things Jewelry Blog
Simple Leather Leaf Bracelet
Created by: Guest Designer Deb FlorosSuggested Supplies
1 #61-130-05-01 Greek Leather Cord, 1.5mm, 5 Meter - Natural (Each)2 #F1CC-6RNR Nunn Design Antique Copper-Plated Pewter 27mm Metal Tube Bead1 #59-100-13-AC TierraCast Britannia Pewter Round Leaf Button - Antiqued Copper Plated (Each)1 #44-941-04-AC TierraCast Heart-shaped Leaf Charm - Antiqued Copper Plated (Each)1 #37-145-7 Antiqued Copper Plated Jump Ring, Round, 6mm (ounce)Tools
Adhesive1 #65-370 Fiskars Precision Tip Scissors for Bea
…
Oct 27th 2023
Bejeweled Necklace Tutorial
Created by: Cindy Morris Designer TipsClose the hoop. Lash the rhinestone chain onto the hoop using Artistic Wire, wrapping around the hoop twice between each link of chain.Start and end the chain over the opening of the (now closed) hoop. Trim ends when done.The last link on each end will not lie quite flat, so tie the lark’s head knot over this spot to hide them.Make sure your cord lengths are equal before attaching cord ends and clasp.Free Technique Sheets & How-TosBasic Jewelry-Maki
…
Oct 1st 2021
Adjustable Anchor Bracelet Tutorial
Created by: Veronica GreenwoodDesigner TipsCut two 18" pieces of leather.Fold one strand in half. Make a larks-head knot by feeding both ends through the loop on the anchor charm, then back through the leather loop formed on the other end of the cord. Pull tight.Fold the other strand in half over the other end of your anchor and feed both ends through the loop formed. Pull tight.At one side of the bracelet, add a porcelain bead, a small barrel bead, and another porcelain bead to both strands of
…
Sep 30th 2021
Belle Starr Leather and Turquoise Bracelet Tutorial
Created by: Mollie Valente Designer TipsStart with extra leather and thread, cutting off any excess is better than not having enough.For security, add additional stitches on the first and last beads.Stay focused, the figure-eight stitching is easily done, but it is also easy to make a mistake.Use the two-hole punch to make two opposing holes, thus turning the wavy disk into a button.For added adornment, use oval jump rings to attach themed charms.Free Technique Sheets & How-Tos
…
Jun 30th 2021
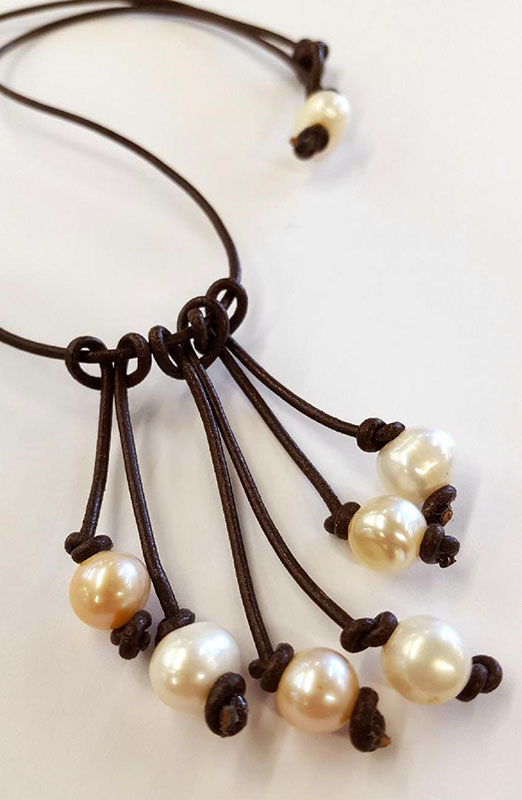
Big Bold Pearls as Tassels - Necklace Tutorial
Created by: Sondra BarringtonDesigner TipsCut approximately 25" of cord, add a pearl, and tie a simple overhand knot at one end. Pull the knot tight, then pull the pearl up against this knot and add another knot at the other side of the pearl. Use an awl or strong needle to pull the knot tight against the pearl.At the other end, make a loop for a button/loop style closure, and secure it with a knot. Before tightening the knot, make sure the loop fits over the knotted pearl bead. (See "Trio of Pe
…
May 31st 2021
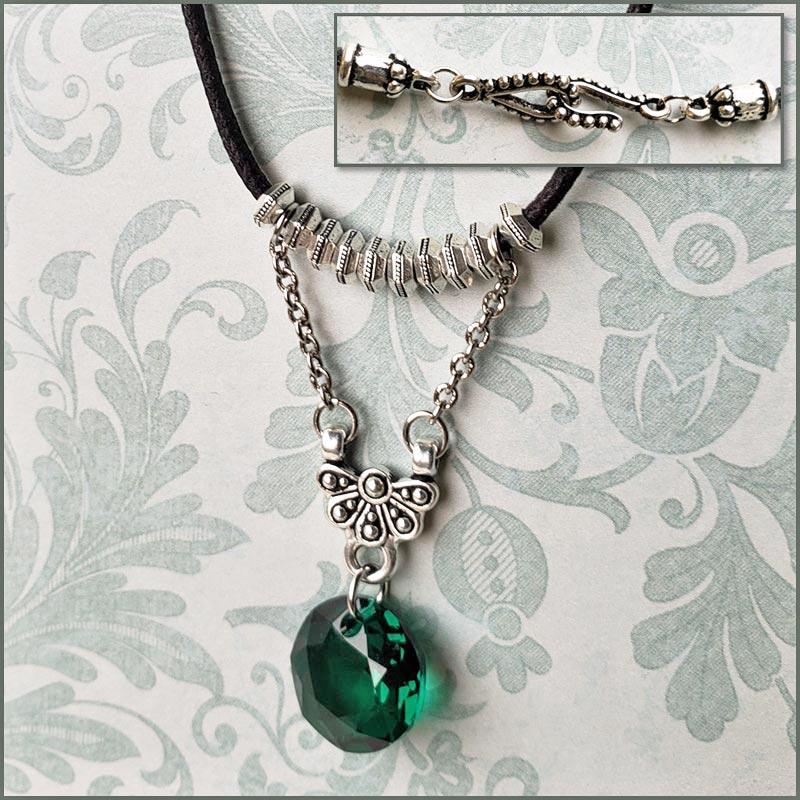
Belle of Ireland Necklace Tutorial
Created by: Liz GrafDesigner TipsMeasure and cut cotton cord to 20".Cut 2 sections off the chain (10 links each section).Pick out six 4mm jump rings and one 6mm jump ring.Place 8 heishi beads on the cotton cord, in the middle.Connect the chain pieces to the connector with jump rings, and connect it to the cording. New to jewelry-making? See Jump Ring Hint in Jewelry Basics 101 (PDF).Place the last 2 Heishi beads on the cord, one on each side.Add the pendant to the connector with a jump ring.Glue
…
Mar 16th 2021
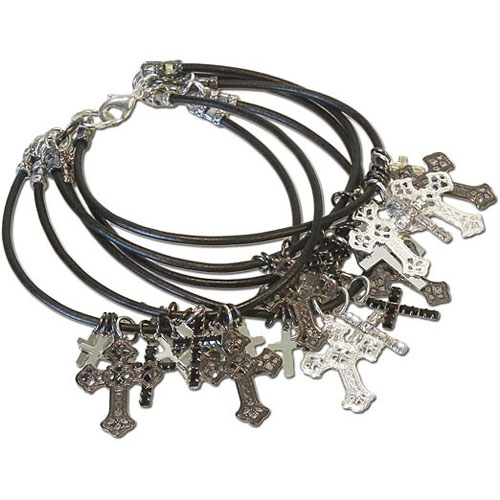
Baptized by Fire Bracelet Tutorial
Created by: Lindsey GreenDesigner TipsMix and match the crosses in any way you would like! No pattern is required.Adjust the length of the leather pieces and number of jump rings to change the size of the bracelet.Free Technique Sheets & How-TosBasic Jewelry-Making Technique Sheet (PDF)Suggested Supplies8 each #41-151-99-25-3 Center-Crimp Tube with Loop, 2.2mm I.D.4 each #41-151-99-25-9 Center-Crimp Tube with Loop, 2.2mm I.D.5 each #46-329-9-24 Crystal, Charm, Cross, 16mm1 dozen [use 3] #44-
…
Feb 5th 2021
Breathe - Riveted Leather Bracelet Tutorial
Created by: Polly Nobbs-LaRueDesigner TipsSet link on leather bracelet, and use a sharp pencil, or fine-point non-smudging marker, to make a dot at each spot to punch.Rotate leather hole punch to smallest setting, and carefully punch holes.Click into the rivet's details below, and follow the steps for setting the rivets.Optional: Use bracelet-bending pliers to shape the link into a smooth wrist-shaped arc.For more information about riveting, download and print the free technique sheets below.Sug
…
Jan 1st 2021
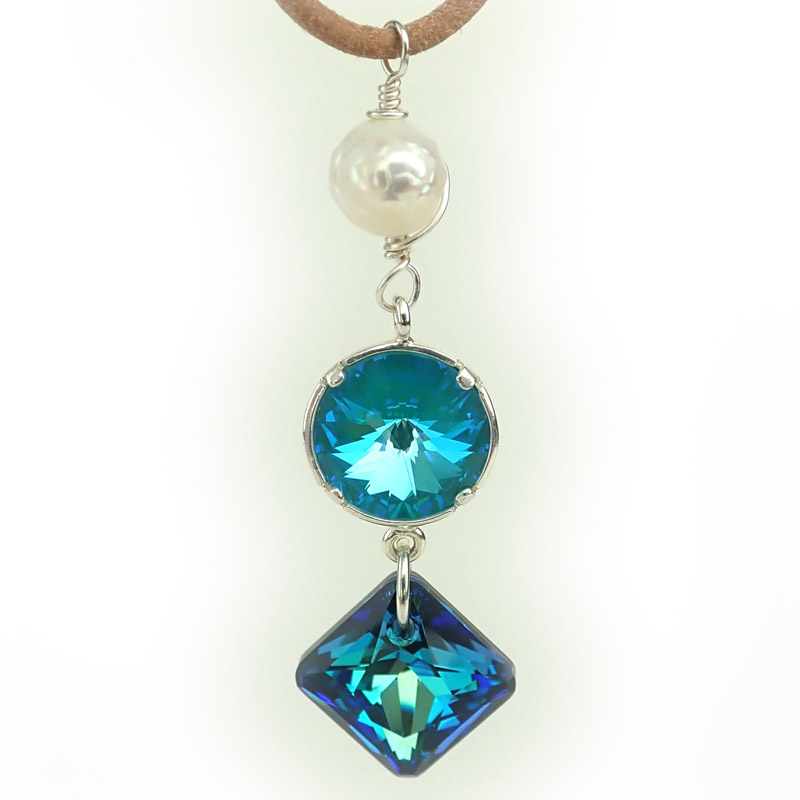
Cerulean Seas Pendant Tutorial
Created by: Veronica GreenwoodDesigner TipsPlace 12mm rivoli in bezel setting and gently bend prongs over crystal using needle nose pliers.With a piece of 24-gauge wire, make a wrapped loop making sure the loop is large enough to slide on to the leather (see Jewelry Basics 101 PDF).Add an 8mm pearl and link the other end to one side of the bezel.Using a 6mm jump ring, attach the princess cut crystal to the bottom loop of the bezel.Cut desired length of leather cord.Attach one center-crimp leathe
…
Jan 1st 2021
2 Easy Celtic Knot Bracelets Tutorial
These bracelets are almost too easy! Created by: Polly Nobbs-LaRueDesigner TipsSet the TierraCast Rivetable or Link in the center of the leather bracelet and use a fine-point permanent marker to mark exactly where you want to punch the hole(s).Punch hole(s) using the smallest setting (2mm) on the rotating leather hole punch. A hole up to 3/32" (2.4mm) is ok.Click into the product details of the rivet below, for a picture of the order to stack parts for riveting.Make sure the rounded r
…
Jan 1st 2021


