Rings & Things Jewelry Blog
Pawrific Enamel Necklace Tutorial
Created by: Summer MelaasDesigner TipsPunch a hole in the top corners of your copper blank. File any sharp bits.Clean your blank very well with warm water and Penny Brite.Cut your 22 ga bare copper wire, and shape the wire pieces into a paw print. Make sure they are flat so that no enamel can run under the wire.Set wire pieces off to the side.Sift your 3 background colors of enamel separately (one color at a time) onto the blank in your desired pattern.Carefully move your blank onto the torching
…
Feb 22nd 2023
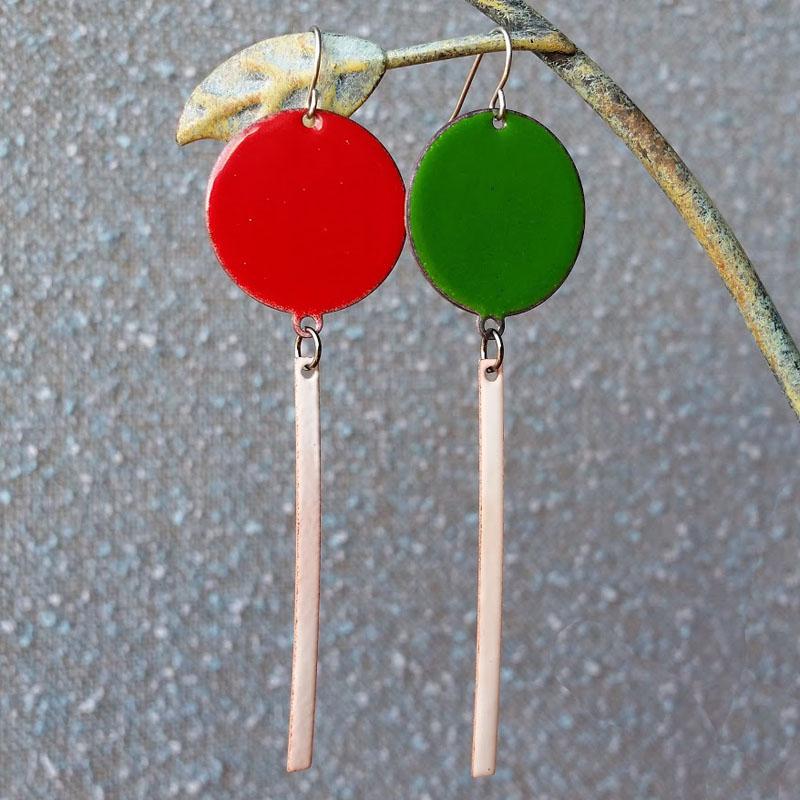
Red Light / Green Light Enamel Earrings
Your Choice: They're balloons, streetlights or lollipops! Created by: Summer Melaas and Polly Nobbs-LaRue Designer TipsPunch a 1/16" hole in each blank, directly opposite the existing loop or hole.Clean the blanks with Penny Brite to remove all oils.Spray each blank lightly with Klyr Fire before sifting enamel evenly onto each blank: red on one, green on another, and foundation white on the strips.Carefully transfer a blank to torching basket (in tripod, over a heat-resistant work s
…
Oct 31st 2021
Jewelry Design Gallery
Welcome to our new Jewelry Design Gallery! To browse jewelry ideas by category or theme, use the turquoise #tags below (#etched jewelry projects, #enamel projects, etc.) for all projects of a particular category. For a Jewelry Design Gallery / Resources search box, click here or press the turquoise "FREE JEWELRY PROJECTS" link near the bottom of any project's page. You might also like our blog (blog.rings-things.com), filled with step-by-step illustrated projects, and a spot for Q
…
Oct 28th 2021
Enameled Yellow Submarine Tutorial
2018 was the 50th Anniversary of the Beatles' Yellow Submarine! Create your own yellow submarine using bright opaque vitreous (glass) enamels on copper sheet. Created by: Polly Nobbs-LaRue Designer TipsMake a few copies of your template. (You'll find many variations on the internet, or draw your own.) Mine is about 2-3/4 x 1-5/8" (70x40mm). Any larger, and it will be too hard to torch fire. Much smaller, and it will be too hard to add the details.Rubber cement a template to 24-gauge
…
Oct 27th 2021
Enameled Orchid Eye Tutorial
Created by: Mollie Valente Make your Enamel DiskUse the dapping set to dome the copper blank. (See Rings & Things blog post: How to Dap and Dome Metal Jewelry.)Fire the concave (back side) of the copper blank with orchid enamel (counter enamel). Or you can use the enamel colors of your choice. (Follow firing and safety instructions from the Thompson Enamel Workbook or Rings & Things blog post: Torch Fired Enamels.)Clean the domed copper blank with Penny Brite.Fire the convex (front
…
Oct 25th 2021
Go Fly A Kite Enameled Earrings Tutorial
Created by: Summer Melaas Designer TipsCarefully mark spots for holes, and use smaller end of EuroTool "helicopter" punch to add holes to corners of copper blanks.Clean the blank with Penny Brite per package instructions. Rinse thoroughly and avoid touching further.Spray klyr fire onto blank, and sift on a base coat of white enamel.Mix a small amount of each enamel color that you plan to use with Klyr Fire or distilled water in separate well or container. Mix each with brush. Desi
…
Sep 30th 2021
Fused Spirals Earrings Tutorial
Created by: Rita Hutchinson Designer TipsLightly dome (dap) the blank in dapping block.How to Dap (Dome)Clean blank with penny brite and dry.Apply counter enamel to back of blank. Fire and allow to cool.Enameling BasicsClean opposite side of blank with penny brite and dry.Apply even coating of enamel to front of blank. Fire and allow to cool.Create a design stencil by punching paper.Sift contrasting enamel color over paper stencil. Carefully remove stencil. (If you bump or screw up design,
…
Aug 31st 2021
Delightfully Dotty Enameled Necklace Tutorial
Created by: Rita HutchinsonDesigner TipsCut copper sheet to size or use a premade copper blank. If you have cut your own blank, punch hole in appropriate location and file edges to remove roughness.Create rings for pendant polka dots. Use solid copper wire and either a coiling tool to create coils of different sizes or the jaws of round nose pliers to create a tapered coil.Cut individual rings from coils with flush cutter. Alternate sides when cutting the coil and trimming the end to maintain fl
…
Aug 31st 2021
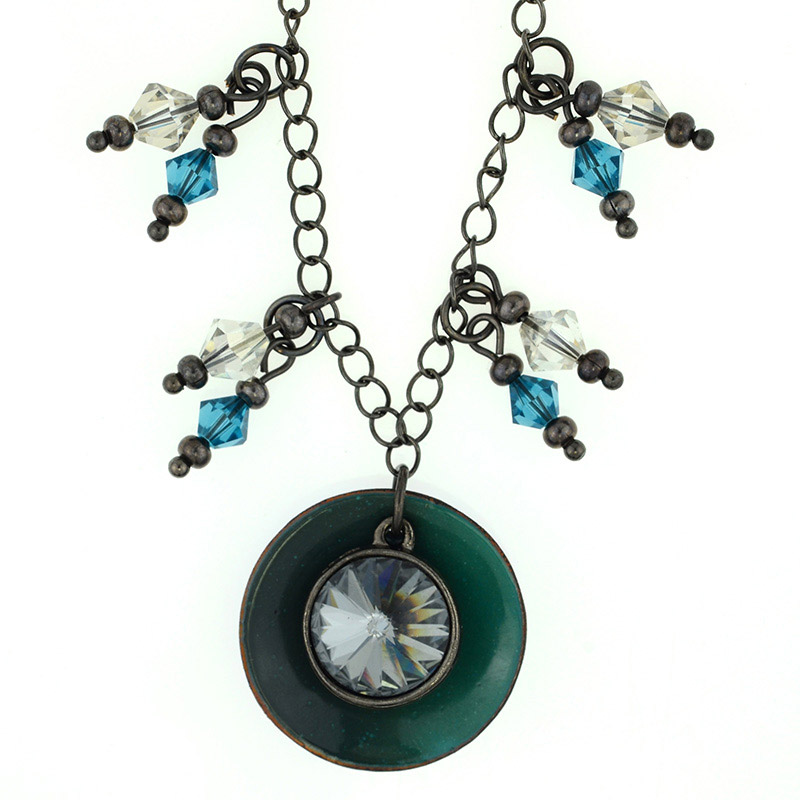
Dark Skies Enameled Pendant Tutorial
Created by: Rita HutchinsonDesigner TipsUse dapping block to shape blank.After dapping, punch 1/16" hole using the smaller (silver) side of a EuroTool "helicopter" punch.Clean blank with penny brite and enamel one side. Allow to cool.Clean other side of blank with penny brite and enamel. Allow to cool.Glue rivoli into setting.Cut chain to desired length.Add enameled pendant and rivoli to center link of chain with jump ring.Create dangles with crystal beads and gunmetal rondelles.Attach dangles t
…
Aug 31st 2021
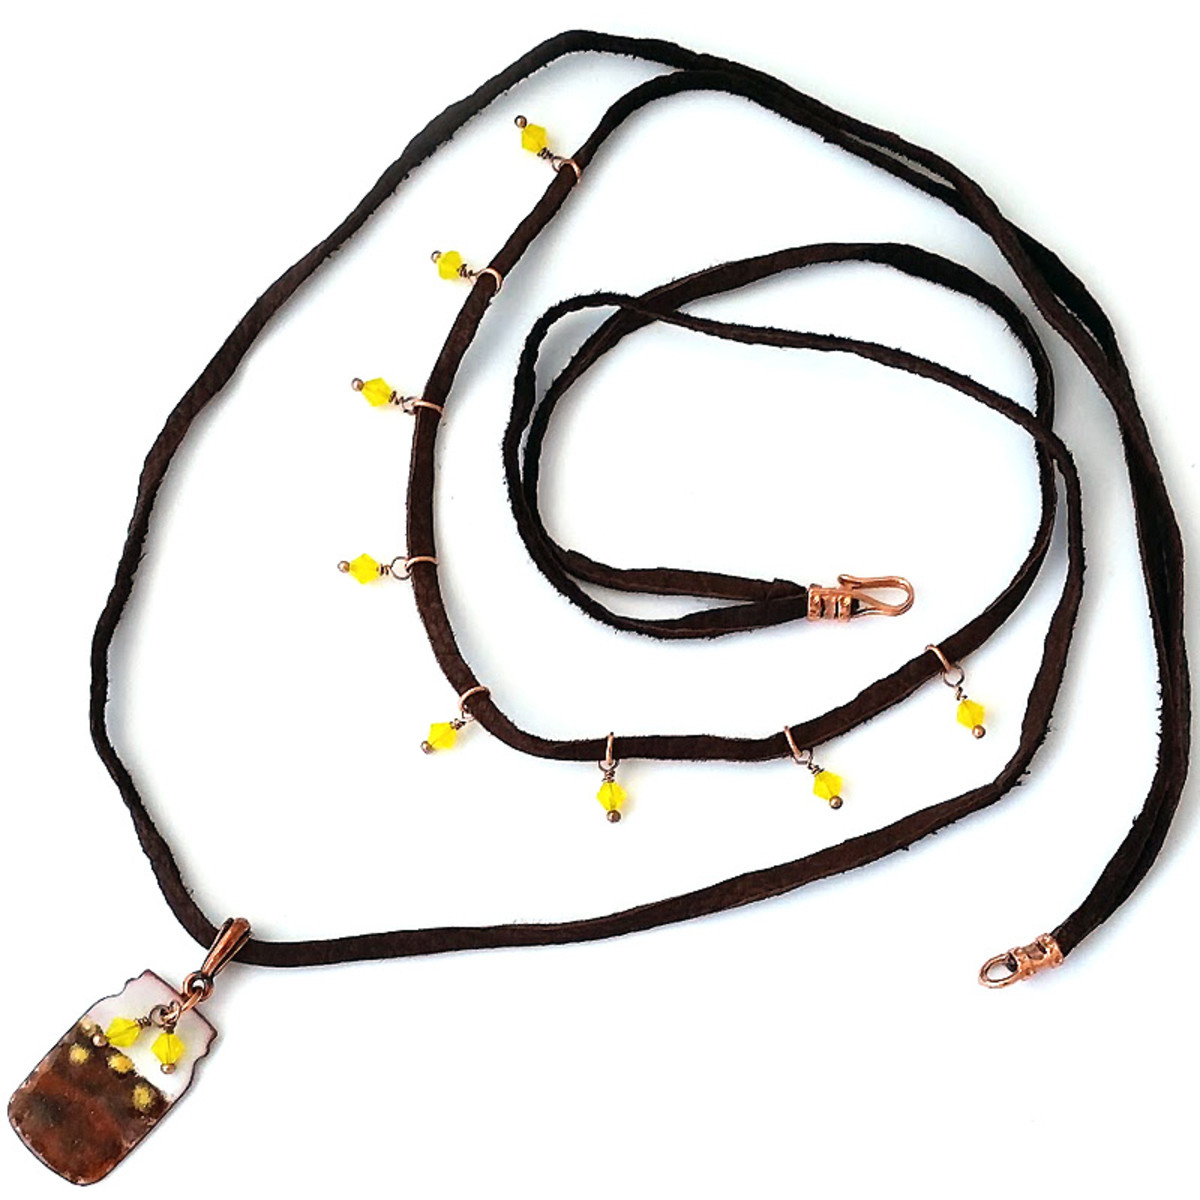
Sun Tea Enameled Pendant Necklace Tutorial
Created by: Rita HutchinsonDesigner TipsClean the blank with Penny Brite per package instructions. Rinse thoroughly and avoid touching further.Spray klyr fire onto blank, and sift on a base coat of white enamel.Mix a small amount of each enamel color that you plan to use with Klyr Fire or distilled water in separate well or container. Mix each with brush. Desired texture is muddy. If you have too much water, you can wick some away with a brush, add extra enamel, or allow to dehydrate a bit by al
…
Jun 30th 2021


