Rings & Things Jewelry Blog
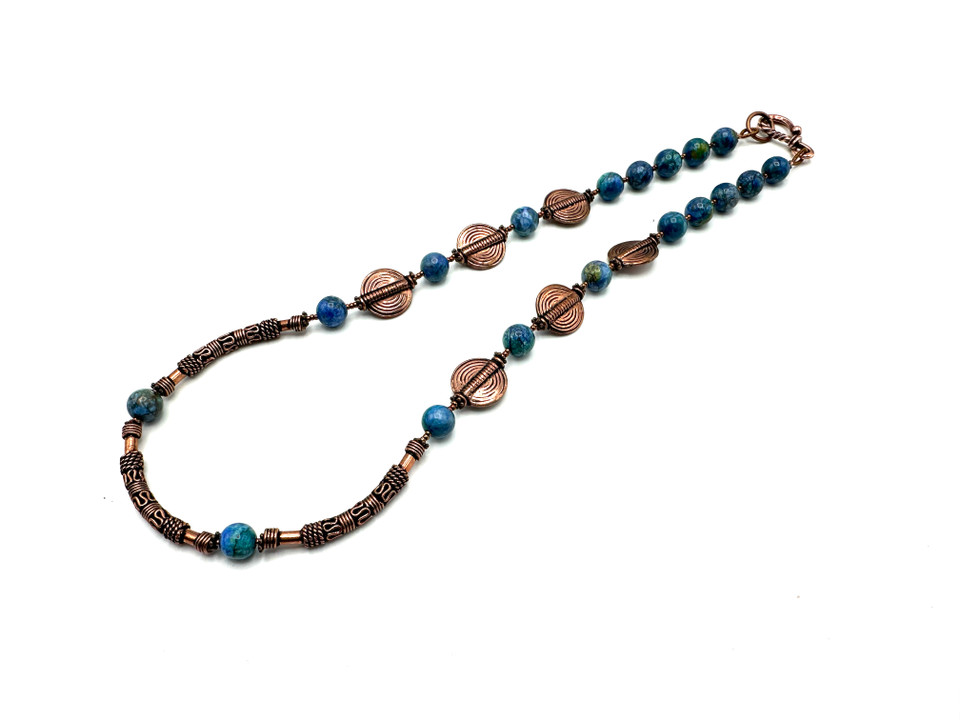
Copper and Blue Beaded Necklace
Designed by: Guest Designer Deb FlorosSuggested Supplies
1 #21-888-950 Crazy Lace Calcite 8mm Round Gemstone Beads, Azurite (strand)1 #26-813-105 Copper Beads, Coin, Concentric Circles (strand)1 #26-813-130 Copper Beads, Curved Tube (strand)1 #20-226-906 Miyuki Seed Bead, size 15/0 - Galvanized Champagne (Tube)1 #26-813-117 Handmade Copper Beads, Coil, Spacer (strand)1 #39-195-10-AC TierraCast Twisted 12x24mm Hook - Antiqued Copper Plated (Each)1 #61-723-19-80 Beadalon Beading Wire, 19 Strand, 0
…
Jan 13th 2025
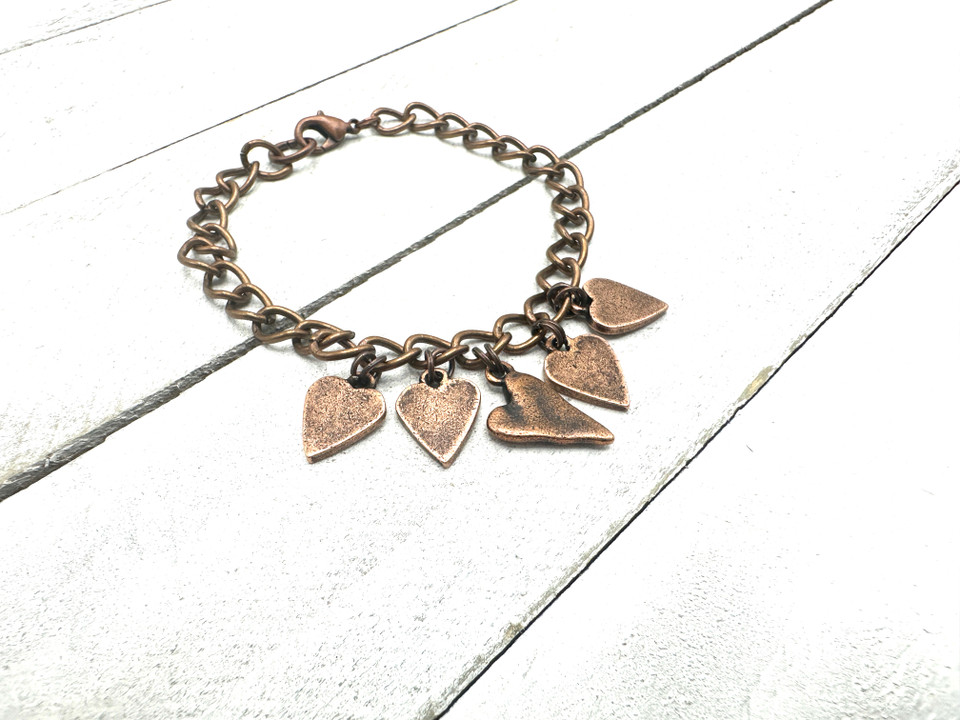
Show Some Love Charm Bracelet
Created by: Guest Designer Deb FlorosSuggested Supplies
1 #40-412-7 Antiqued Copper Plated Curb Chain Bracelet, Large Link (12 Pieces)1 #R16S-T01B Nunn Design Antique Copper-Plated Primitive Drop Heart Charm4 #J2Z6-M813 Nunn Design Antique Copper-Plated Pewter Mini Heart Tag Charm1 #37-133-7 Antiqued Copper Plated Jump Ring, Round, Heavy, 4.5mm (ounce)Tools
Chain Nose PliersFlat Nose PliersDesigner Tips
New to jewelry-making? See Basic Jewelry-Making Technique Sheet (PDF) for basic instr
…
Jul 23rd 2024
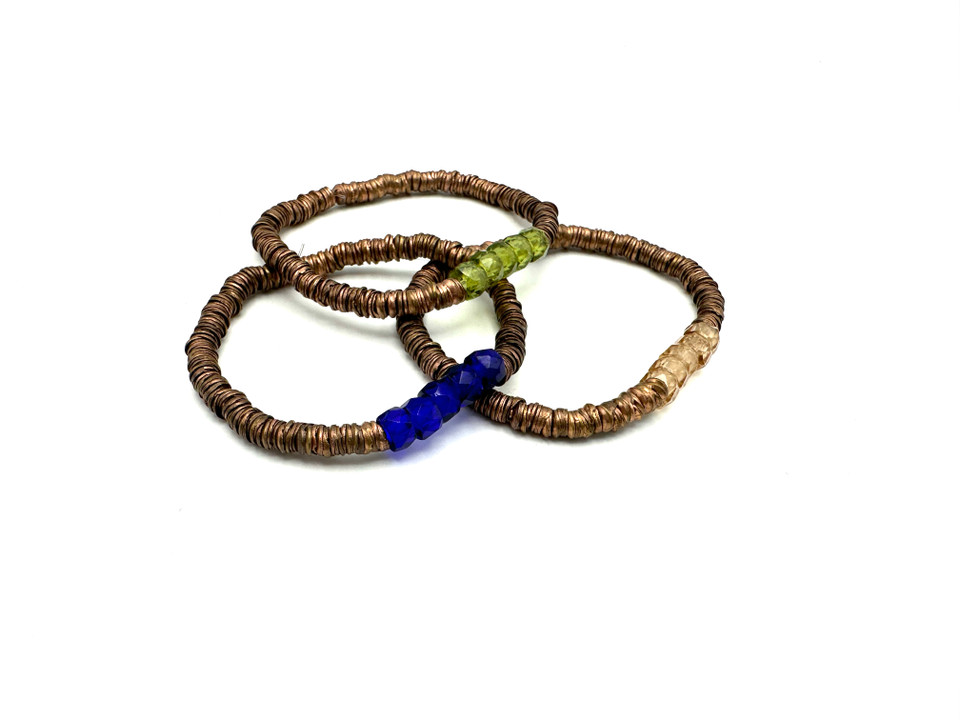
Rustic & Fabulous Stretch Bracelets
Created by: Guest Designer Deb FlorosSuggested Supplies
1 #26-840-36-AC Antique Copper Plated Shallow Bead Cap, 4.2mm - Special Purchase (strand)1 #1-625-5023/s Faceted Crow Beads 6 x 4mm (2.5mm hole) : Olivine (25pcs)1 #1-625-1021/s Faceted Crow Beads 6 x 4mm (2.5mm hole) : Lt Colorado Topaz (25pcs)1 #1-625-3009/s Faceted Crow Beads 6 x 4mm (2.5mm hole) : Cobalt (25pcs)1 #61-035-25 Stretch Magic Cord, 0.5mm, 25m - Clear (Spool)1 #65-050 Beadalon Needle, Big Eye, 4.5" (10 Pieces)Tools
1 #65-37
…
Feb 9th 2024
Candara Bracelet Tutorial
Created by: Polly Nobbs-LaRue Designer Tips Unspool approximately 26" of copper wire. Pull it smooth with flat nylon-jaw pliers.Trim the end neatly (flush) with flush cutters.Use ring-bending pliers to make as many equal sized coils as you can easily fit on the pliers.Using good flush cutters, snip each coil apart so you have identically-sized links. Carefully trim ends so the ends of the links line up flush. If you have any gaps, your solder join will not look good and will not be
…
Dec 2nd 2021
Metal Etching 101
Etching is a method of using chemicals to cut a design or pattern into a metal surface. Etching your own designs into metal is easier than it may sound, and it can be a fun and rewarding way to make your own jewelry! Learn the basics of how to choose your metals, choose your etchants, create or transfer your images with resists, and complete the etching process. Discover how to make a float boat for suspending your designs in etchant — plus find basic etching safety precautions, design consider
…
Oct 26th 2021
Avocado Dorado Cuff Bracelet Tutorial
Created by: Polly Nobbs-LaRueDesigner TipsSolder Brass Ninja Star* to Copper Disk:If the copper or brass shapes are bent, straighten them with a steel block and nylon or rawhide mallet. (Solder doesn't fill gaps.)File/sand/polish to any rough edges or deep scratches.Snip 5-10 tiny (1-2mm long) pieces of solder into a small bowl.Use a small paintbrush to coat the back of the brass "ninja star", and the front of the copper disk with flux. (You may need to mix the flux to a more paste-like consiste
…
Sep 22nd 2021
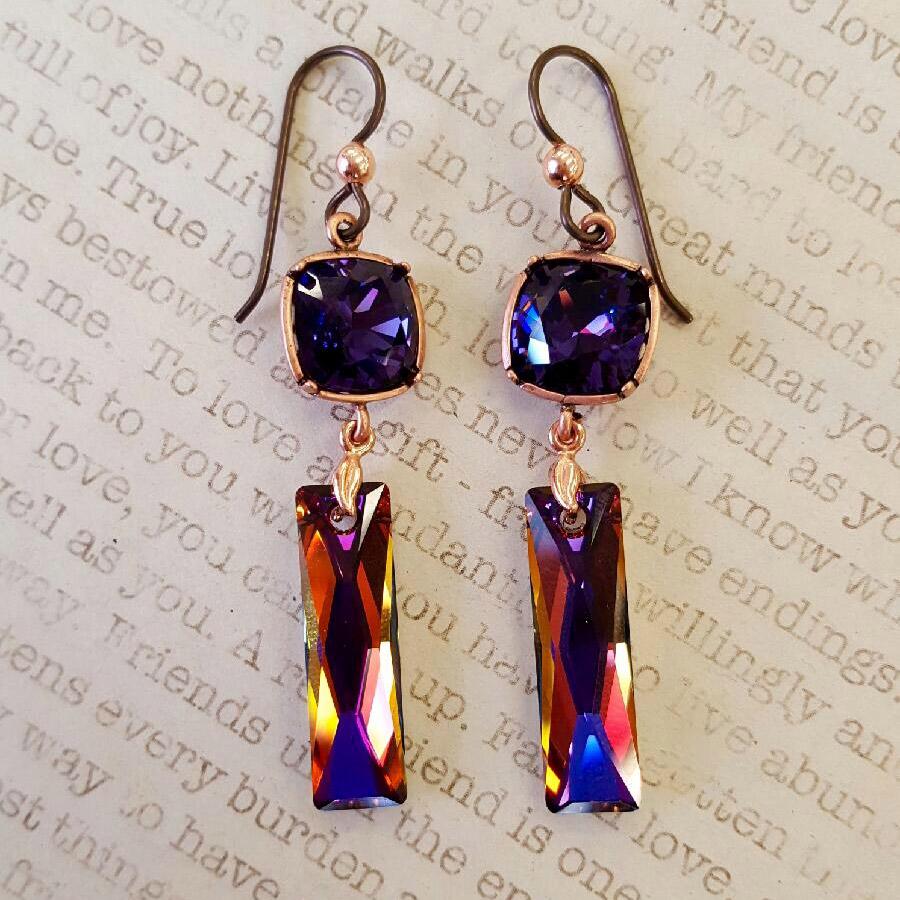
Carnival Queen Earrings Tutorial
Created by: Summer MelaasDesigner TipsPlace 10mm cushion square stone into setting, and use nylon-jaw or chain-nose pliers to gently flatten the prongs onto the stone. See tips in our blog, for best way to keep your stone safe and centered.Carefully add bail to top of pendant (gently open the prongs with needle-nose pliers if needed). Use nylon-jaw or chain-nose pliers to securely close the bail.One loop on the setting is openable. Twist the loop open far enough to add the bail, then twist to se
…
Jan 3rd 2021
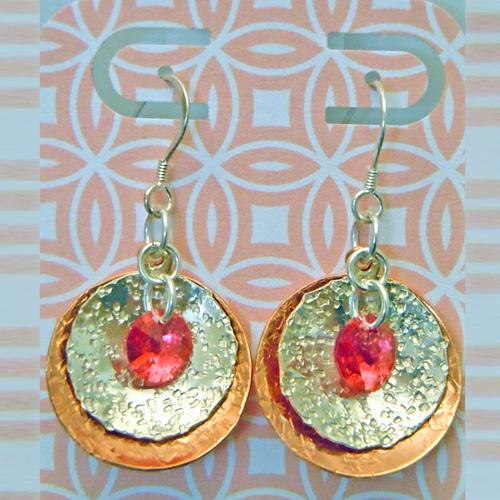
Bowl of Peaches Earrings - Tutorial
Learn to make sweet earrings with a dapped set of disks in sterling and copper. A tumbler REALLY gets these domed disks shiny! They are reflecting so much light back, that the Rose Peach crystals look much more intense and vivid than their normal peachy hue.Created by: Rita HutchinsonDesigner TipsChoose textures of your choice and hammer the sterling blanks with one pattern, and the copper blanks with another pattern.Dome each blank. See our How to Dap and Dome blog post.Tumble blanks to a shiny
…
Jan 1st 2021
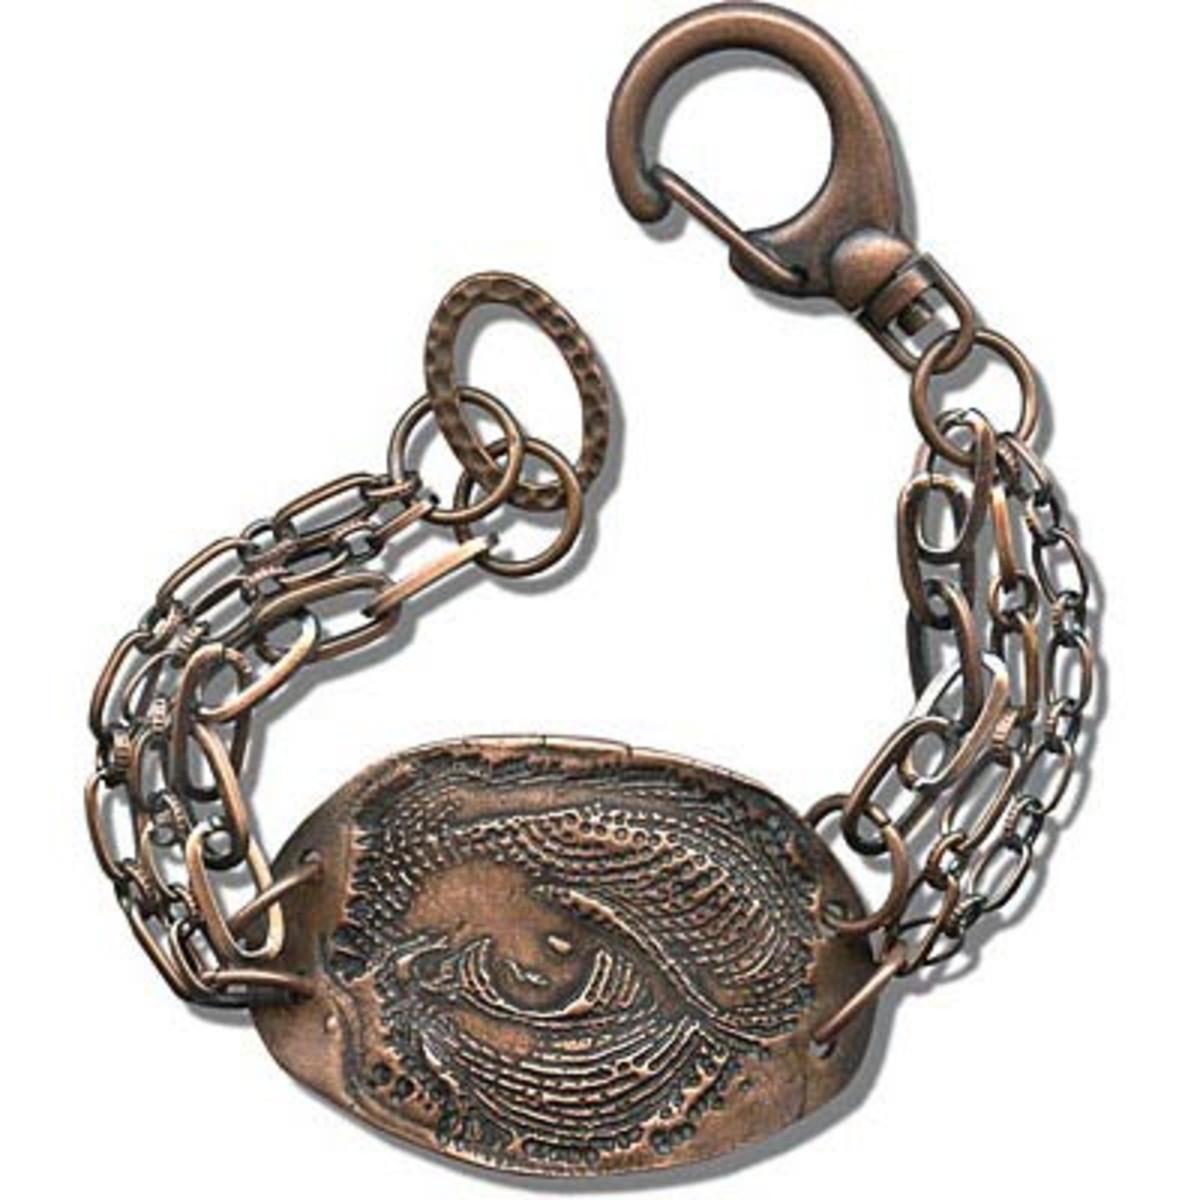
All Seeing COPPRclay® Bracelet Tutorial
Created by: Joe HentgesDesigner TipsCreate the COPPRclay centerpiece according to the manufacturer's instructions. Like most other metal clays, COPPRclay must be fired in a kiln. COPPRclay shrinks approximately 20% from package to finished product.To create the curve, let the COPPRclay piece dry over a round object before firing.Clean COPPRClay with water then 0000 steel wool.UseWin-Ox™ (#86-343>86-343) to patina and then polish with Wetordry Polishing paper 1200 grit (#69-257-1200>69-257-
…
Jan 1st 2021
99 Luftballons Tutorial
ok, so maybe it's just 2 Red Balloons, not 99...Created by: Summer Melaas and Polly Nobbs-LaRue Designer TipsPunch a 1/16" hole in each blank, directly opposite the existing loop or hole.Clean the blanks with Penny Brite to remove all oils.Spray each blank lightly with Klyr Fire before sifting enamel evenly onto each blank: red on the balloons, and foundation white on the strips.Carefully transfer a blank to torching basket (in tripod, over a heat-resistant work surface), and torch fire.
…
Jan 1st 2021

