Rings & Things Jewelry Blog
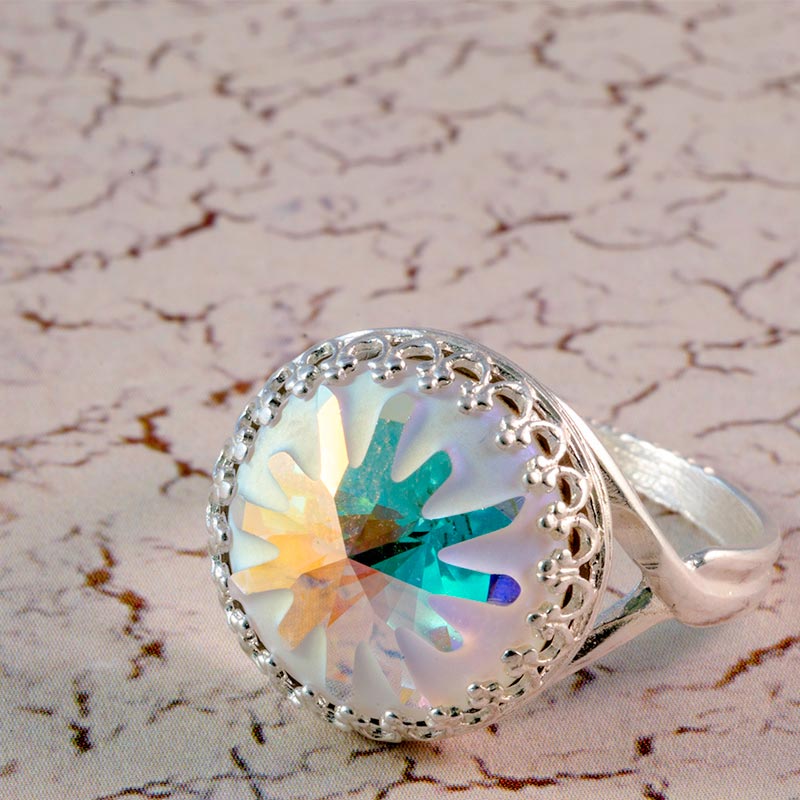
Fit for a Queen Ring Tutorial
This simple project features crystal rivoli stones and 1-time adjustable ring blanks with a bezel setting. Created by: Amy Mickelson Steps to Make These RingsWhile most colors of Swarovski crystal rivolis are gone, these settings work with most other major brands of 12mm and 14mm rivoli stones, including Preciosa and Matubo. To use one of the remaining colors of Swarovski rivolies, browse our full selection of 12mm & 14mm crystal rivoli stones.Place the correct size of rivoli stone
…
Oct 31st 2021
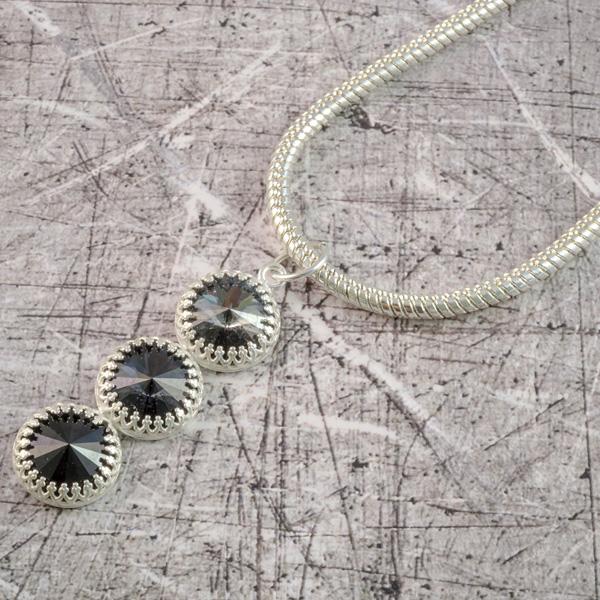
Fade To Black Crystal Pendant Tutorial
Created by: Rita HutchinsonDesigner Tips Arrange stones from lightest to darkest.Set first rivoli in top setting, pressing the bezel into place to hold the stone firm. Bending the bezel where the second setting attaches is a little tricky. Be patient.Set the next stone, and press the bezel to hold firm.Set the final rivoli, and press the bezel to hold in place. With the burnishing tool, go over the bezel on all 3 stones, to flatten down, and prevent snagging.Attach jump ring and hang from c
…
Oct 31st 2021
Tamed Urchin Ring Tutorial
Created by: Rita HutchinsonDesigner TipsCenter the stone in the ring setting and gently squeeze in prongs (with your hands or pliers) working from opposite sides to keep the stone centered. Once the prongs are bent in, use the burnishing tool to smooth them into place. 14mm Sea Urchin Stones fit in most 14mm Rivoli Settings. Choose your favorite combinations. The ring is adjustable (1x). Do not adjust the ring size until the ring is sold. See Rings & Things Rivoli Ring blog for more hints.Su
…
Aug 31st 2021
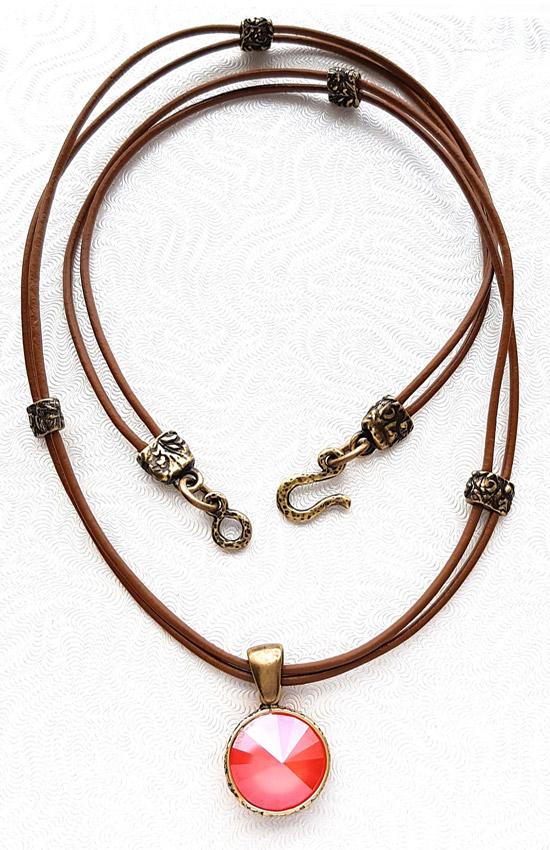
Just Peachy Leather Necklace Tutorial
Created by: Bridget AustinDesigner TipsSee the Jewelry Basics 101 PDF for hints and instructions on how to open and close jump rings.The cord ends and barrel beads are all crimped, no glue required!Start with 2 strands of leather cut to the desired length of your necklace.String all 4 barrel beads onto the leather.Attach cord ends to each end of the necklace and crimp tightly with the nylon jaw pliers.Attach the hook and eye clasp with 2 jump rings to the cord ends.Space the beads out evenly and
…
Jan 1st 2021
Tangerine Ring Tutorial
Created by: Veronica GreenwoodDesigner TipsPlace the 12mm rivoli in the bezel setting.Using the nylon-jaw pliers, gently push the prongs down over the crystal, starting with the top left prong, next the bottom right prong, then from top right to bottom left.Suggested Supplies1 each #51-000-61-12-6 Ring Blank, Locking Adjustable Band with 12mm Post Bezel - Antiqued Brass Plated1 each #01-122-12-421 Swarovski 1122 Rivoli Stone, 12mm - TangerineTools#69-271-91 EURO TOOL Glitter, Nylon Jaw, Flat-Nos
…
Jan 1st 2021
Square on Square Earrings Tutorial
The rounded corners of Swarovski's cushion square stone in Rose Water Opal crystal, gently echo the rounded corners of TierraCast's Flora square connector in these gently squared earrings.Created by: Mollie ValenteDesigner TipsPlace a Swarovski square cushion stone in the bezel setting. Hold the bezel setting firmly on a rubber block. Use the burnisher to carefully push the first bezel prong until it is set against the stone. Rotate the bezel setting so the second prong you set is opposite the f
…
Jan 1st 2021


