Rings & Things Jewelry Blog
Pearls and Swirls Earrings Tutorial
Created by: Rita HutchinsonDesigner TipsCreate two BRONZclay™ charms according to the manufacturer's instructions. Like most metal clays, BRONZclay must be fired in a kiln. BRONZclay shrinks approximately 20% from package to finished product. When you create your pieces, keep this in mind.Use a decorative rubber stamp or texture plate to create a design in the BRONZclay.Use the bead reamer to enlarge the holes in the pearls. Submerge the pearl in a shallow bowl of water while reaming, and work f
…
Feb 22nd 2023
Have It Your Way | Earrings Tutorial
Created by: Polly Nobbs-LaRue I couldn't decide whether I liked the longer earrings, or the shorter (layered) design - so I went with both! The shorter design would also be great as a pendant (with or without the heart). There are so many options with these components: Both colors of Bello (manmade) opals are beautiful and full of fire, or you can sub your favorite gemstone charm or beaded drop, or make bespoke birthstone jewelry. I went with mixed metals, because I prefer silver, and the
…
Feb 22nd 2023
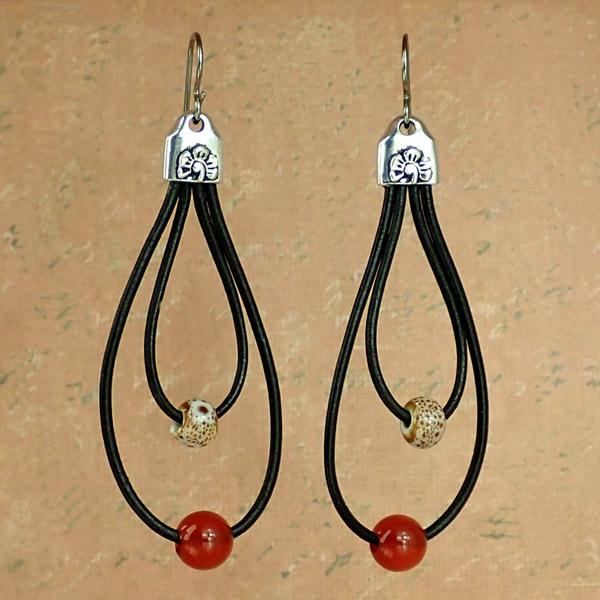
Fireblossom Earrings Tutorial
Created by: Rita Hutchinson
Designer Tips
Determine desired loop lengths and cut leather. For these earring, I cut 2 pieces at about 5" and 2 pieces at about 3".String large-hole gemstone on longer leather piece and porcelain bead on shorter piece.Gather all ends together in the correct order (see photo).Apply a small amount of superglue inside the crimp end. Insert all 4 leather ends at one time, squeezing them together to fit. Hold in place until glue grips.Gently squeeze the crimp end
…
Feb 22nd 2023
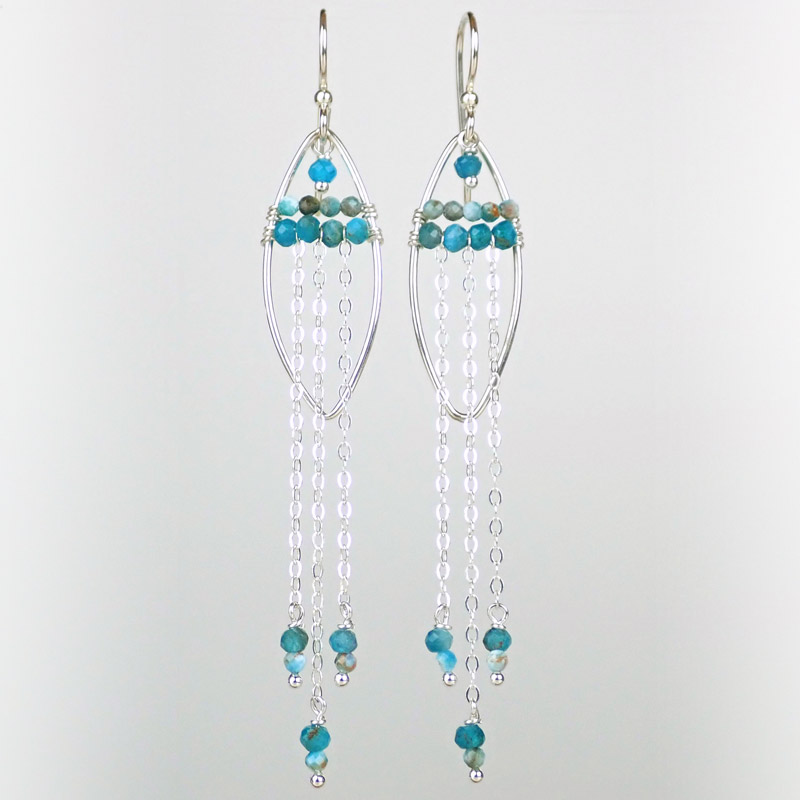
Marquise Tears Earrings Tutorial
Created by: Summer Melaas Designer TipsCut two 1-3/4" sections of chain.Cut four 1-1/2" sections of chain.Add one small and one medium Apatite bead to a ball-end head pin. Wrap onto bottom of a chain section (see step-by-step wire wrap instructions: Jewelry Basics 101 (PDF).Repeat with remaining five chains.With the 26g wire, about 1/4 of the way down on the marquise, wrap 2 to 3 times. Place one medium apatite bead, one 1-1/2" chain, one bead, one 1-3/4" chain, one bead, one 1-1/2"
…
Feb 22nd 2023
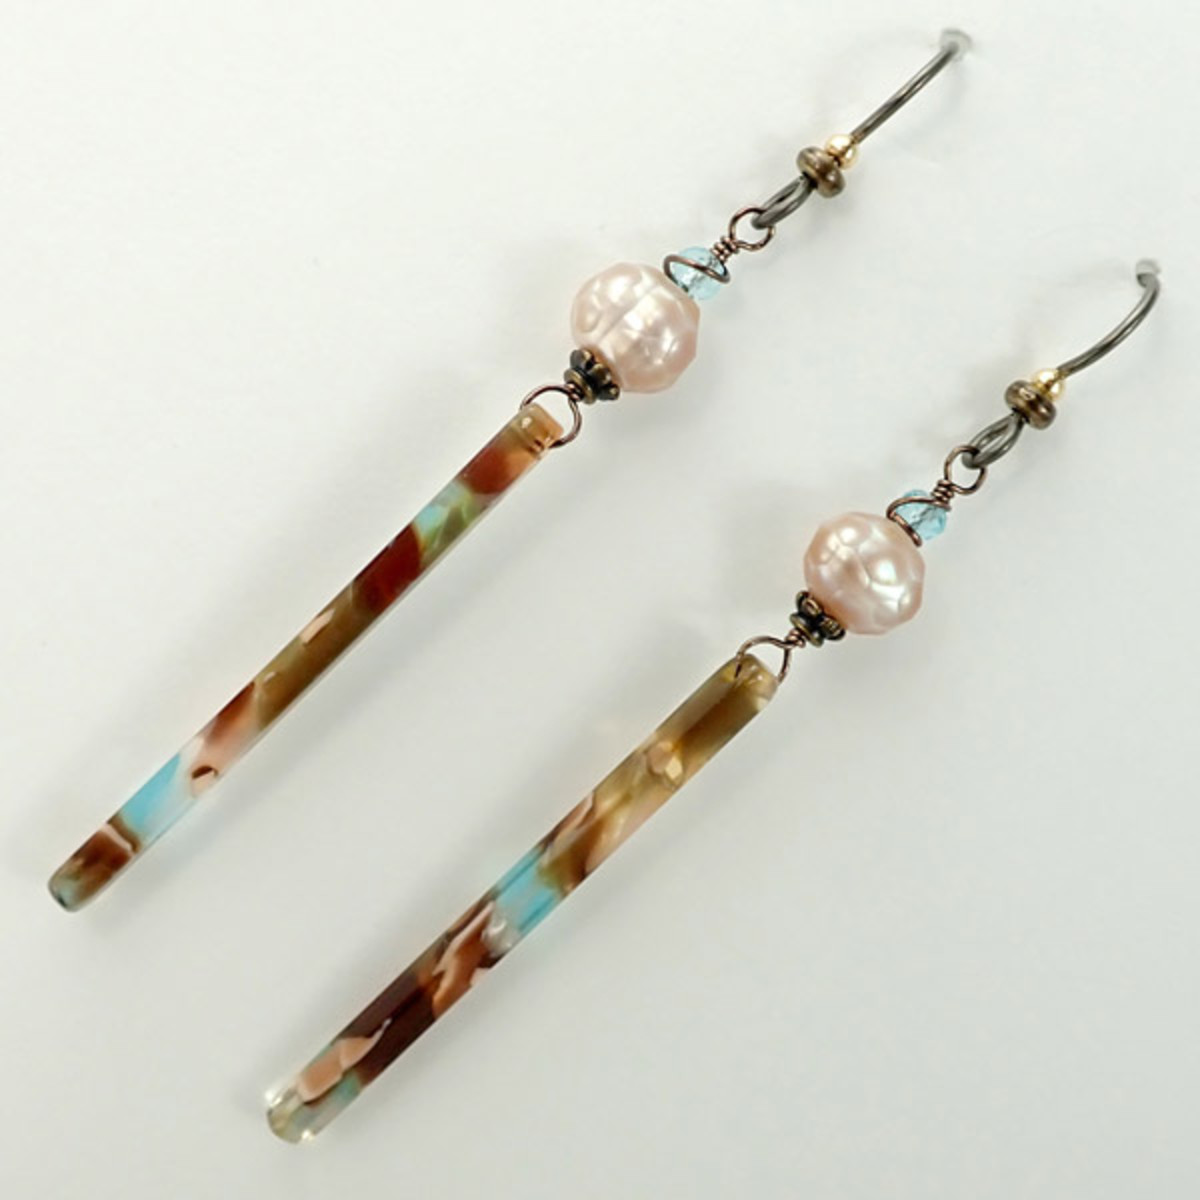
Mermaid's Wand Earrings Tutorial
Created by: Veronica GreenwoodDesigner TipsUsing the 26-gauge wire, make a large wrapped loop, attach the acetate stick and finish wrapping (see Jewelry Basics).Add one bead cap, one pearl and one apatite bead (optional: use a 3mm light turquoise crystal instead of the apatite) and finish with a wrapped loop. Instead of trimming the tail close, continue the wrap over the next bead.Using chain-nose pliers open the ear wire and attach your loop.Repeat for other earring.Suggested Supplies2 each #88
…
Feb 22nd 2023
Classic Bridal Earrings Tutorial
Created by: Summer MelaasDesigner TipsAttach ear wire to top loop of filigree. For best way to open and close loops, see Jump Ring Hint in Jewelry Basics 101 (PDF).Use jump rings to attach the pear pendants to the bottom loops of the filigree.Repeat for other earring. Suggested Supplies1 pair #34-544-14-042 4mm Cubic Zirconia Bezel Set Sterling Earwire - Diamond2 each #44-199-11 Sterling Silver Flared Filigree - 3 Loops6 each #06-128-08-02 Swarovski 6128 Mini Pear Pendant, 8mm - AB1 ten-pack (us
…
Feb 22nd 2023
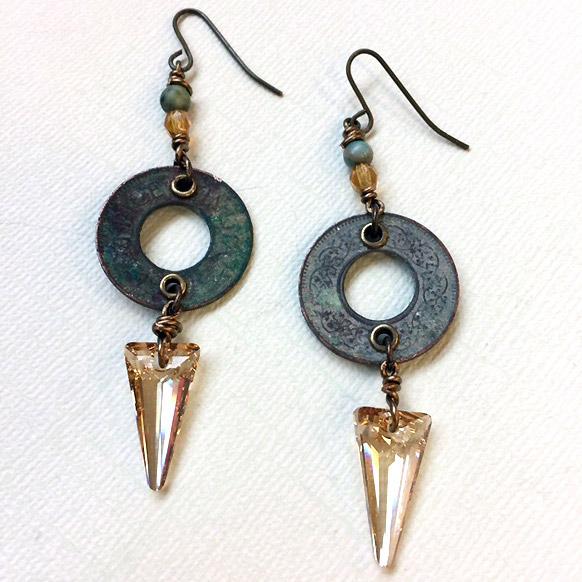
Passage To India - Coin Earrings Tutorial
These verdigris coin earrings are a beautiful combination of metal and gemstones, with a hint of sparkle. This beginner project requires only a few basic jewelry-making tools and can be completed quickly.Created by: Debbie NelsonDesigner TipsUsing the larger side of the hole punch, punch 2 holes in each coin. Add eyelet using the eyelet setter and anvil. Wire wrap the crystal spike and attach to coin using a jump ring. For step-by-step instructions on making wire wrapped loops, and best way to o
…
Jan 1st 2022
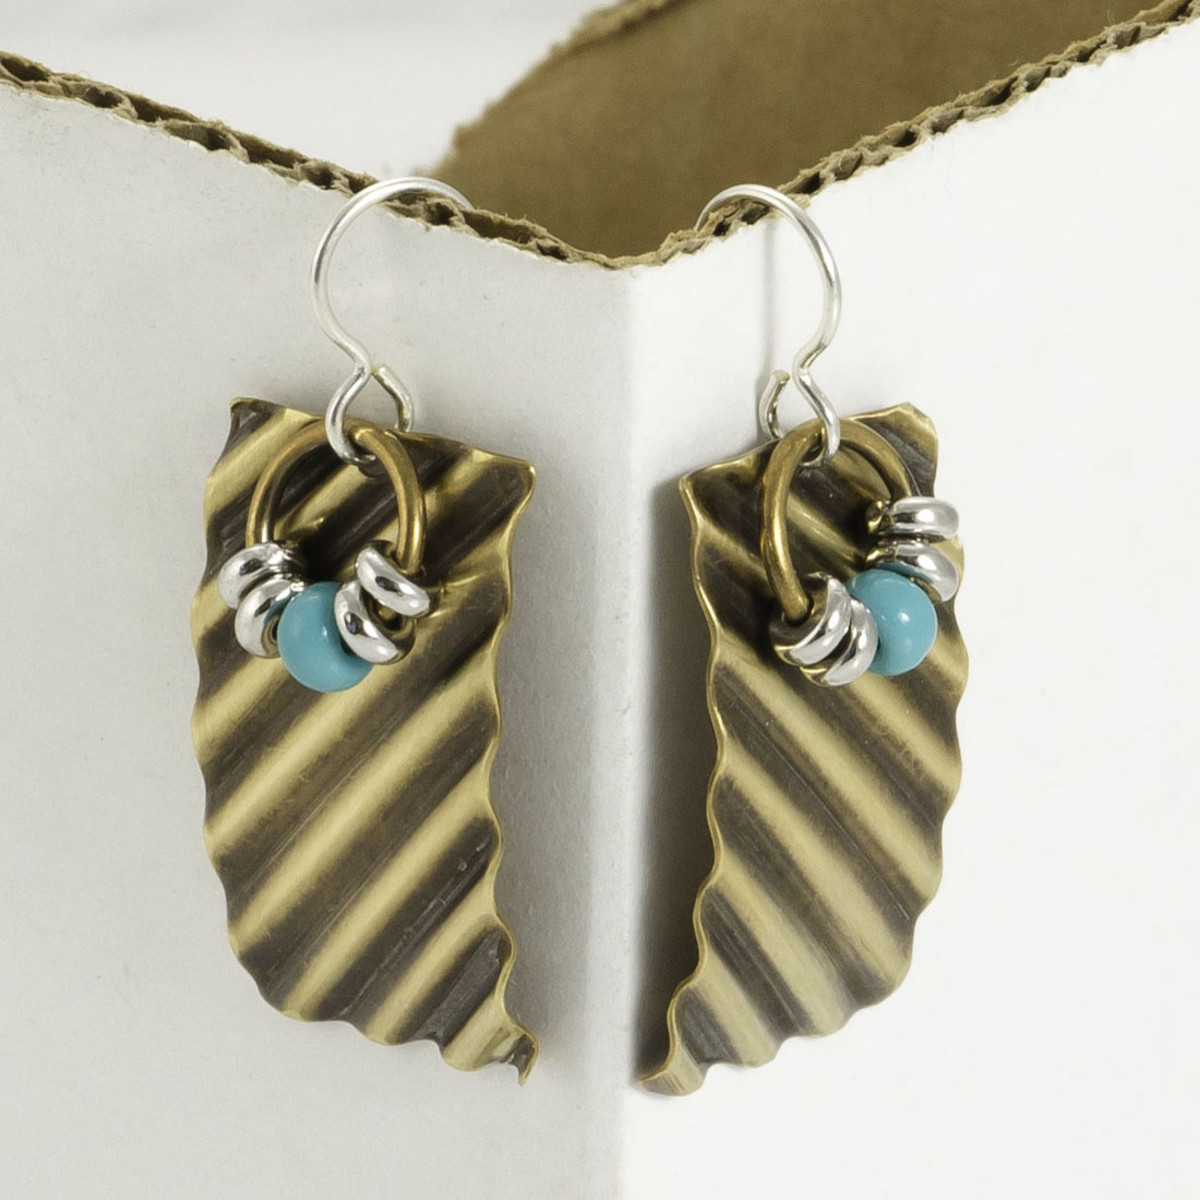
On the Bias Corrugated Metal Earring Tutorial
Created by: Mollie ValenteDesigner TipsCorrugate the metal blanks by feeding them through the Tube-Wringer® on the diagonal. Squeeze the hand grip to maintain even pressure while turning the turn key.TIP: Wear rubber-coated work gloves when using the Tube-Wringer. They cushion your hands and improve the grip!Use a 3M™ superfine sanding sponge (500-600 grit) and a Brilliant polishing cloth to polish the high points of corrugated blank.Gently curve the corrugated blank using the bracelet bending p
…
Jan 1st 2022
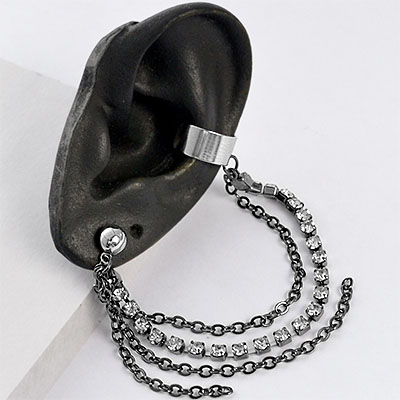
Ode to Bajor Ear Cuff Tutorial
Created by: Amy Mickelson Designer TipsCut chain pieces to desired length.Slip the chain ends under the last rhinestone links on each end of the rhinestone chain, and use chain-nose pliers to fold the prongs over the edges of the stones.Use oval jump rings to attach the chain to the ear cuff and loop on ball post.New to jewelry-making? For most secure way to open and close jump rings, see: Basic Jewelry-Making Technique Sheet (PDF) Suggested Supplies1 0.5 gross [use 1]
…
Jan 1st 2022
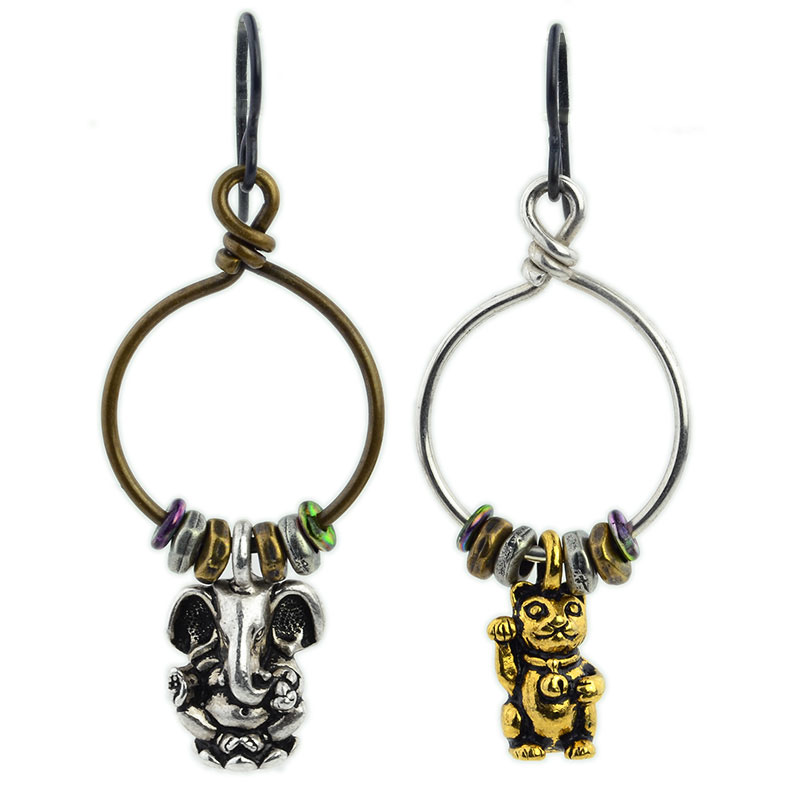
Happy Travelers Earrings Tutorial
As the Remover of Obstacles, and Lord of Beginnings, Ganesh is a popular charm or talisman for travelers. Combine this auspicious symbol with Maneki Neko, the beckoning kitty who welcomes good fortune and friends, and you have a winning combination to wear while planning future travel, even if you can't travel anywhere exciting right now. Created by: Polly Nobbs-LaRue Designer TipsSqueeze the charm holder to unhook it.These Czech "O" beads usually fit over the hook of the wire hoop,
…
Jan 1st 2022


