Rings & Things Jewelry Blog
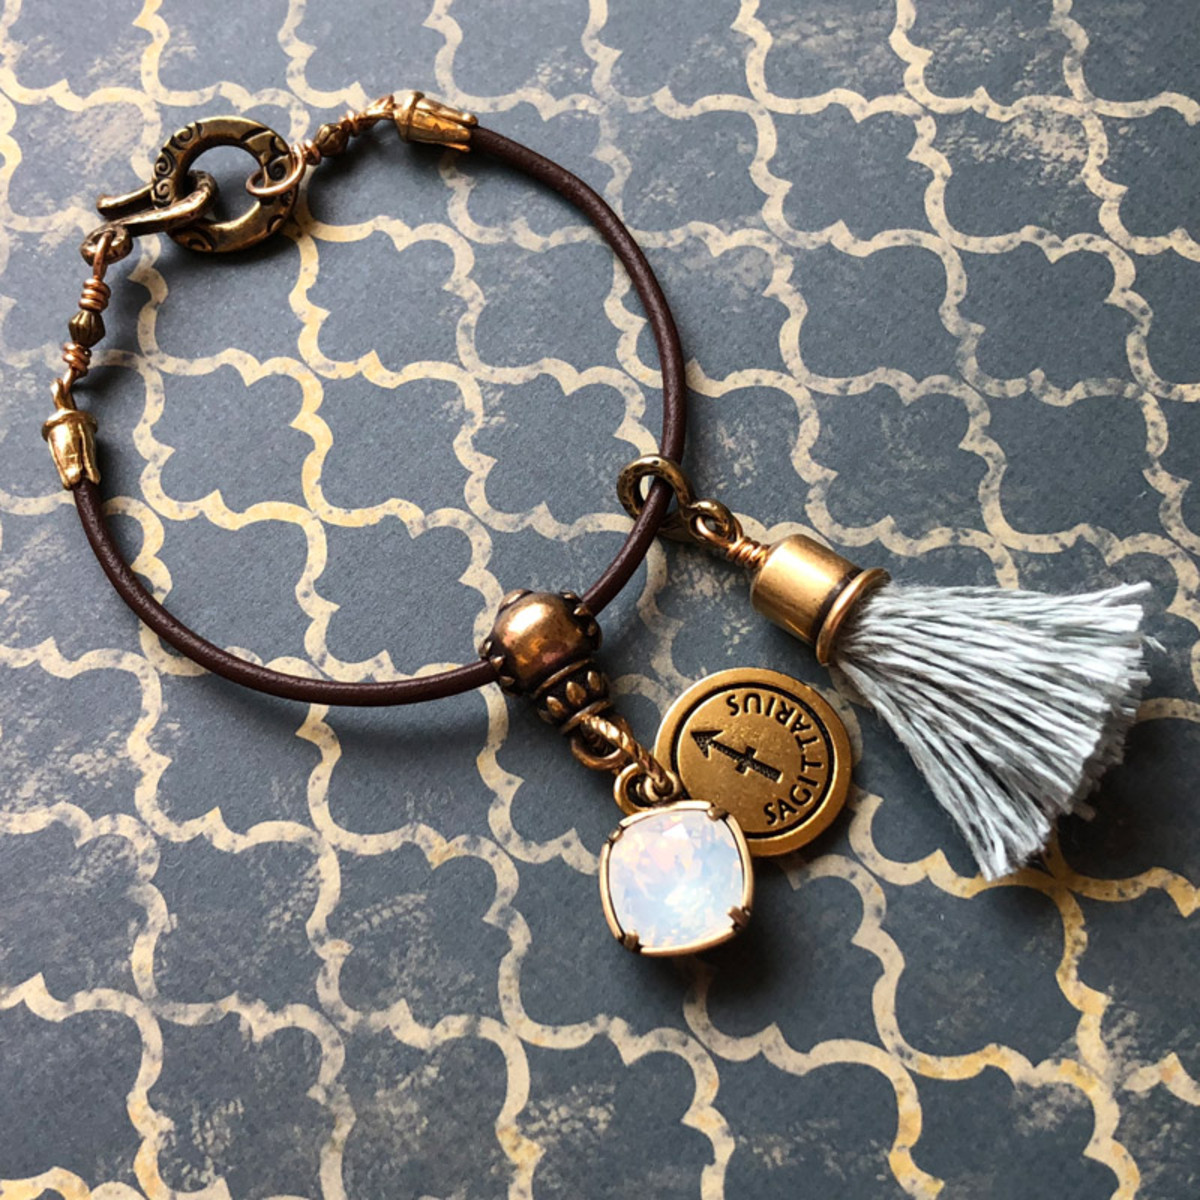
Sagittarius Leather Bracelet
Created by: Sondra Barrington Designer TipsCut leather flush after measuring desired length. Use a dab of glue inside one cord end. Insert leather into the cord end and gently pinch the cord ends together until secure.Use the hook and eye clasp independent of each other. The hook connects to a large, dramatic ring as a closure on the bracelet. The eye portion of the clasp floats along the leather cord, holding the tassel.Slide the guru bead and eye portion of the clasp onto the leather cord
…
Dec 1st 2021
Easy as Pie Napkin Ring Tutorial
TierraCast's Wire Hoops aren't just for earrings and charm-holder pendants -- they're also a great size for napkin rings! Create autumn-themed napkin holders with TierraCast's limited-edition pumpkin charms.Created by: Bridget AustinDesigner TipsBend the open end of the wire hoop to an angle where the beads will slide over it.Slide the beads onto the hoop, leaving a little room at the end to adjust the wire and re-hook it onto the loop.Re-form the hook at the end of the hoop and reattach to form
…
Nov 18th 2021
Trisha Earrings Tutorial
If you've never set faceted stones before, tube settings are a great way to get started.Created by: Rita HutchinsonDesigner TipsGolden Topaz is November's birthstone, and sparkling 4mm CZs are available in all 12 birthstone colors, plus jet black.With your awl or other sharp object, create a small, straight hole in the rubber block.Set topaz Cubic Zirconia stone face down on block, and line up post bezel over the stone. Press down, and the stone will be lightly held in place.Gently pick up compo
…
Nov 1st 2021
Wind Dancer Earrings Tutorial
Created by: Summer MelaasDesigner TipsCut about a foot of wire and place the wire almost 3/4 of the way in the hole of the feather.Cross wires over each other above the top of the feather. Bend the shorter one straight up above the feather. Take the longer wire and wrap haphazardly around the stem of the feather adding the 2mm copper beads as you go. Wrap up tail of long wire just at the top of the feather.Add your 8mm bead to the shorter wire. Make a loop and swirl it down around the bead, fini
…
Nov 1st 2021
Geared Ring Tutorial
Created by: Polly Nobbs-LaRue Designer TipsCut a strip of 20-gauge sheet 2.75" long. Smooth and straighten with a nylon hammer.Optional: Texture or stamp (see "How to Make a Metal-Stamped Charm" technique sheet below).For a matte finish, scrub the surface with steel wool (or even a green dish scrubbie!).File the corners and edges smooth using a #2-cut needle file.Use a pair of nylon-jaw ring-bending pliers to bend the band into shape. Overlap the ends at least 0.25".Check the size on
…
Oct 31st 2021
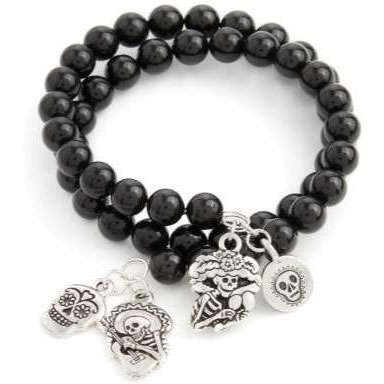
Celebrations Day of the Dead Tutorial
Celebrations Day of the Dead bracelet depicts the musical side of this holiday. The beautiful TierraCast musical charms nicely offset the Swarovski Crystal Mystic Black pearls.Created by: Swarovski's Create Your Style Design Team Designer TipsUsing memory wire bending pliers, roll back one end of the memory wire to create a closed loop.Slide 50 pearls onto the memory wire.Trim excess wire, keeping approximately 3/4" (19mm). Using memory wire bending pliers, roll back the end creating a clos
…
Oct 31st 2021
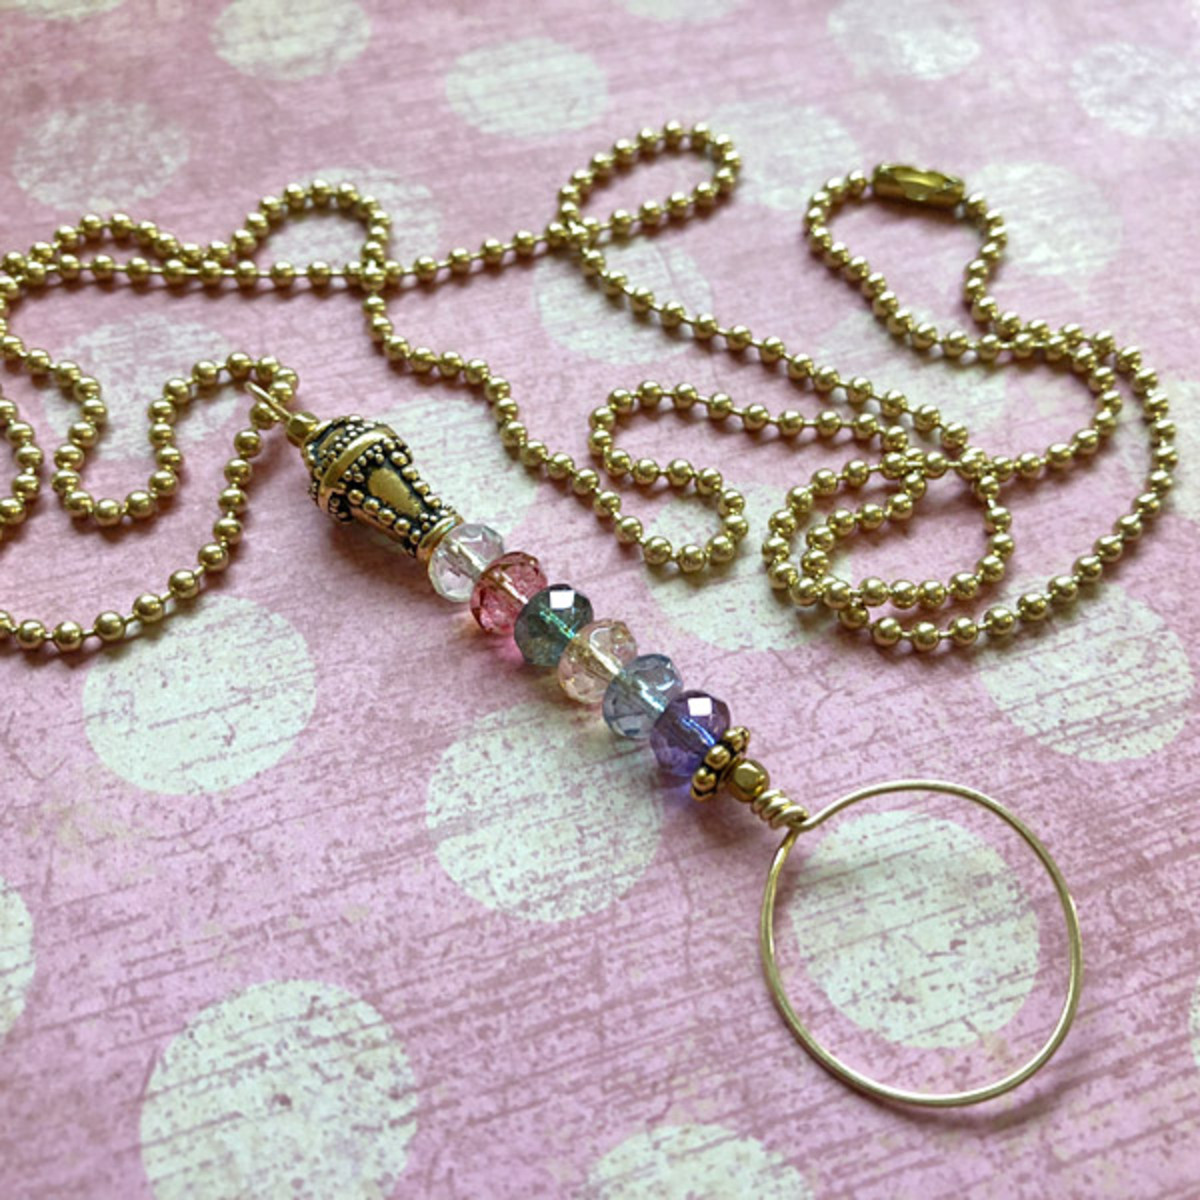
Bubble Wand - Necklace Tutorial
Created by: Mollie ValenteDesigner TipsCut a 10" piece of wire.To straighten and harden the wire, run the length of the wire through the nylon pliers.Use the ring mandrel to form a "bubble" loop (ours is size 9-1/2).With the wire still on the mandrel, wrap a short coil to secure the round shape.Cut off the excess tail on the coil. Straighten the handle shape.Add beads to the handle in the pattern pictured or in your own pattern. End with the Opulence teardrop and a final "faceted" 3mm bead.Use r
…
Oct 31st 2021
Flores de Muertos Bracelet Tutorial
Created by: Rita HutchinsonDesigner TipsUse 4 of each color crystal to create 28 wrapped loop crystal dangles.This finished length is 8.5". Use larger or smaller jump rings to adjust the length.Free Technique Sheets & How-TosBasic Jewelry-Making Technique Sheet (PDF)Suggested Supplies1 pkg of 10 [use 5] #44-940-59-AS Charm, Cast, Calavera1 dozen [use 1] #39-349-3 Clasp, Lobster, 15mm1 pkg of 10 #44-940-68-AS 18mm Bone Connector
…
Oct 31st 2021
Fit for a Queen Ring Tutorial
This simple project features crystal rivoli stones and 1-time adjustable ring blanks with a bezel setting. Created by: Amy Mickelson Steps to Make These RingsWhile most colors of Swarovski crystal rivolis are gone, these settings work with most other major brands of 12mm and 14mm rivoli stones, including Preciosa and Matubo. To use one of the remaining colors of Swarovski rivolies, browse our full selection of 12mm & 14mm crystal rivoli stones.Place the correct size of rivoli stone
…
Oct 31st 2021
Fashion and Function Pin Cushion Ring Tutorial
Created by: Amy Mickelson Designer TipsCreate a cardboard template 2.5 times the diameter of the bezel (approximately 2.25" for this ring).Using a doubled 36" piece of sewing thread, knotted at one end, sew a running stitch around the edge of the fabric piece about 5mm in from the edge.Add stuffing and draw the fabric in by pulling the thread tight. Once you've achieved a round shape that fits the bezel cup, secure the thread with several knots and cut excessive thread.Glue into bezel using
…
Oct 31st 2021


