Rings & Things Jewelry Blog
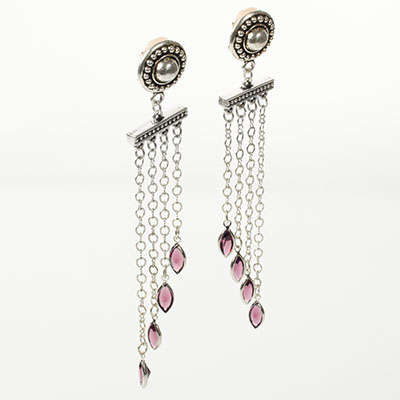
Scrap Chain Tassel Earring Tutorial
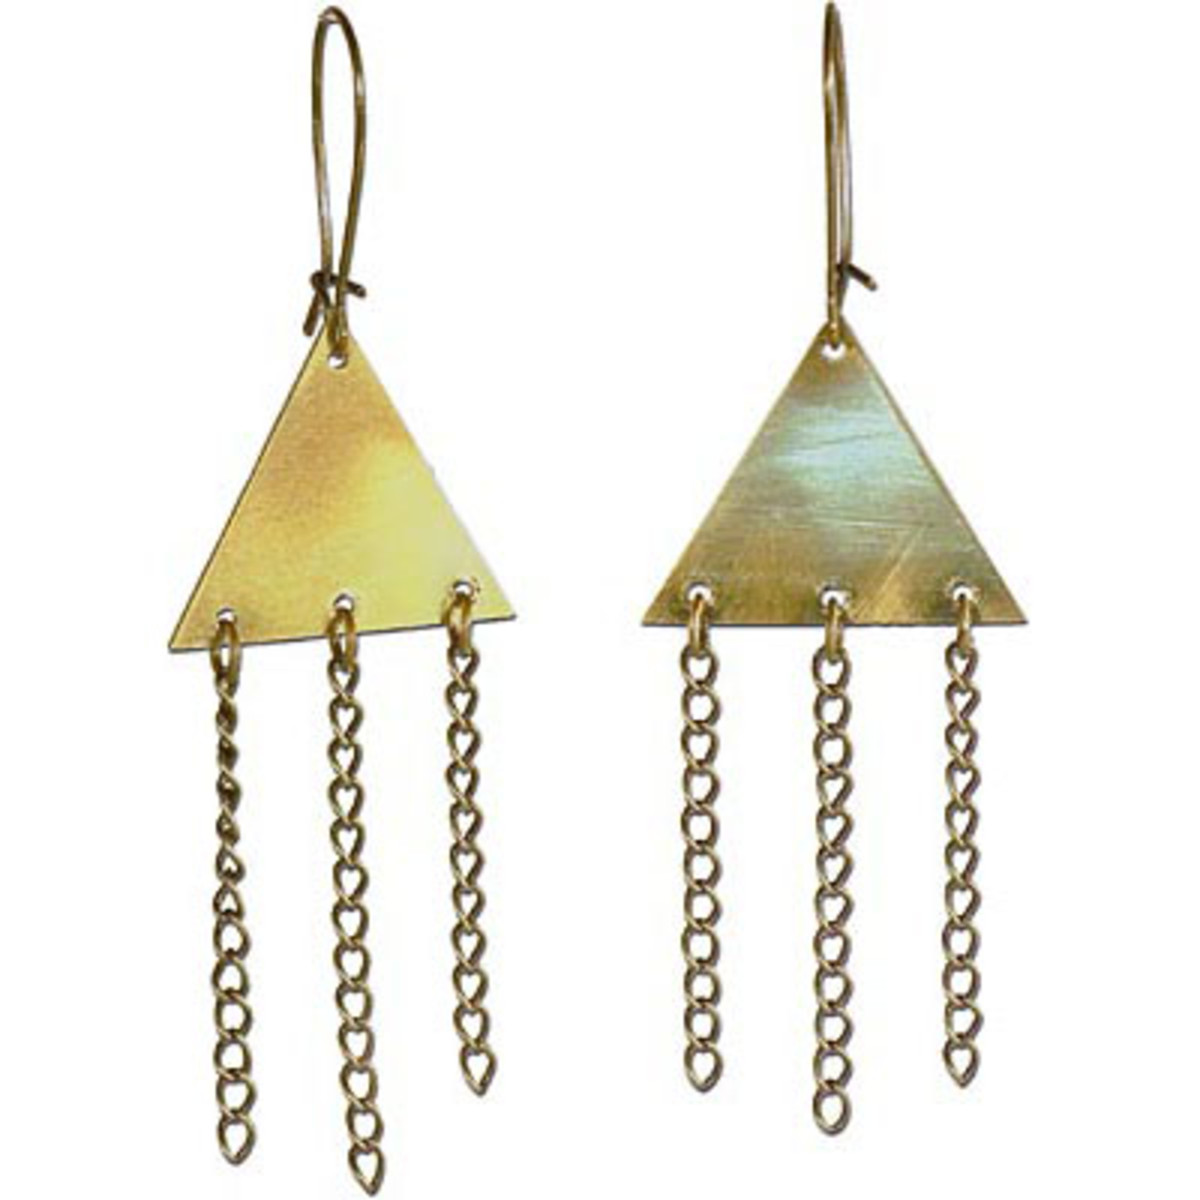
Created by: Amy Mickelson Designer TipsIf you buy spools of chain for various projects, you inevitably end up with scrap pieces. These left overs are too short for necklaces or maybe too fine a style to use for bracelet projects. And if you're like me, you may have a bag of random lengths you don't want to throw away. This DIY project creates a pair of tassel style earrings in less than 30 minutes.Since you are using scraps, and mixed metal jewelry remains in fashion, you don't need to ma
…
Feb 22nd 2023
Delightfully Dotty Enameled Necklace Tutorial
Created by: Rita HutchinsonDesigner TipsCut copper sheet to size or use a premade copper blank. If you have cut your own blank, punch hole in appropriate location and file edges to remove roughness.Create rings for pendant polka dots. Use solid copper wire and either a coiling tool to create coils of different sizes or the jaws of round nose pliers to create a tapered coil.Cut individual rings from coils with flush cutter. Alternate sides when cutting the coil and trimming the end to maintain fl
…
Aug 31st 2021
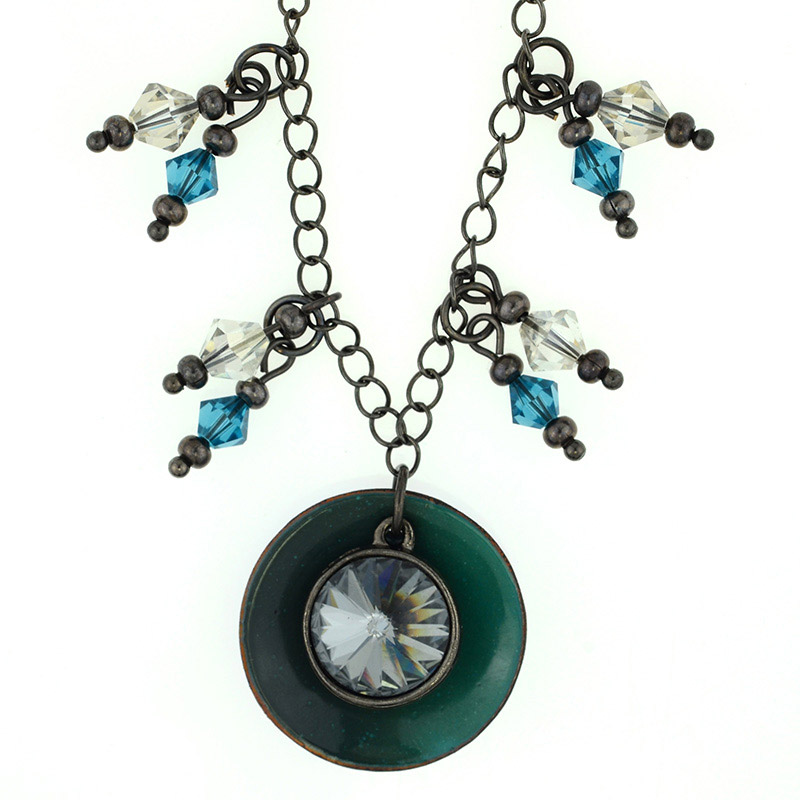
Dark Skies Enameled Pendant Tutorial
Created by: Rita HutchinsonDesigner TipsUse dapping block to shape blank.After dapping, punch 1/16" hole using the smaller (silver) side of a EuroTool "helicopter" punch.Clean blank with penny brite and enamel one side. Allow to cool.Clean other side of blank with penny brite and enamel. Allow to cool.Glue rivoli into setting.Cut chain to desired length.Add enameled pendant and rivoli to center link of chain with jump ring.Create dangles with crystal beads and gunmetal rondelles.Attach dangles t
…
Aug 31st 2021
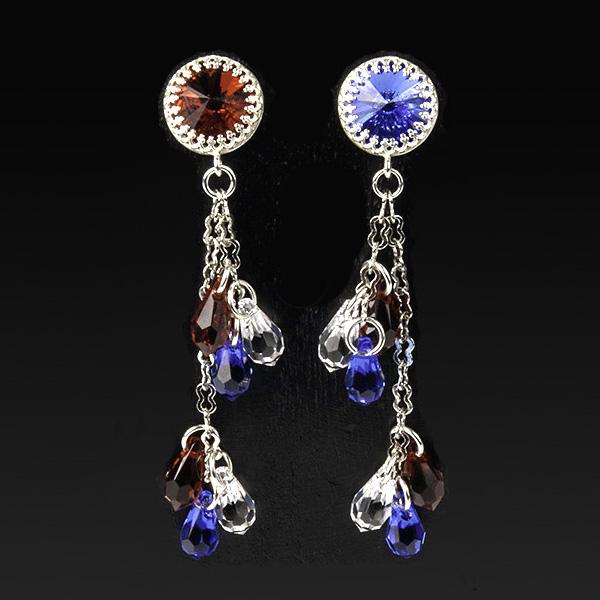
4th of July Earrings Tutorial
Created by: Polly Nobbs-LaRueDesigner TipsCenter a stone in a setting and gently squeeze prongs in (with your fingers or pliers) working from opposite sides to keep the stone centered. Once the prongs are bent in, use the burnishing tool to smooth them firmly into place.Cut 2 pieces of chain, 5 links long.Cut 2 pieces of chain, 10 links long.The links on this 2.8mm peanut chain are a nice size, easy to add medium jump rings to. Also, the flattened links nicely catch the light.Select 12 matching
…
Jul 3rd 2021
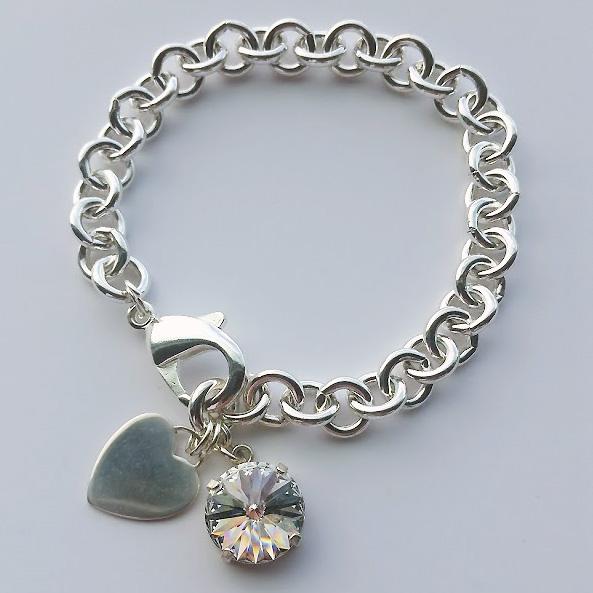
April Love - Bracelet Tutorial
Created by: Sondra Barrington How can I customize thee? Let me count the ways... Designer Tips Chain bracelets adorned with a simple heart charm continue to be popular. The sterling silver heart blank was intentionally left blank, but could easily be stamped or engraved to further customize.You can also customize this design by using a different colored Swarovski rivoli stone (clear symbolizes Diamond, April's birthstone), or different styles of chain. These bracelets are fun an
…
Jun 7th 2021
Botanical Bird Necklace Tutorial
Created by: Summer MelaasDesigner TipsFollow wire-wrapped loop instructions in Jewelry Basics 101 (PDF) to create wire-wrapped link sections with the crystal beads. Be sure to add the various components to your beaded links before finalizing each wire wrap! (Alternately, make simple loops, and /or use jump rings to connect the sections.)Use 24-gauge wire to link one Aurum (gold) crystal to bottom right of songbird and to 5" of chain.Use one gold crystal to link the other end of chain to bottom l
…
Mar 31st 2021
Amethyst Cascade Earring Tutorial
Necklace ends can be used for things other than securing multistrand necklaces. This project uses necklace ends as a design element in cascading chain earrings.Amethyst is February's birthstone, making this a great February birthstone gift. (Other color options below.)Created by: Amy MickelsonDesigner TipsCut chain into the following lengths: 2 pieces each at 2.5", 2.0", 1.75", 1.5". Design Option: Cut the chain pieces all the same length.Use an oval jump ring to attach a crystal navette to the
…
Feb 1st 2021
Bermuda Crescent Earrings Tutorial
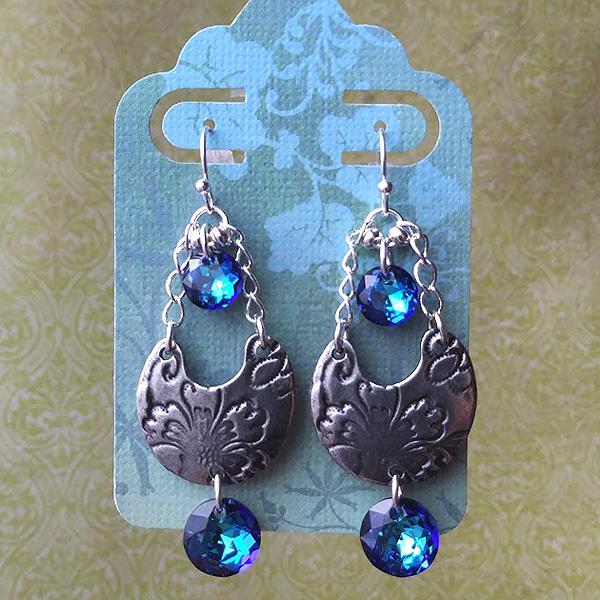
Created by: Rita HutchinsonDesigner TipsCut 4 lengths of chain, each 4 links long.Use 4.5mm jump rings to attach chain to the top holes of the crescent link. For best way to open and close loops, see Jump Ring Hint in Jewelry Basics 101 (PDF)Add two rondelle beads to a 5mm jump ring and then link the top of the two chains together and attach to the earwire.Use a 5mm jump ring to suspend an 8mm crystal pendant between the two beads on the jump ring attached to the earwire.Use another jump ring to
…
Jan 1st 2021
Pearl Wraparound Swarovski Necklace Tutorial
Created by: Swarovski's Create Your Style Design TeamDesigner TipsUsing one head pin, slide on one 5844 10mm elongated baroque pearl, make a simple loop and set aside. Repeat 29 more times and set aside.For step by step instructions on making simple loops, and most secure way to open and close jump rings, see Jewelry Basics 101 (PDF).Using the gold chain, take one side of the chain and beginning 3" up on the chain, attach 15 pearls from step 1, one on each ring.On the other side of the gold chai
…
Jan 1st 2021
Witchy Earrings Tutorial
Created by: Jaci BostonDesigner TipsKeep the saw blade well lubricated to create ease while sawing.To avoid breaking your blades, keep the saw upright, without tilting, while you're sawing.For perfect hole placement on the triangle, take extra time and care by using a ruler to measure and mark up where you want to punch your holes.If you use a Sharpie® to mark up your metal, you can easily wipe it off with a polishing pad.Don't worry if the edges of your triangles are jagged, you can file them t
…
Jan 1st 2021


