Rings & Things Jewelry Blog
Aquamarine Ocean Earrings Tutorial
Created by: Sondra Barrington Designer TipsKeep gold-filled and gold-plated findings separate, and mark your supplies well!Use chain-nose pliers to turn the loop on ear wire 90-degrees so it faces side to side (not front to back). This is easier to do, before you assemble the rest of the earring components.Wire-wrap the dangles directly on loop. New to jewelry-making? See Basic Jewelry-Making Technique Sheet (PDF) for step-by-step looping instructions. Suggested Supplies1&nbs
…
Mar 1st 2021
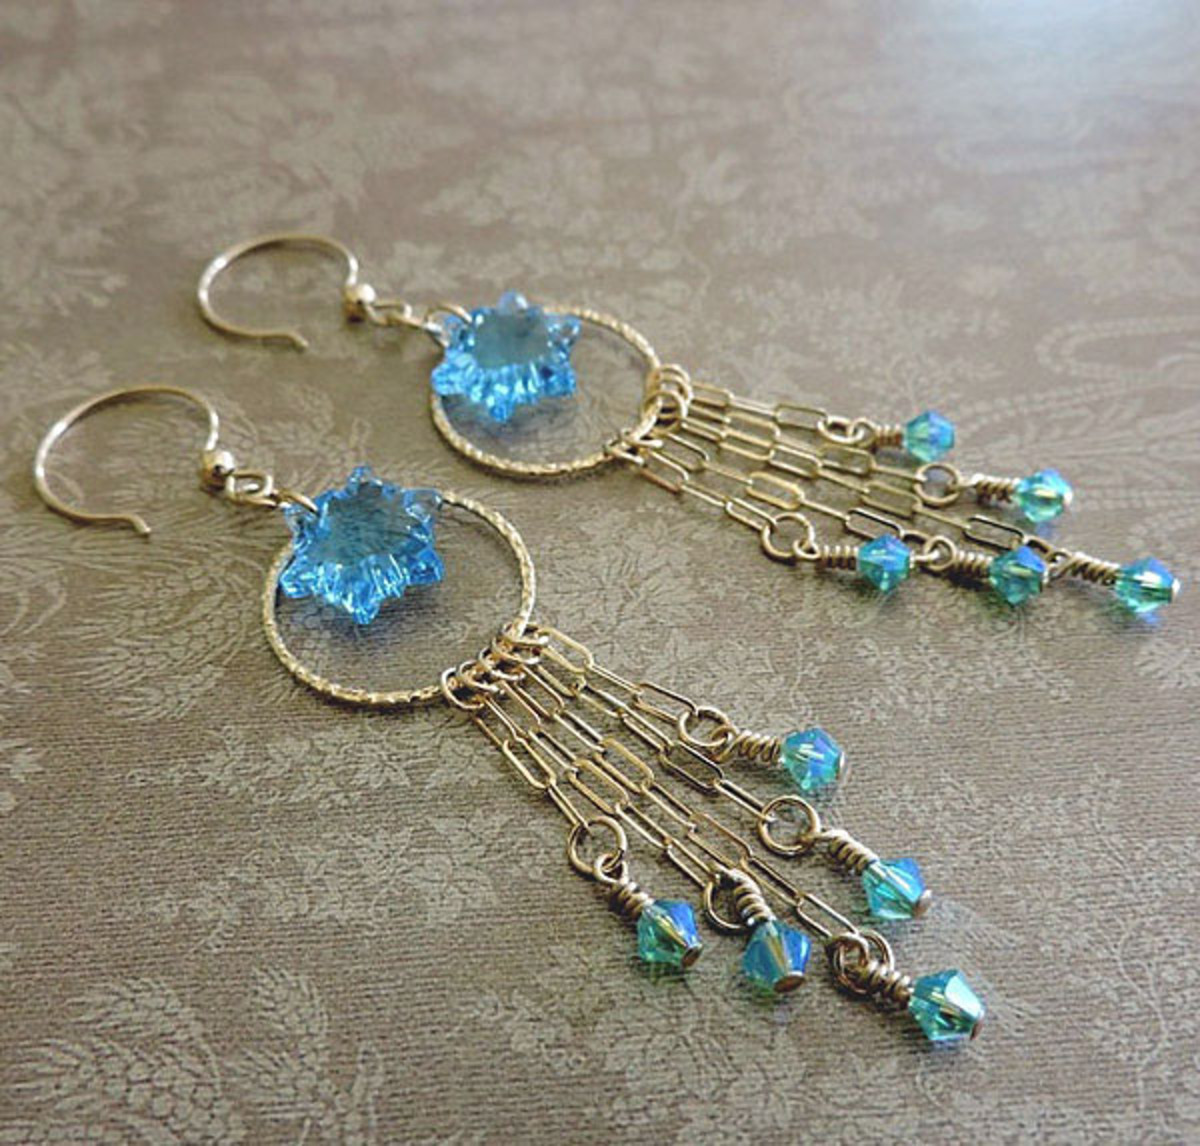
Aqua Flower Crystal Earrings Tutorial
Learn to make these sweet gold-filled chain tassel and link/hoop earrings, featuring Swarovski Edelweiss pendants, with parts that have been tested to work together!Created by: Tiffany WhiteDesigner TipsFor best way to open and close jump rings, and step-by-step instructions on making wire wrapped loops, see Jewelry Basics 101 (PDF).Attach one of the larger gold-filled jump rings to a Swarovski edelweiss pendant, and attach to a textured gold-filled link. Use another one of the larger gold-fille
…
Mar 1st 2021
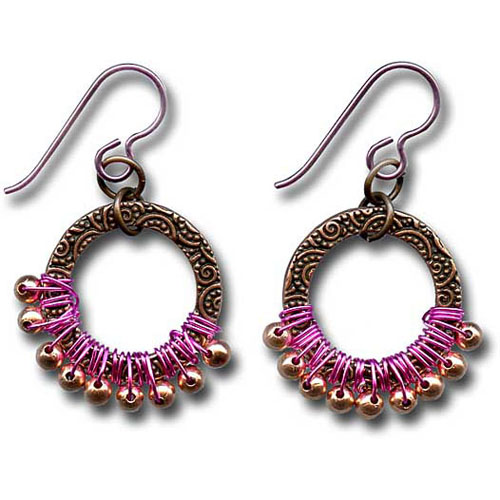
Boho Barbie Earrings Tutorial
Created by: Laurel NewnhamDesigner TipsCut wire into two 16" lengths, one for each earring. Trim excess as needed.Hold wire tightly to create loops that are closer together.Experiment with the position of the beads if using other shapes such as bicones, firepolish rounds or tiny cubes. Some shapes are easier to add on the outer rim of the ring, than others.Free Technique Sheets & How-TosBasic Jewelry-Making Technique Sheet (PDF)Blog post: Wire lashing: an easy way to cover your jewelry with
…
Feb 1st 2021
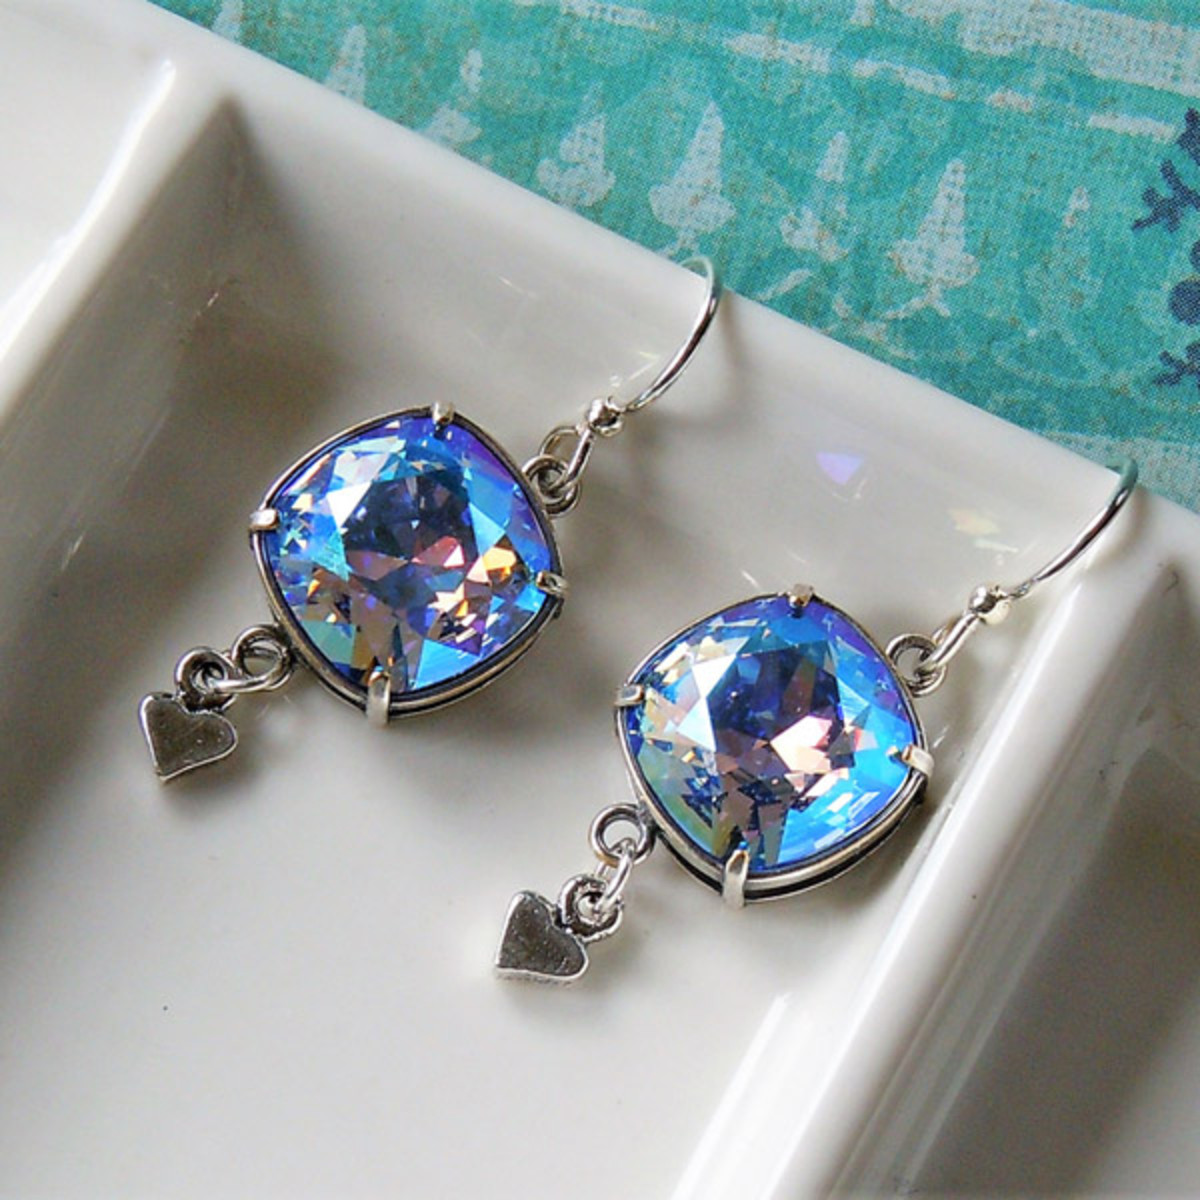
Blue Valentines Earrings Tutorial
Created by: Mollie ValenteDesigner TipsPlace a Swarovski square cushion stone in the bezel setting. Firmly hold the bezel setting (or work on a rubber block). Use the burnisher to carefully push the first bezel prong until it is set against the stone. Rotate the bezel setting so the second prong you set is opposite the first one. Then set the final two prongs in the same manner. Repeat these steps with the second stone and setting.The jump ring serves as a connector between the heart charm and t
…
Jan 25th 2021
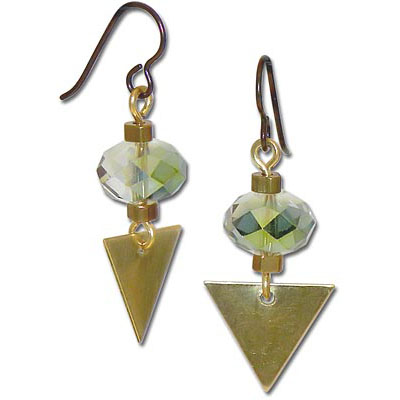
Brass Arrow Earrings Tutorial
Created by: Mollie ValenteDesigner TipsCut the wire in half and form an "eye" loop on one end of each wire.Flatten the loop by striking with a chasing hammer on a steel block.Add the following beads to each handmade eye pin: a brass heishi, a crystal rondelle, and a brass heishi.For each bead link, cut off the excess wire leaving just enough length to form a second eye; form the eye and flatten the loop.Punch a hole centered in the top side of the triangle.Twist open the eye of the eye pin, add
…
Jan 1st 2021
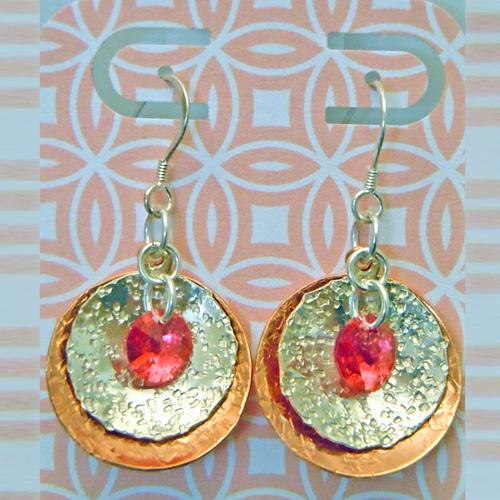
Bowl of Peaches Earrings - Tutorial
Learn to make sweet earrings with a dapped set of disks in sterling and copper. A tumbler REALLY gets these domed disks shiny! They are reflecting so much light back, that the Rose Peach crystals look much more intense and vivid than their normal peachy hue.Created by: Rita HutchinsonDesigner TipsChoose textures of your choice and hammer the sterling blanks with one pattern, and the copper blanks with another pattern.Dome each blank. See our How to Dap and Dome blog post.Tumble blanks to a shiny
…
Jan 1st 2021
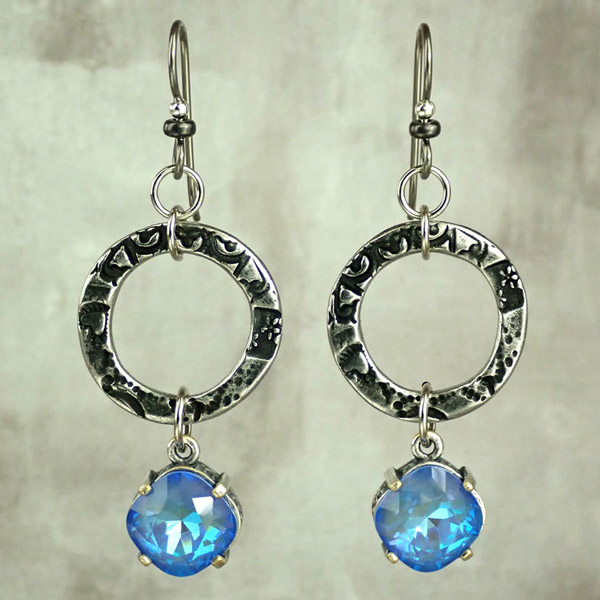
Blue Halo Earrings Tutorial
Created by: Veronica GreenwoodDesigner TipsPlace the crystal in the bezel setting and using the nylon jaw flat pliers gently fold the prongs down over the crystal.Using the 6.5mm jump ring attach the bezel to the large round link. (For best way to open and close loops, see Jump Ring Hint in Jewelry Basics 101).Attach one of the 5mm jump rings to the large round link.Use the second 5mm jump ring to attach the earwire to the first 5mm jump ring.Repeat for the other earring.Suggested Supplies2 each
…
Jan 1st 2021
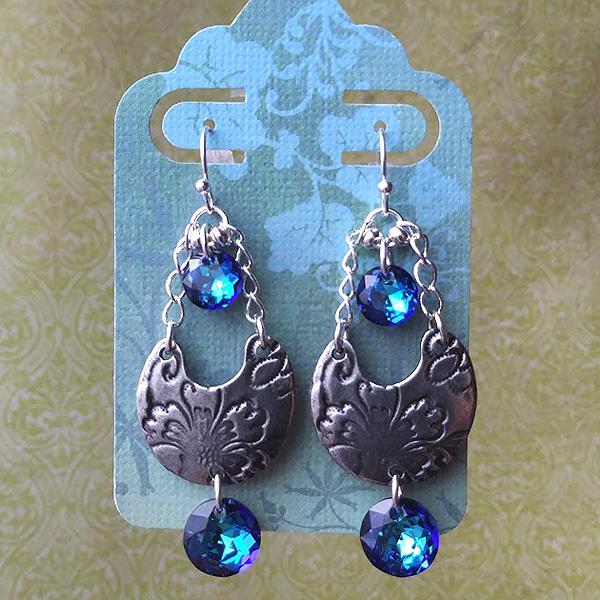
Bermuda Crescent Earrings Tutorial
Created by: Rita HutchinsonDesigner TipsCut 4 lengths of chain, each 4 links long.Use 4.5mm jump rings to attach chain to the top holes of the crescent link. For best way to open and close loops, see Jump Ring Hint in Jewelry Basics 101 (PDF)Add two rondelle beads to a 5mm jump ring and then link the top of the two chains together and attach to the earwire.Use a 5mm jump ring to suspend an 8mm crystal pendant between the two beads on the jump ring attached to the earwire.Use another jump ring to
…
Jan 1st 2021
Abby's Earrings Tutorial
Created by: Lindsey Green Designer Tips Use three layers of Magic-Glos UV Resin to create the look of the crystal rivoli standing free in the bezel cup earrings.A piece of Styrofoam® or sponge material works great to keep the jewelry in place. Simply stick the post of the earring into the styrofoam or sponge to keep the jewelry level.Add a base layer of resin to the bezel cup and then cure it with the UV light.After the first layer is dry, pour a second layer into the bezel.
…
Jan 1st 2021
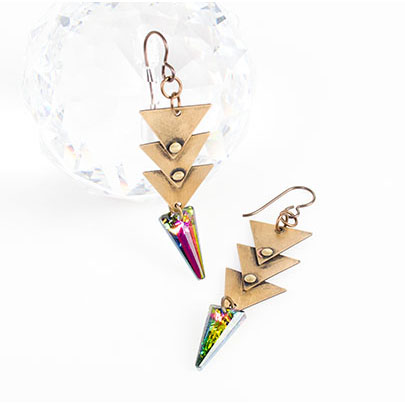
Aztec Princess Earring Tutorial
This project uses Swarovski crystals. Created by: Tiffany WhiteDesigner TipsMark all six of your triangle blanks with a permanent marker dot in one of the points and straight down on the opposite side.Use the hole-punching side of the riveting tool to make a hole in the triangle blanks where you placed your dots.Use the riveting tool to rivet the triangles together with the brass rivets.Antique the brass pieces with Novacan black.Using the sanding sponge remove some of the patina from the brass
…
Jan 1st 2021


