Rings & Things Jewelry Blog
Leather and Stone Lashed Wrap Bracelet Tutorial
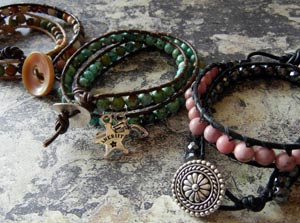
Created by: Cindy Morris Designer TipsThis exclusive Rings & Things wrapped leather bracelet kit contains everything needed to make one triple-wrap bracelet with parts to spare. It can also be worn as a necklace.Each kit contains detailed step-by-step instructions with photographs. Read the instructions thoroughly before starting.Also see: Blog post: How to make wrapped leather bracelets1 ea #45-204-010 Kit, Lashed Wrap Bracelet, Brown and Turquoise Blueor, see below to purchase in
…
Oct 27th 2021
Leather 101
Leather continues to be a powerhouse material in jewelry fashions --especially bracelet design! Learn about various types of leather (from straps to cord to finished cuffs), and find tutorials and projects to make your own leather bracelets, handmade leather jewelry, and crafts. You can also shop our leather cord, leather straps, & leather bracelet blanks.Table of ContentsWorking with Strips of LeatherWorking with Leather Cuffs & WrapsWorking with Leather CordLeather Strips (a.k.a. Leath
…
Oct 27th 2021
Isla Tortuga Bracelet Tutorial
Created by: Veronica Greenwood Designer TipsChoose the size of chaton to nestle into the center of your succulent charm. Using the GS Hypo Cement add a little glue in the center of your charm and place your chaton. Set aside to dry.Cut approximately 9" of leather.Slide one barrel bead and your button, onto the leather. Go back through your barrel bead, and using needle-nose pliers, crimp the barrel bead to create a secure loop at one end of the cord.Slide your three pearls onto the leathe
…
Sep 30th 2021
Tethered - Lanyard Tutorial
The key to making masculine jewelry is using masculine supplies and keeping it simple. Combine strong leather or waxed cotton cord with bone beads, metal beads, or glass trade beads and then add a bold focal pendant. It is also a benefit if the jewelry has a utilitarian purpose.Here is my version of "men’s jewelry" -- an adjustable lanyard necklace made with guy supplies; it can be used to hold a decorative pendant or be more utilitarian as a key holder. Created by: Mollie ValenteDesigner TipsFo
…
Sep 30th 2021
Campfire Skies - Riveted Barrette Tutorial
TierraCast's shimmering antique bronze leather, a hammer-textured spiral link, and shiny black rivets, combine to create a barrette that's perfect for Spring bonfires and Fall festivals. This securely riveted barrette project is quick and easy to make, and uses common tools that may already be in your craft room, or a relative's basement. Created by: Polly Nobbs-LaRue Designer TipsWrap one end of leather around end of barrette so it extends about 3mm past the hole on the underside o
…
Sep 29th 2021
Avocado Dorado Cuff Bracelet Tutorial
Created by: Polly Nobbs-LaRueDesigner TipsSolder Brass Ninja Star* to Copper Disk:If the copper or brass shapes are bent, straighten them with a steel block and nylon or rawhide mallet. (Solder doesn't fill gaps.)File/sand/polish to any rough edges or deep scratches.Snip 5-10 tiny (1-2mm long) pieces of solder into a small bowl.Use a small paintbrush to coat the back of the brass "ninja star", and the front of the copper disk with flux. (You may need to mix the flux to a more paste-like consiste
…
Sep 22nd 2021
Red Vines and Nibs Bracelet Tutorial
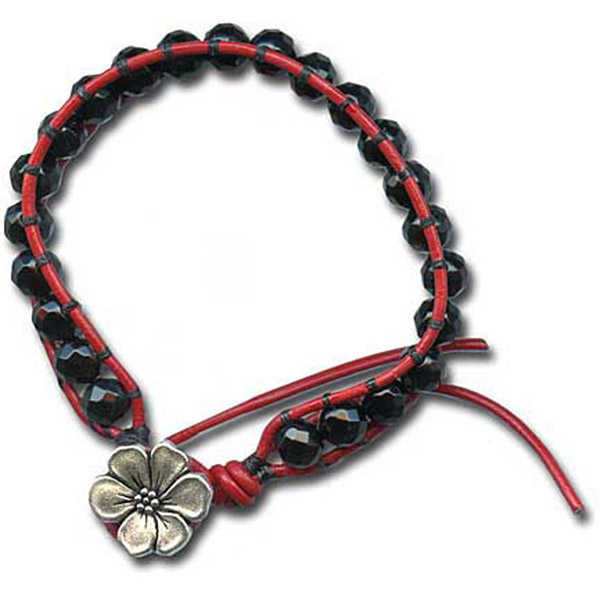
Created by: Jaci BostonDesigner TipsSee step-by-step blog article: How to make wrapped leather braceletsStart with extra leather and thread; cutting off any excess is better than not having enough.For security, add additional stitches on the first and last beads.Stay focused, the figure-eight stitching is easily done, but it is also easy to make a mistake.When using bead thread, like size D Superlon, double the thread and string through the beads twice.This bracelet uses 23 6mm beads and has an
…
Feb 1st 2021
Skull Kid Leather Wrapped Bracelet Tutorial
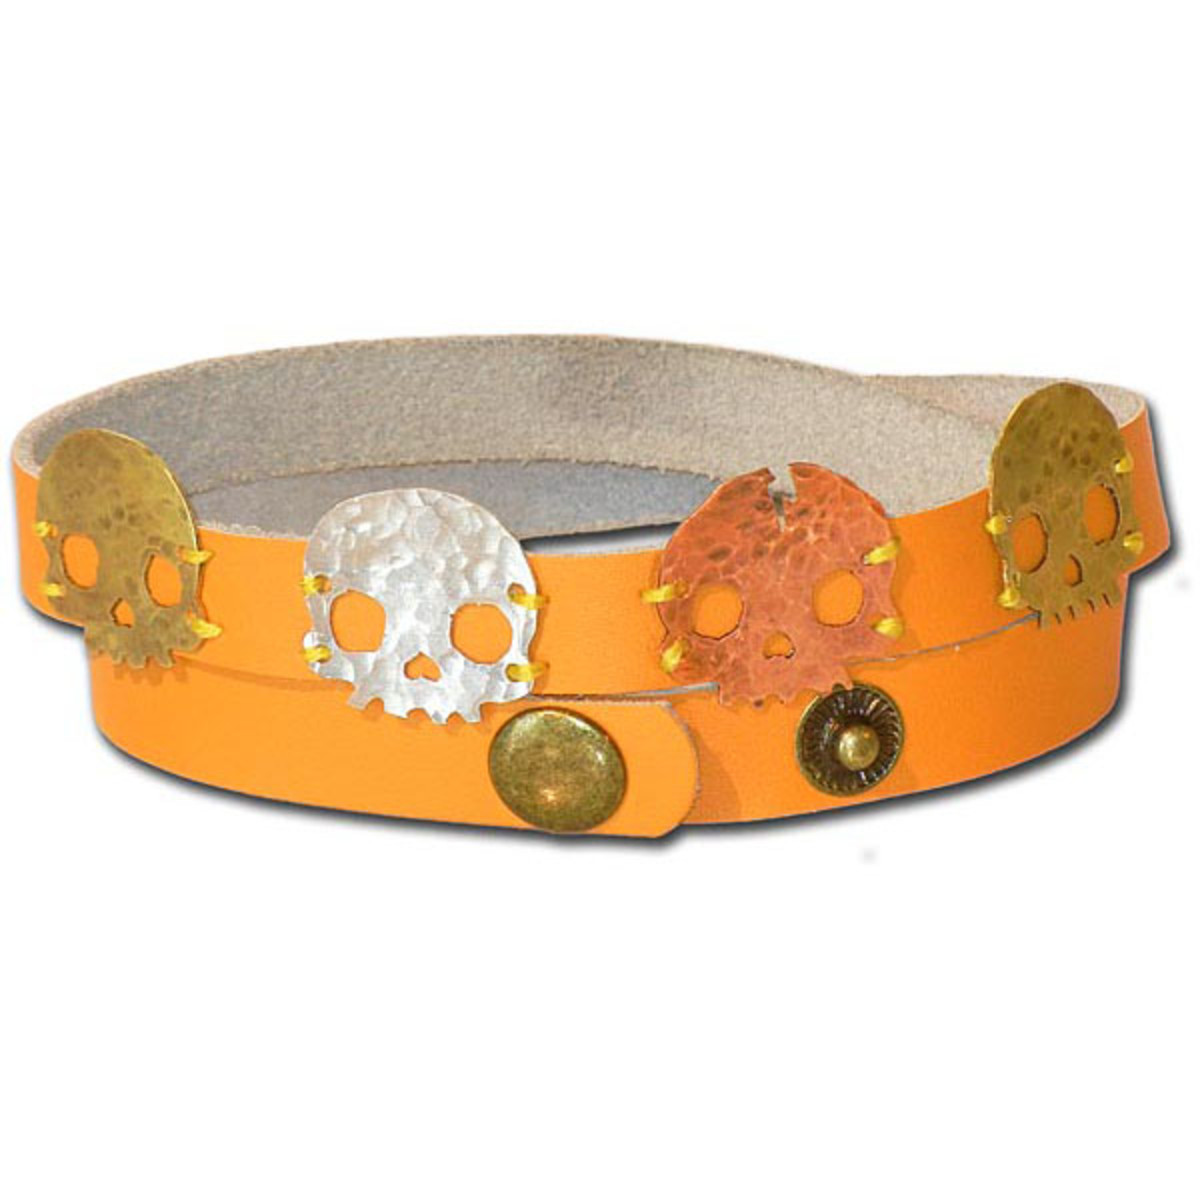
Created by: Jaci BostonDesigner TipsCreate a template from a copyright-free image.Glue your image pattern to the metal with rubber cement, and cut along the pattern with a jeweler's saw.Keep the saw blade well lubricated to create ease while sawing.To avoid breaking your blades, keep the saw upright, without tilting, while you're sawing.Punch holes prior to texturizing the skulls.You can use any sort of hammer to give your metal a unique texture.Use a nylon or a rawhide mallet to flatten out you
…
Feb 1st 2021
River Blossom Bracelet Tutorial
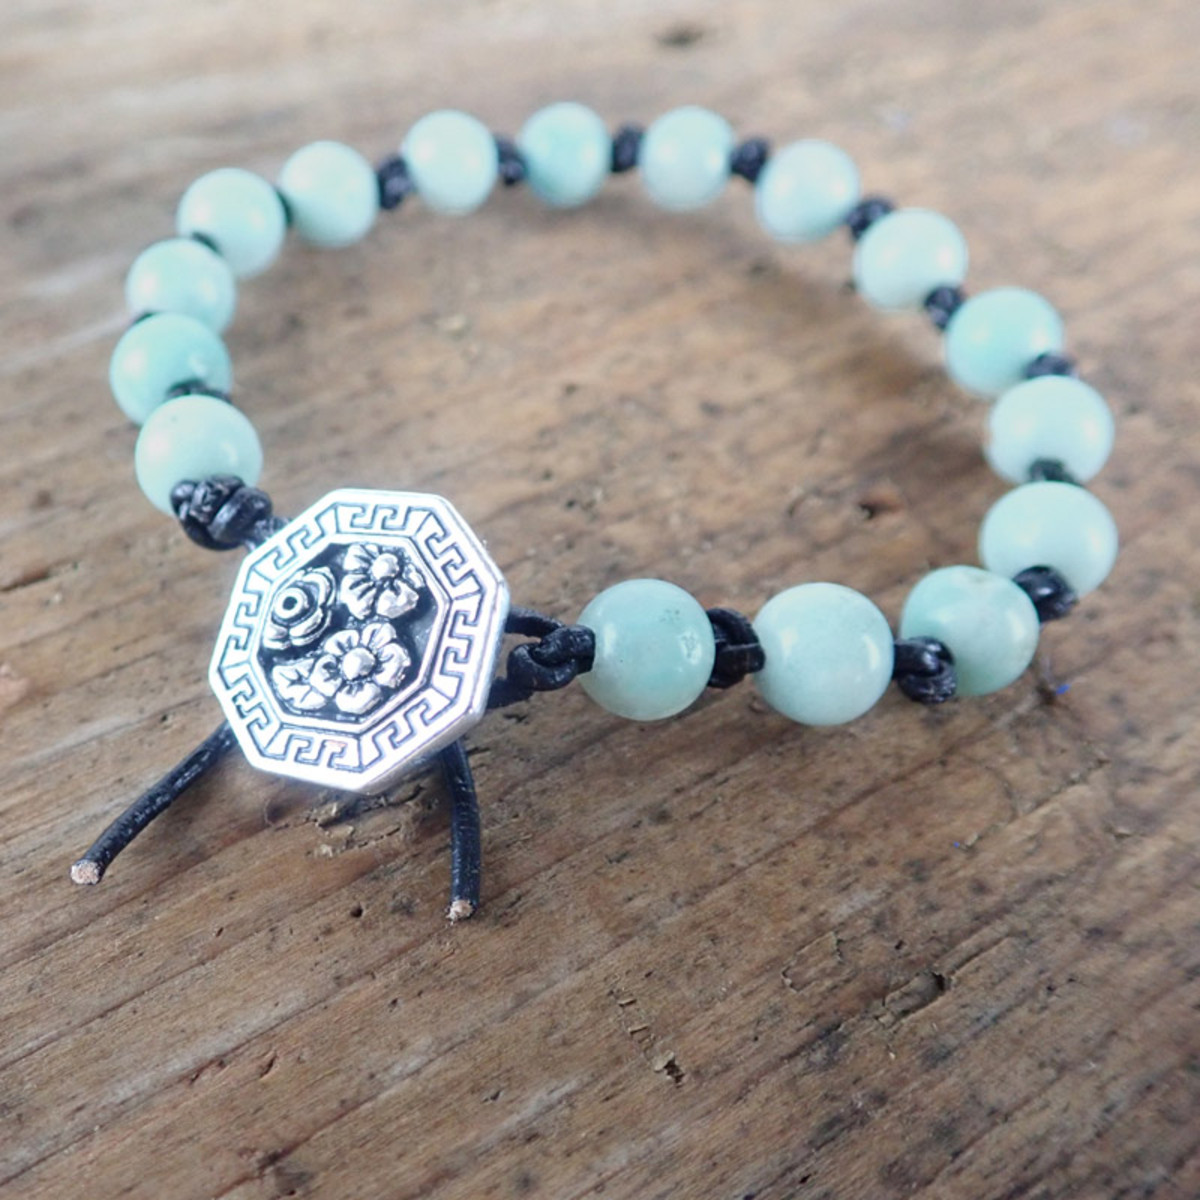
Create this project using large-hole gemstone beads of your choice, 1mm cotton or leather cord, and your favorite button as the clasp.Created by: Rita HutchinsonDesigner TipsCut cording and fold in half. Using the button as a guide, make a loop that just barely fits over the button and tie an overhand knot with both pieces of leather.String first bead and add a simple knot. Continue.When you have reached the desired length, thread the cord through the button shank from opposite sides and knot. B
…
Feb 1st 2021
Sandra Leather Bracelet Tutorial
Created by: Rita Hutchinson Designer TipsSqueeze out a few drops of patina (or your favorite metallic acrylic paint) on the craft sheet. Apply patina to the edges of the cuff, and then dry-brush patina sparingly to the surface of the bracelet.Let Patina dry.Set crystal stones in settings with nylon jaw pliers. (Smooth down further with burnishing tool or back end of Sharpie as needed).Determine placement of crystal settings, and press awl through the holes in the setting to mark hole loca
…
Feb 1st 2021


