Rings & Things Jewelry Blog
Soar With Me Cuff Bracelet Tutorial
Created by: Valorie Nygaard-PouzarDesigner TipsPatina, seal and use bracelet-bending pliers to apply a gentle curve to the metal sparrow before riveting it to the leather.For hints on applying Vintaj patina, see blog post: Customizing Tim Holtz idea-ology® Word Bands for a Handmade Look.To prevent the rivet from slipping through the leather, add washers or rivet accents to the backside of the leather. Rivet accents are ready-to-use with no need to measure or cut the perfect hole size, but they a
…
Feb 22nd 2023
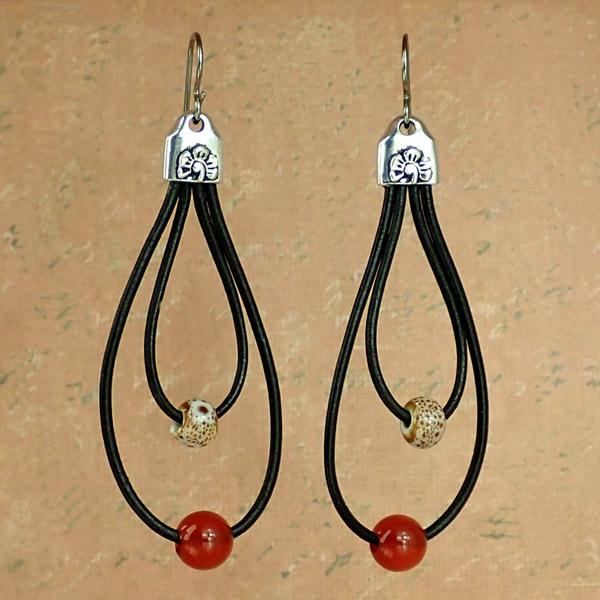
Fireblossom Earrings Tutorial
Created by: Rita Hutchinson
Designer Tips
Determine desired loop lengths and cut leather. For these earring, I cut 2 pieces at about 5" and 2 pieces at about 3".String large-hole gemstone on longer leather piece and porcelain bead on shorter piece.Gather all ends together in the correct order (see photo).Apply a small amount of superglue inside the crimp end. Insert all 4 leather ends at one time, squeezing them together to fit. Hold in place until glue grips.Gently squeeze the crimp end
…
Feb 22nd 2023
Tranquil Spangle Bracelet Tutorial
Created by: Polly Nobbs-LaRue Designer TipsDetermine desired bracelet length; add one inch. Cut a piece of cord 4 times this length. (7" bracelet + 1" = 8". 8" x 4 = 32")String the cord through the loop portion of the clasp. Center the clasp on the cord. Tie two overhand knots and check to see if your rondelles will face the right direction.String one cord through the left side of a rondelle, and the other cord through the right side. Pull tight (but not too tight). Does your bead
…
Jan 1st 2022
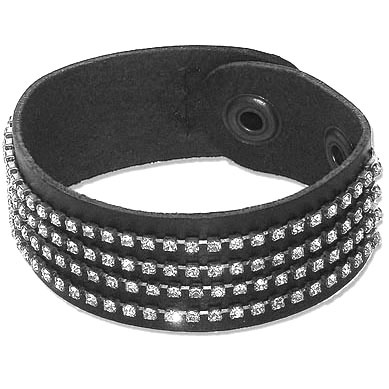
Tough Girl Rhinestone Chain and Leather Bracelet Tutorial
Created by: Rita Hutchinson Designer Tips Measure your rhinestone chain pieces to the same length for best results.Use an awl to pierce holes in the leather, and sew the chain to the cuff. Seal thread ends with GS Hypo Cement.Attach the chain just a bit loose, to allow for proper fit when worn. Suggested Supplies 1 ea #60-250 Adhesive, GS Hypo Cement1 ea #51-810-10-02 Bracelet, Genuine Leather, 1", Cuff (Black)1 pkg of 10 [use 8] #46-339-25-9 Gunmetal Chain End, for
…
Jan 1st 2022
Wrapped in Rhinestone Lashed Bracelet Tutorial
Created by: Mollie ValenteDesigner TipsFor a step-by-step tutorial with images, see the Easy to Make Lashed Rhinestone and Leather Bracelet blog post.Cut your leather to length (twice the wrist length plus about 8 inches).Fold the leather in half to form a button loop and size it to fit your choice of button. Tie on the waxed linen cord.Tuck in the linen cord tail and bind the loop and leather cord together by tightly coiling with linen cord for 3/8 inch.Cut the rhinestone chain to wrist length.
…
Jan 1st 2022
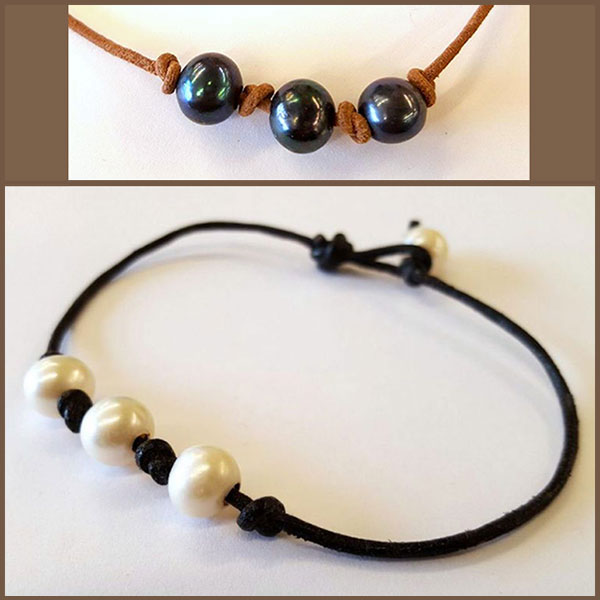
Trio of Pearls - Leather Bracelet Tutorial
Created by: Sondra Barrington Designer TipsAdd a pearl to one end of the cord, and tie a simple overhand knot on each side of the pearl. Use an awl to help pull the knots tight up against the pearl bead. This will be the "button" portion of your button/loop clasp.Add 3 pearls to the bracelet -- but don't tie any knots around them yet.Make a loop at the other end of the bracelet, just large enough to fit over the pearl "button". Secure the loop with a knot, but before tightening the knot,
…
Jan 1st 2022
Tschinkel's Circles Bracelet Tutorial
Created by: Polly Nobbs-LaRueDesigner TipsLay out a pattern on the blank bracelet. Free-hand, or using a ruler, mark each spot using an awl or an extra-fine point marker. (The heishi beads pictured are 18mm apart.)Punch 1/16" holes in the leather, using the cutting end of the Crafted Findings riveting tool.If necessary, use the cutting end of the riveting tool to punch 1/16" holes in the center of the vinyl disk beads. (They already have holes, but the holes might need to be larger.)Use a short
…
Dec 10th 2021
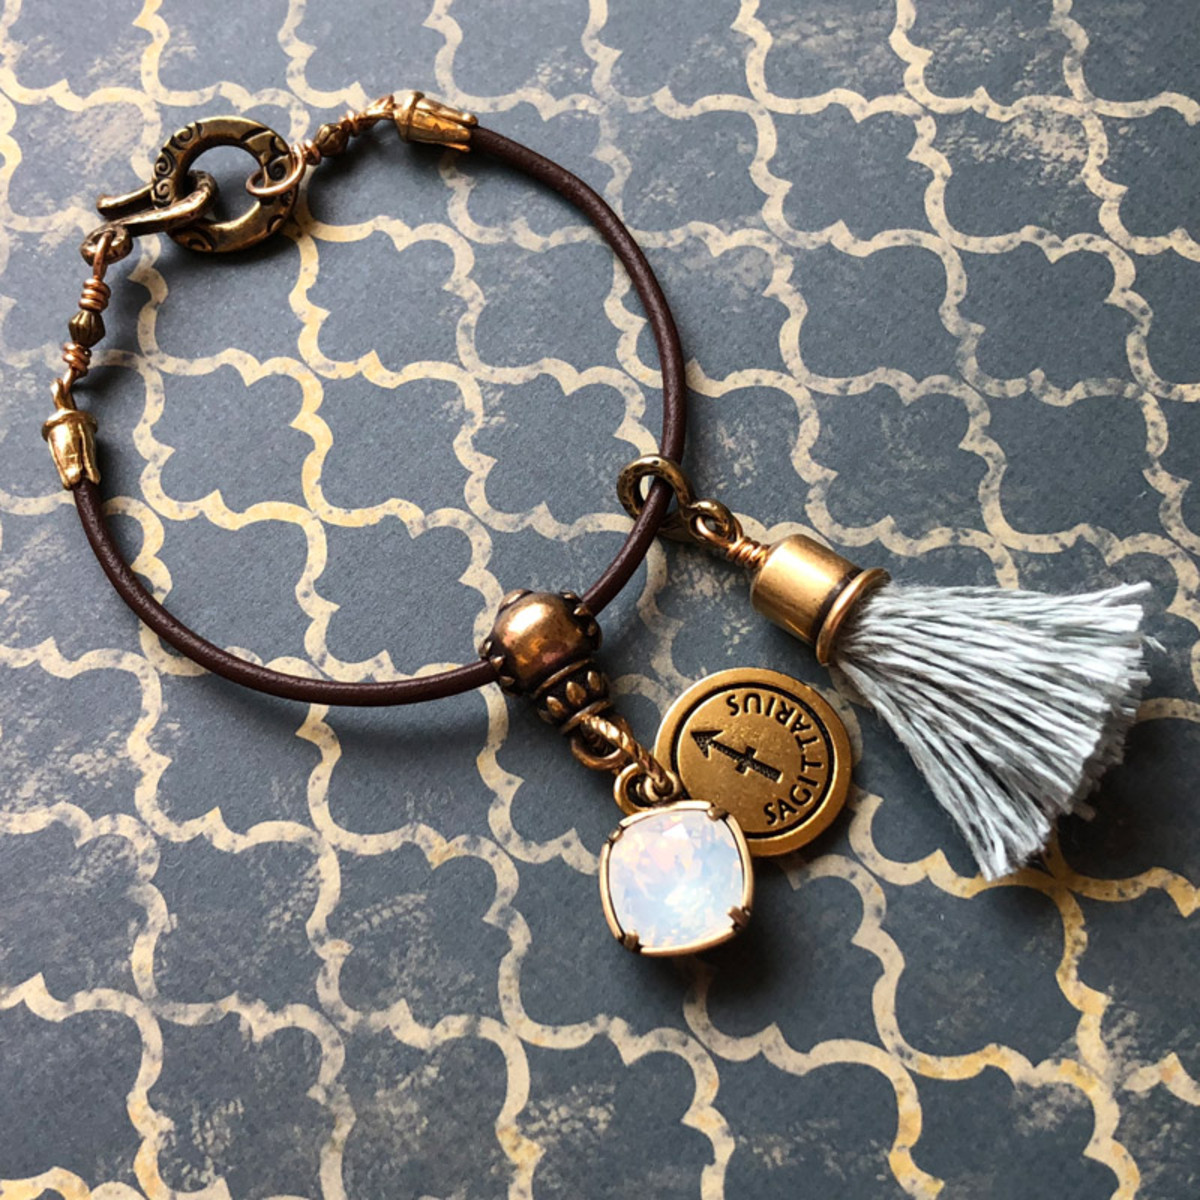
Sagittarius Leather Bracelet
Created by: Sondra Barrington Designer TipsCut leather flush after measuring desired length. Use a dab of glue inside one cord end. Insert leather into the cord end and gently pinch the cord ends together until secure.Use the hook and eye clasp independent of each other. The hook connects to a large, dramatic ring as a closure on the bracelet. The eye portion of the clasp floats along the leather cord, holding the tassel.Slide the guru bead and eye portion of the clasp onto the leather cord
…
Dec 1st 2021
Jewelry Design Gallery
Welcome to our new Jewelry Design Gallery! To browse jewelry ideas by category or theme, use the turquoise #tags below (#etched jewelry projects, #enamel projects, etc.) for all projects of a particular category. For a Jewelry Design Gallery / Resources search box, click here or press the turquoise "FREE JEWELRY PROJECTS" link near the bottom of any project's page. You might also like our blog (blog.rings-things.com), filled with step-by-step illustrated projects, and a spot for Q
…
Oct 28th 2021
Dragonfire Men's Wrapped Bracelet Tutorial
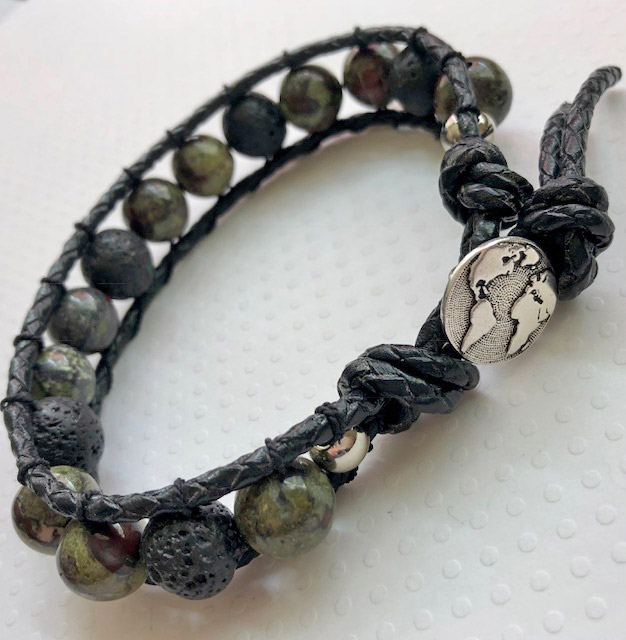
The classic wrapped leather bracelet is a great men's bracelet style already, and becomes even more masculine when you use leather bolo cord for the base.We ran out of 12mm Dragon Blood Jasper beads as soon as this bracelet went on display, so a few striking and exciting alternates are linked below: Created by: Janet BoyingtonDesigner TipsCut approximately 24" of leather. The average man's wrist is 8.5". Putting knots in the leather cord shortens the leather rather quickly, so if you're making t
…
Oct 27th 2021


