Rings & Things Jewelry Blog
Interchangeable Constellation Bangle Bracelet Tutorial
Create sparkling constellation jewelry in an hour, using minimal supplies and Swarovski Ceralun Ceramic Epoxy Clay, Crystal Clay, or your favorite epoxy clay. This quick-change bracelet form allows you to change the focal piece as often as you like. For this project, we have selected two centerpieces.Created by: Sondra BarringtonDesigner TipsBegin by choosing constellations from a preferred book or website, to use as reference.For step-by-step instructions, see our blog article: Constellati
…
Oct 27th 2021
Kraken Belt Buckle Tutorial
Created by: Elisabeth ValenteDesigner TipsConsider taking a jewelry-making class through a local college or art school. The Complete Metalsmith by Tim McCreight and Simple Soldering: A Beginner's Guide to Jewelry Making are excellent references as well.Glue your image pattern to the metal with rubber cement, and cut along the pattern with a jeweler's saw. Use files to perfect the cut out.Follow the instructions that come with your torch. Always work in a well-ventilated area. Have a fire extingu
…
Oct 27th 2021
Pleasant Dream Etched Barrette Tutorial
Created by: Rita Hutchinson Designer TipsCut your metal sheet to desired size and use a file to round the corners and smooth all edges.Clean with Penny Brite® Copper Cleaner and scrubby until water sheets off. Only handle by the edges from this point on.Stamp your design once, cleanly, and lift the stamp straight off. Allow the ink to dry without disturbing further. If needed or desired, touch up the inked design with black or red Sharpie® marker.Etch as directed following instruction
…
Oct 27th 2021
Enameled Yellow Submarine Tutorial
2018 was the 50th Anniversary of the Beatles' Yellow Submarine! Create your own yellow submarine using bright opaque vitreous (glass) enamels on copper sheet. Created by: Polly Nobbs-LaRue Designer TipsMake a few copies of your template. (You'll find many variations on the internet, or draw your own.) Mine is about 2-3/4 x 1-5/8" (70x40mm). Any larger, and it will be too hard to torch fire. Much smaller, and it will be too hard to add the details.Rubber cement a template to 24-gauge
…
Oct 27th 2021
Starry Night - Constellation Jewelry
Created by: Summer MelaasSo many options for Constellation necklaces!Pick your favorite blank (something thick, like 16-gauge).Find a constellation that you like. For a good star map, search the web, visit a library, dig out old astronomy books from the basement or attic...Choose a color of chaton (crystal rhinestone) for the stars: classic clear, iridescent aurora borealis, a birthstone or a favorite color (links below).It's easiest if you use just the smallest size, but you can also mix sizes
…
Oct 27th 2021
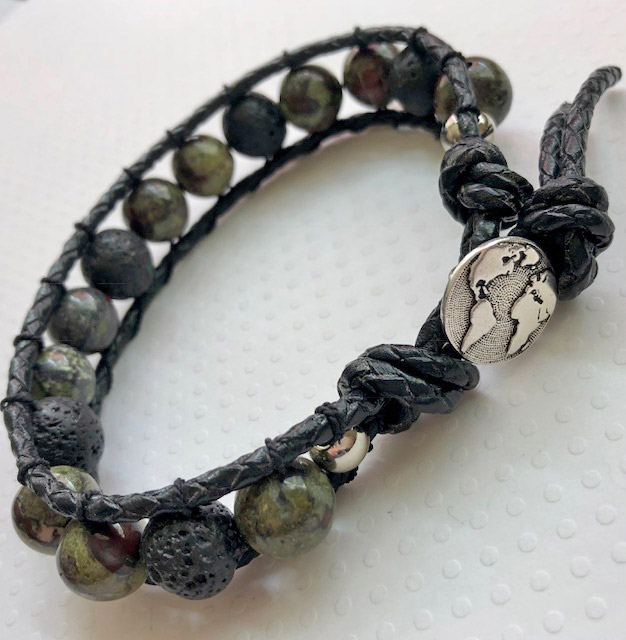
Dragonfire Men's Wrapped Bracelet Tutorial
The classic wrapped leather bracelet is a great men's bracelet style already, and becomes even more masculine when you use leather bolo cord for the base.We ran out of 12mm Dragon Blood Jasper beads as soon as this bracelet went on display, so a few striking and exciting alternates are linked below: Created by: Janet BoyingtonDesigner TipsCut approximately 24" of leather. The average man's wrist is 8.5". Putting knots in the leather cord shortens the leather rather quickly, so if you're making t
…
Oct 27th 2021
Jet Scarab Copper Ring Tutorial
Depending on the beads you use, this quick and easy unisex design can go from frilly and feminine to macho and masculine. Created by: Michelle Horning Designer TipsFor step-by-step instructions, see the Double Wrap Hammered Ring portion of our 2014 blog post on creating rustic hammered wire wrapped Swarovski crystal rings.Putting a small bend in the wire on either side of the bead before attaching to the thicker gauge wire will help keep the bead in place.Make sure the ends of the l
…
Oct 27th 2021
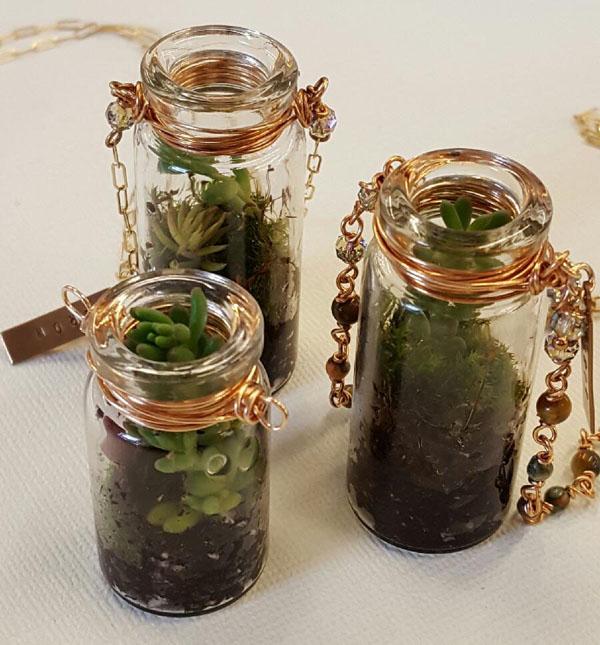
Tiny Living Terrarium Necklace Tutorial
Created by: Summer Melaas Designer TipsAdd about 1/2" of soil, a small amount of moss, then sedum or other tiny succulents to a glass bottle charm. Total dirt/moss should be about 3/4". Mist very lightly as needed to maintain; do not overwater.Cut roughly 12" of wire. Wrap wire around the bottle approx. 3 times. Wrap wire one more time half way so that both wires are on opposite sides of the bottle. Make loops with each one of these wires for your chain. Continue to wrap the wire 2 m
…
Oct 27th 2021
Leather and Stone Lashed Wrap Bracelet Tutorial
Created by: Cindy Morris Designer TipsThis exclusive Rings & Things wrapped leather bracelet kit contains everything needed to make one triple-wrap bracelet with parts to spare. It can also be worn as a necklace.Each kit contains detailed step-by-step instructions with photographs. Read the instructions thoroughly before starting.Also see: Blog post: How to make wrapped leather bracelets1 ea #45-204-010 Kit, Lashed Wrap Bracelet, Brown and Turquoise Blueor, see below to purchase in
…
Oct 27th 2021
Frida's Hands Earrings Tutorial
Created by: Mollie ValenteDesigner TipsString the following beads onto a eye pin: 1 round corrugated-metal bead, 2 rubber wire keepers (these work as positioning beads for the large-hole Mirage bead), 1 Mirage bead, and 1 round corrugated-metal bead.Finish the end of the eye pin with a wrapped loop; snip off the excess eye-pin tail. For step by step instructions on making wrapped loops, see Jewelry Basics 101 (PDF).Use a 5mm jump ring to attach the wood charm to the bottom loop of the eye pin.At
…
Oct 27th 2021


