Rings & Things Jewelry Blog
Sunset Ombre Earrings Tutorial
This earring project uses Kato PolyClay™ to create a pretty ombre effect that's easy to add to ear wires.Created by: Tiffany White Designer TipsUsing a craft blade, cut each of 3 colors of polymer clay into small pieces. Keep each color of cut up pieces in separate piles.Now, rearrange your pieces into 7 piles that include the following: all red, mostly red with some orange, mostly orange with some red, all orange, mostly orange with some yellow, mostly yellow with some orange, all yellow.B
…
Jul 31st 2021
Milky Way Cuff Links Tutorial
Created by: Rita HutchinsonDesigner TipsCut the images to size.Seal with packing tape and cut out.Adhere to bottle cap with Hypo Cement.Apply UV resin following package instructions.Attach cuff link findings with two-part epoxy.Free Technique Sheets & How-TosGluing Hints for Metal Findings (PDF)Suggested Supplies1 pkg of 100 [use 2] #55-075-17-43 Bottle Cap, 17mm1 doz [use 2] #30-322-1 Cuff Link, 10mm Pad1 ea #82-501-01 Magic-Glos™ UV Resin, 1oz1 ea #60-230 Adhesive, Epoxy, 3301 ea #60-250 A
…
Jun 30th 2021
Oval Constellation Pendant Tutorial
Make this constellation pendant with crystal head pins and ball-end head pins for different sizes of stars, using Swarovski Ceralun Ceramic Epoxy Clay.Created by: Sondra BarringtonDesigner TipsBegin by choosing a constellation from a preferred book or website, to use as reference.Read our blog article:Ceralun Constellation Jewelry for step-by-step instructions on how to set head pins, swirl clay and more.You can make a larger (or more delicate) necklace by selecting a different bezel cup and cry
…
Jun 30th 2021
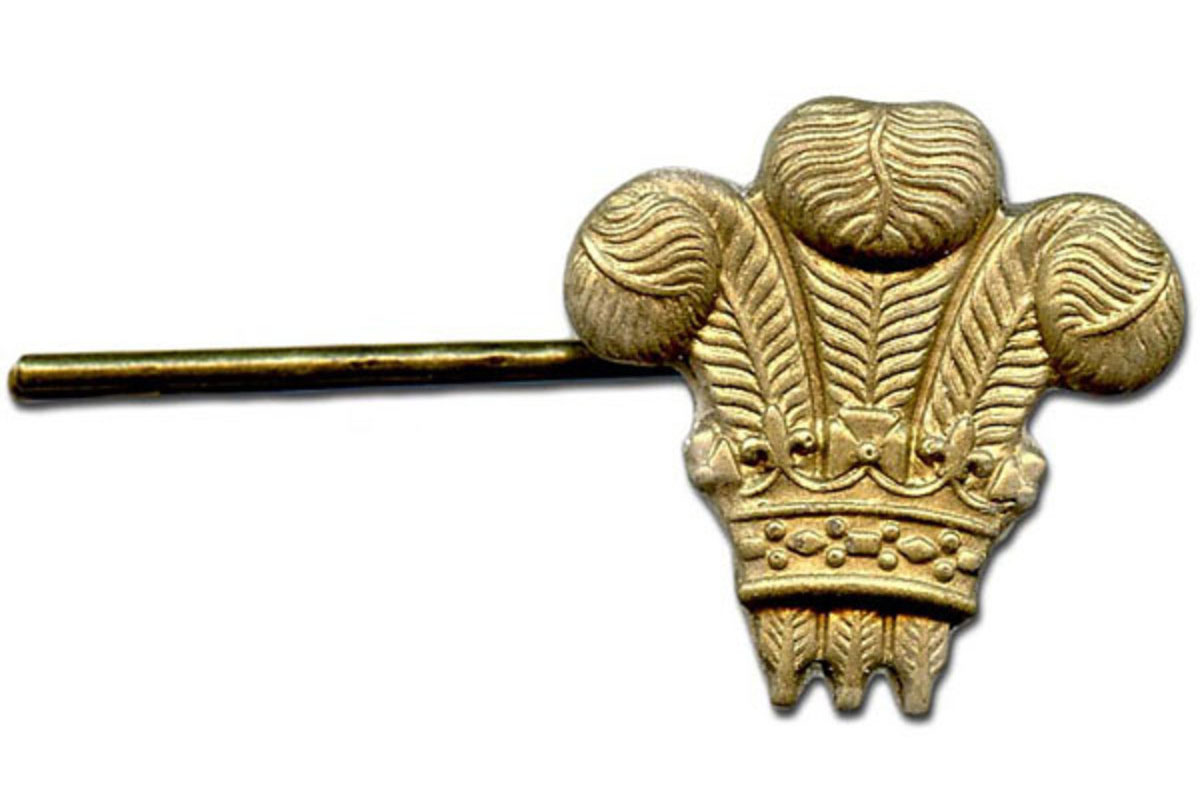
Crowned Bobby Pin Tutorial
Created by: Rita Hitchinson Designer TipsUse a ready-made silicone mold of your choice or make your own mold with Amazing Mold Putty.Lightly dust the mold with metallic powder. Tap off excess.Prepare several molds at once. Since Amazing Resin cures quickly, you will want to do all your pouring at one time.If you over pour the resin, carefully shave of the excess with a hobby knife.Use the sanding sponge to rough up the back of the resin piece and the glue pad on the bobby pin. Use it to c
…
Jun 30th 2021
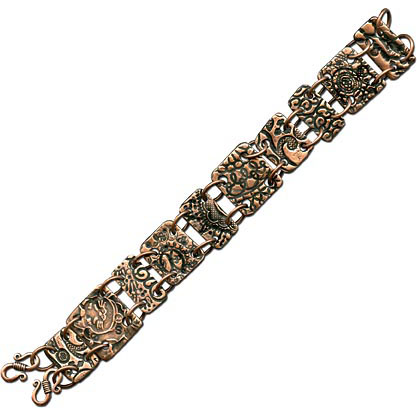
Impression COPPRclay Bracelet Tutorial
Created by: Sondra BarringtonDesigner TipsCreate the COPPRclay links according to the manufacturer's instructions. Like most other metal clays, COPPRclay must be fired in a kiln. COPPRclay shrinks approximately 20% from package to finished product.Use common household items to deeply texture clay.Apply WinOx with a cotton swab, allow to dry, and remove excess on high points with sanding sponges.Free Technique Sheets & How-TosBasic Jewelry-Making Technique Sheet (PDF)Suggested Supplies0.5 gr
…
Mar 31st 2021
Hamsa Hand in Heart Mosaic Necklace Tutorial
Created by: Sondra BarringtonDesigner TipsPrearrange your design by tracing the bezel, and creating a mock-up arrangement on paper.Nip the loop off of the hand pendant before setting in bezel.Glue a small piece of flat metal (as a shim) to the back of the hand (on to the fingers) to create a level surface for gluing purposes.Place items in bezel and set them in place with a dab of two-part epoxy glue. Let dry fully (24 hours) before applying concrete.Mix the concrete from the EnCapture Artisan C
…
Mar 1st 2021
Zen Yin Belt Buckle Tutorial
Created by: Jan RobertsDesigner TipsThe economically-priced chatons used in this design are real leaded-glass crystals!Pre-plan your design so the clay doesn't dry out before you've finished placing your embellishments. This is especially important on a large object like a belt buckle.Follow the manufacturer's instructions to apply the clay to the buckle blank.The Jewel Setter is an excellent tool for picking up and placing the crystals.To save time, you can leave the metal beads on the string,
…
Feb 1st 2021
Music Lover Necklace Tutorial
Created by: Valorie Nygaard-PouzarDesigner TipsCut out the desired image.Consider sealing both sides of the image to prevent possible discoloration of the image.24mm Piddix collage hearts should fit snugly in the heart bezel, but glue image to bezel cup to prevent the image from floating.Read and follow the manufacturer's instructions for preparing resin.Slowly pour resin into the bezel. Remove any bubbles by waving a flame over the piece.For additional tips & hints, see...Epoxy Resin Tip Sh
…
Jan 3rd 2021
Pennant Pendant Necklace Tutorial
Created by: Rita HutchinsonDesigner TipsUse texture plates from the tool kit to create designs on each torch-fired metal clay pennant. Patina each with liver of sulfur.Center one of the pennants on the chain.Add additional pennants evenly spaced to the left and right.Determine spacing of wrapped links. Cut chain and wire wrap links directly to the chain.The micro crimping pliers are great for tucking the trimmed wire ends in on the wire wrapped loops.Free Technique Sheets & How-TosMetal Clay
…
Jan 1st 2021
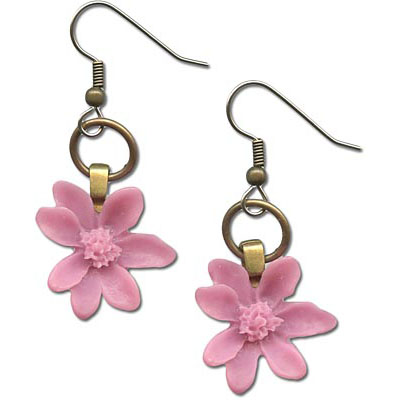
Mauvey Marigolds Earrings Tutorial
Created by: Rings & Things StaffDesigner TipsThe backs of some resin flowers may be slightly concave. For better gluing results, run them over an emery board (or Vintaj® Metal Reliefing Block) to level.Allow items to dry on a non-stick gluing surface.This pair of earrings was created using pre-made resin cabochons but you can also make your own. See below for links to a carefully selected offering of jewelry-quality resins.Free Technique Sheets & How-TosBasic Jewelry-Making Technique She
…
Jan 1st 2021


